

Brand installation planning for wall murals and surface graphics
A step-by-step decision checklist to prepare sites for UV wall printing and direct-to-surface murals, with photo templates, mockup approvals, and go/no-go.
Brand installation planning translates a creative brief into a reliable on-site outcome. This guide maps the full discovery-to-print workflow used for UV wall printing and direct-to-surface murals so project managers, brand teams, and facilities leads can collect the right information, approve artwork at scale, and reach clear go/no-go decisions before booking an install.
Before you start: choose a photo quote or an on-site survey
Decide early whether to request a fast quote from photos and measurements or to commission a full site survey. Photo-based quotes accelerate timelines and are reliable when walls are straightforward, access is clear, and finishes are typical. Use an on-site survey when the wall is irregular, access is constrained, utilities or HVAC are nearby, or permits may be required. For retail rollouts and large deployments these planning checks should start well before install day to avoid surprises and delays; see a practical retail installation checklist for common pre-install items.
If you want more detail on how vendors typically run this workflow, review how branded installation planning works site for a vendor-side view of discovery, mockups, approvals, and print.
Stage 1: discovery and scope decisions before you request a quote
Clear scope choices materially affect cost, materials, and schedule. Confirm these items before seeking a quote.
- Project objective: brand statement, wayfinding, decorative mural, or protective graphic.
- Artwork source: client-supplied, vendor-curated, or commissioned via an external artist.
- Coverage area: full elevation, feature zone, or repeated panels.
- Desired finish and durability: matte, satin, wipeable, or anti-graffiti.
- Timeline constraints: fixed reveal date, phased rollout, or flexible schedule.
- Budget class: request price ranges only after photos and measurements; avoid fixed price expectations before a quote.
Signage and installation buyer checklists recommend documenting compliance, material preferences, and ROI assumptions during discovery so the vendor can price and advise accurately; this step prevents scope creep and hidden charges later in the project.
Stage 2: pre-install site survey and measurement checklist
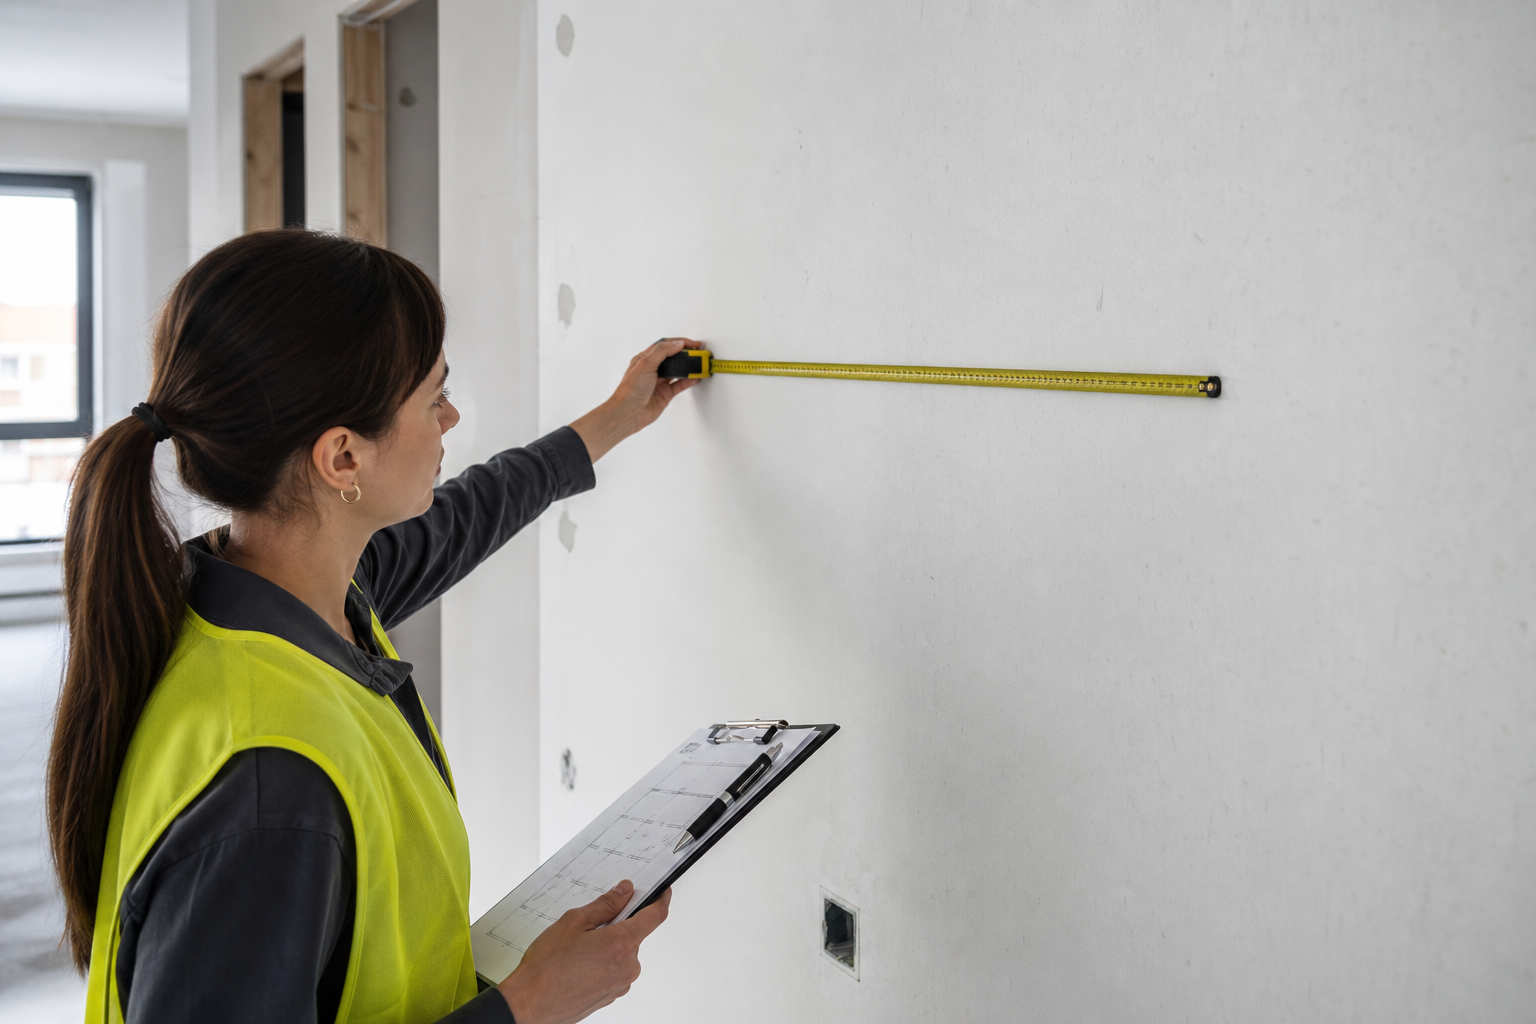
A concise site survey creates a shared, evidence-based view of the installation area and reduces on-site decisions. Collect measurements and photos that let a vendor produce an accurate quote without unnecessary site visits. For a complete retail planning checklist and measurement guidance consult the retail space installation planning checklist.
What to measure and photograph
Use this template when you prepare files for a photo-based quote. Provide metric measurements and clear photos from the angles noted.
- Wall width and height, measured at left, centre, and right and recorded as maximum and minimum values.
- Distance to adjacent walls, ceiling height above the top of the wall, and floor clearance below the baseboard.
- Locations and sizes of doors, windows, trim, columns, vents, electrical outlets, and light fixtures within 1.5 metres of the artwork area.
- Surface finish description: drywall, painted plaster, concrete, wood panel, ceramic tile, or other. Note visible damage or texture.
- Photos: wide elevation straight-on, two angled context shots showing adjacent areas, close-ups of texture and damage, and reference shots showing how the wall relates to the room.
- Access details: nearest loading bay, elevator capacity, stair width, door openings, and whether lifts or scaffolding will fit through service doors.
- Operational constraints: hours when crew can work, noise or odour restrictions, and any tenant or building rules.
Pre-install site survey guides recommend including utilities and ownership checks in the same package so any constraints are identified early; a site survey checklist explains how access, utilities, and constraints affect the install plan.
Access, utilities and constraints to confirm
Record these factors as they determine crew size, equipment choices, and safety planning.
- Loading and staging: confirm parking or a loading bay within 30 metres of the work area.
- Vertical access: inside lifts or scissor lifts required for heights over 3 metres, and whether they can reach the location.
- HVAC and vents: if spray or airborne particles could enter HVAC, note shutdown windows and occupant safety steps.
- Electrical outlets and lighting: temporary lighting and power requirements for on-site equipment.
- Security and building approvals: tenant sign-off, building manager contact, and any permit needs for common areas.
Stage 3: artwork mockups, proofing and approval workflow
Mockups are the single most effective way to limit risk. Use scaled mockups that show exact dimensions, image resolution, and typical viewing distances. Ink Blend works from high-resolution artwork and mockups to ensure 4K detail and accurate scale before print.
What to check on a mockup before you sign off
- Scale overlay: confirm that the mockup shows true wall dimensions and major architectural features so you can visualise size against furniture and sightlines.
- Legibility and hierarchy: check copy sizes at normal viewing distance and confirm brand marks are placed within safe margins.
- Colour expectations: vendors using UV printing will show digital proofs and can provide on-site test patches for colour-critical areas; agree acceptable variance before print.
- File resolution and bleed: confirm the vendor has 4K artwork where required and that files include appropriate bleed and crop marks.
- Sign-off authority: specify who in your organisation must approve final print files and mockups to avoid delays on print day.
A robust mockup workflow prevents rework. Ink Blend emphasises mockups and approvals as part of the standard process; refer to the vendor workflow for clearer expectations about file formats and approval gates.
Stage 4: surface preparation and compatibility checks
Direct-to-wall UV printing bonds best to smooth, stable, and clean surfaces. Note these common remediation needs before booking an install.
- Filling and sanding: hairline cracks, holes, or textured finishes often need skim-coating or sanding to achieve a flat print surface.
- Priming: some substrates require an adhesion primer to accept UV inks and ensure durability.
- Moisture and contamination: resolve dampness, efflorescence, or grease that will prevent bonding.
- Unsuitable surfaces: loose plaster, poorly adhered wallpaper, or untreated particleboard may need replacement or alternate treatment.
Ask your vendor for a brief surface readiness report when you submit photos; this lowers the risk of on-site remediation work that adds time and cost.
Stage 5: install-day coordination and disruption minimization
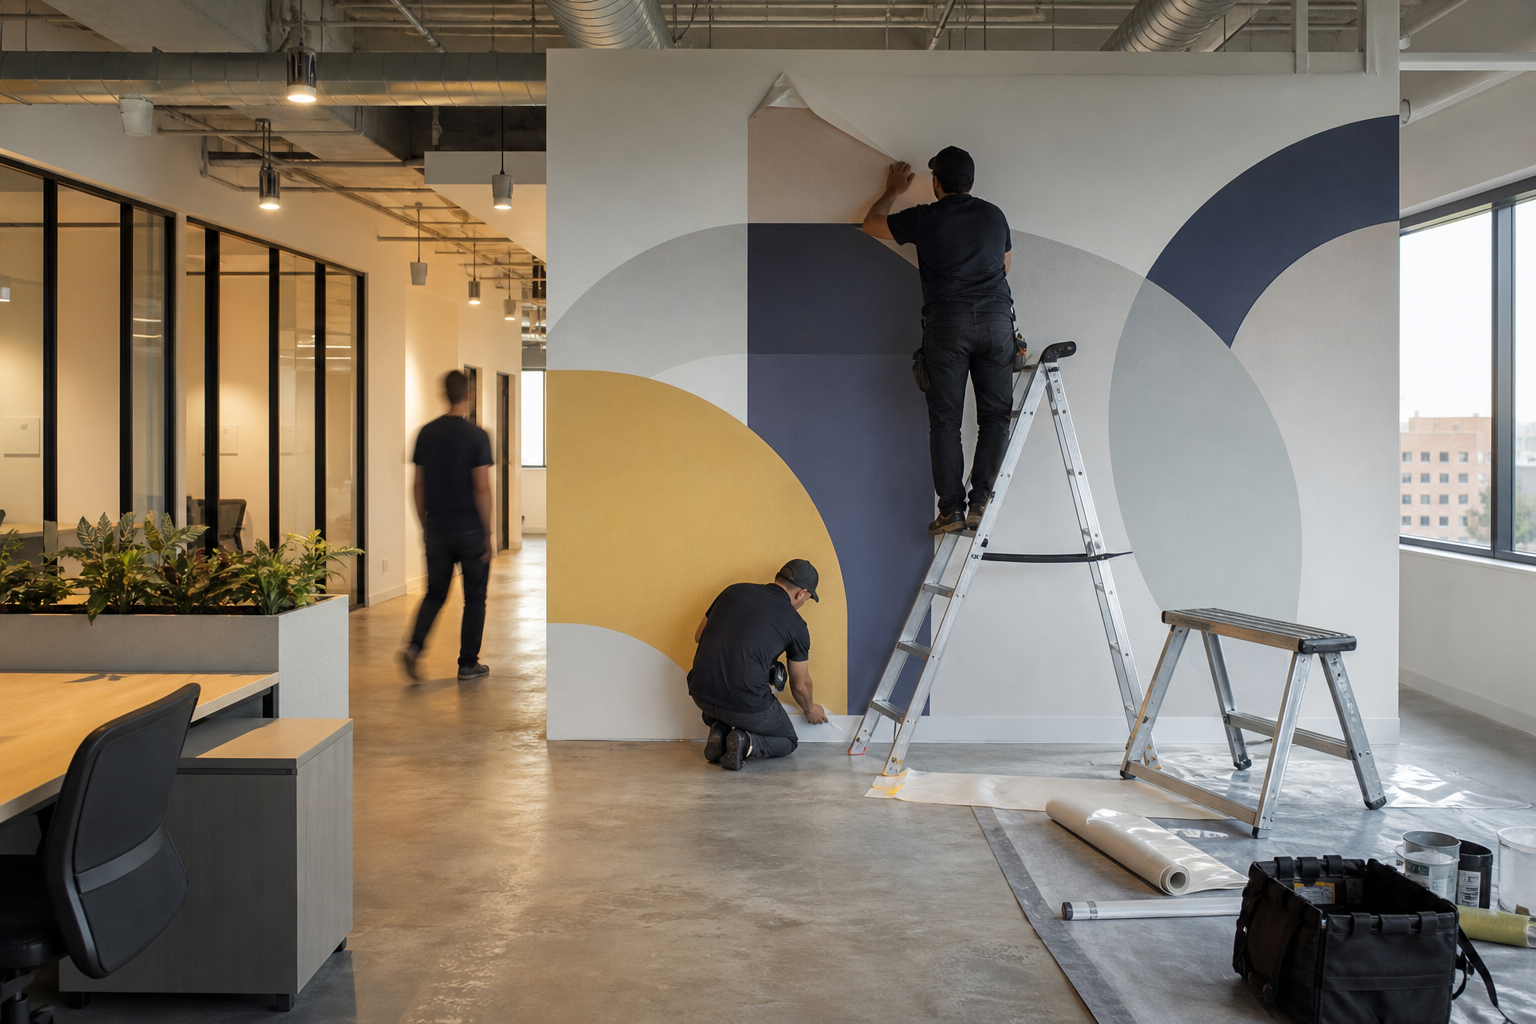
Plan install day as a short, controlled production rather than a long renovation. The following brief helps coordinate crews, trades, and building management so disruption stays minimal.
- Arrival window and crew size: agree on a single arrival window and the maximum number of crew on site at once.
- Area protection: schedule furniture moving, floor protection, and dust control before crew arrival.
- Noise and odour expectations: UV printing has limited odour compared with solvent options, but confirm permitted work hours and client expectations.
- Trade coordination: sequence tasks so electrical, HVAC, or carpentry trades complete work before the print crew arrives; share the project schedule to avoid double-booking lifts or access points.
- Health and safety: confirm site PPE, first aid contacts, and building emergency procedures with the vendor before arrival.
- Clean-up and final reveal: agree on responsibilities for waste removal and a final walkthrough to complete the sign-off.
Retail installation checklists recommend sharing the install schedule with building management and other trades at least 48 hours in advance to avoid conflicts on the day.
How to coordinate with other trades and building management
- Single point of contact: designate one person for building management and one for the vendor to reduce communication friction.
- Booking windows: reserve elevators and loading docks in writing and align trade timings on a shared calendar.
- Permit checks: verify whether common-area work requires building permits or property owner approvals before scheduling.
Decision checkpoints and explicit go/no-go stop points
At each stage use these binary checkpoints before committing budget or scheduling a crew.
- Discovery go/no-go: Do you have a confirmed objective, artwork source, and an authorised budget range? If no, resolve scope and approvals before requesting quotes.
- Survey go/no-go: Are measurements, photos, and access details complete and shared with the vendor? If no, complete the survey template and resubmit.
- Mockup go/no-go: Has the authorised approver signed the scaled mockup, colour tolerances, and final file? If no, obtain sign-off or request a test patch.
- Surface go/no-go: Has the surface been cleared, repaired, and primed or confirmed suitable by the vendor? If no, schedule remediation work first.
- Install-day go/no-go: Are loading, access bookings, trades coordination, and building approvals confirmed in writing? If no, postpone until all logistics are aligned.
Final walkthrough, maintenance and next steps to get a quote
After installation use a short sign-off checklist to accept work and set expectations for maintenance. Document the final condition with photos and retain vendor recommendations for cleaning. UV-printed interiors generally require mild cleaning with non-abrasive cleaners and periodic inspection for abrasion in high-traffic zones.
To get a reliable quote from a vendor send the measurement and photo template above, your project discovery notes, and preferred timeline. Ink Blend provides photo- and measurement-based quotes and a mockup-led approval workflow to speed decisions while preserving 4K artwork detail and durable results.
Frequently asked questions
How do I get a fast, accurate quote from photos and measurements?
Provide the measurement list and six photos specified in the measurement and photo submission template, describe the surface type, and note access constraints and target reveal date. A vendor can usually produce a reliable range from these files; if the site shows unusual constraints they will recommend an on-site survey.
Which interior surfaces are suitable for direct-to-wall UV printing and when is remediation required?
Smooth, stable painted drywall, primed plaster, and sealed wood panels are the best candidates. Surfaces that are textured, flaking, damp, or contaminated will need filling, sanding, priming, or replacement before printing to ensure adhesion and longevity.
Do I need permits or building approvals for branded wall graphics in Ontario?
Requirements vary by municipality and building type. Confirm with building management and, for common areas or exterior work, check local code or permit requirements before scheduling. If you are unsure, request an on-site survey so the vendor can advise on approvals.
How disruptive is a UV wall print install and what can I do to minimise business downtime?
UV direct-to-wall printing is typically less disruptive than traditional wallpaper or vinyl installations because it avoids long drying windows. Minimise downtime by scheduling work outside peak hours, staging furniture moves in advance, and coordinating other trades so the site is ready on arrival.
What should a mockup approval form include before the print day?
Include a true-scale mockup image, measured dimensions, colour tolerance notes, sign-off from the authorised approver, and a clause confirming whether on-site test patches are required. These items form the final approval gate and reduce the risk of revisions on print day.
For more on the logistics vendors use when planning an installation, review the retail installation checklist and the pre-installation site survey checklist to align your internal teams and external contractors.
Ready to proceed with confident brand installation planning? Contact Ink Blend to submit your photos and measurements and request a quote on your next mural or surface project at Ink Blend or read more about how branded installations work on the how branded installation planning works site.
References: Teamwork retail installation checklist, Sign Impact buyer checklist for custom business signs, and Kuno pre-installation site survey checklist provide practical planning items for retail and commercial rollouts.