
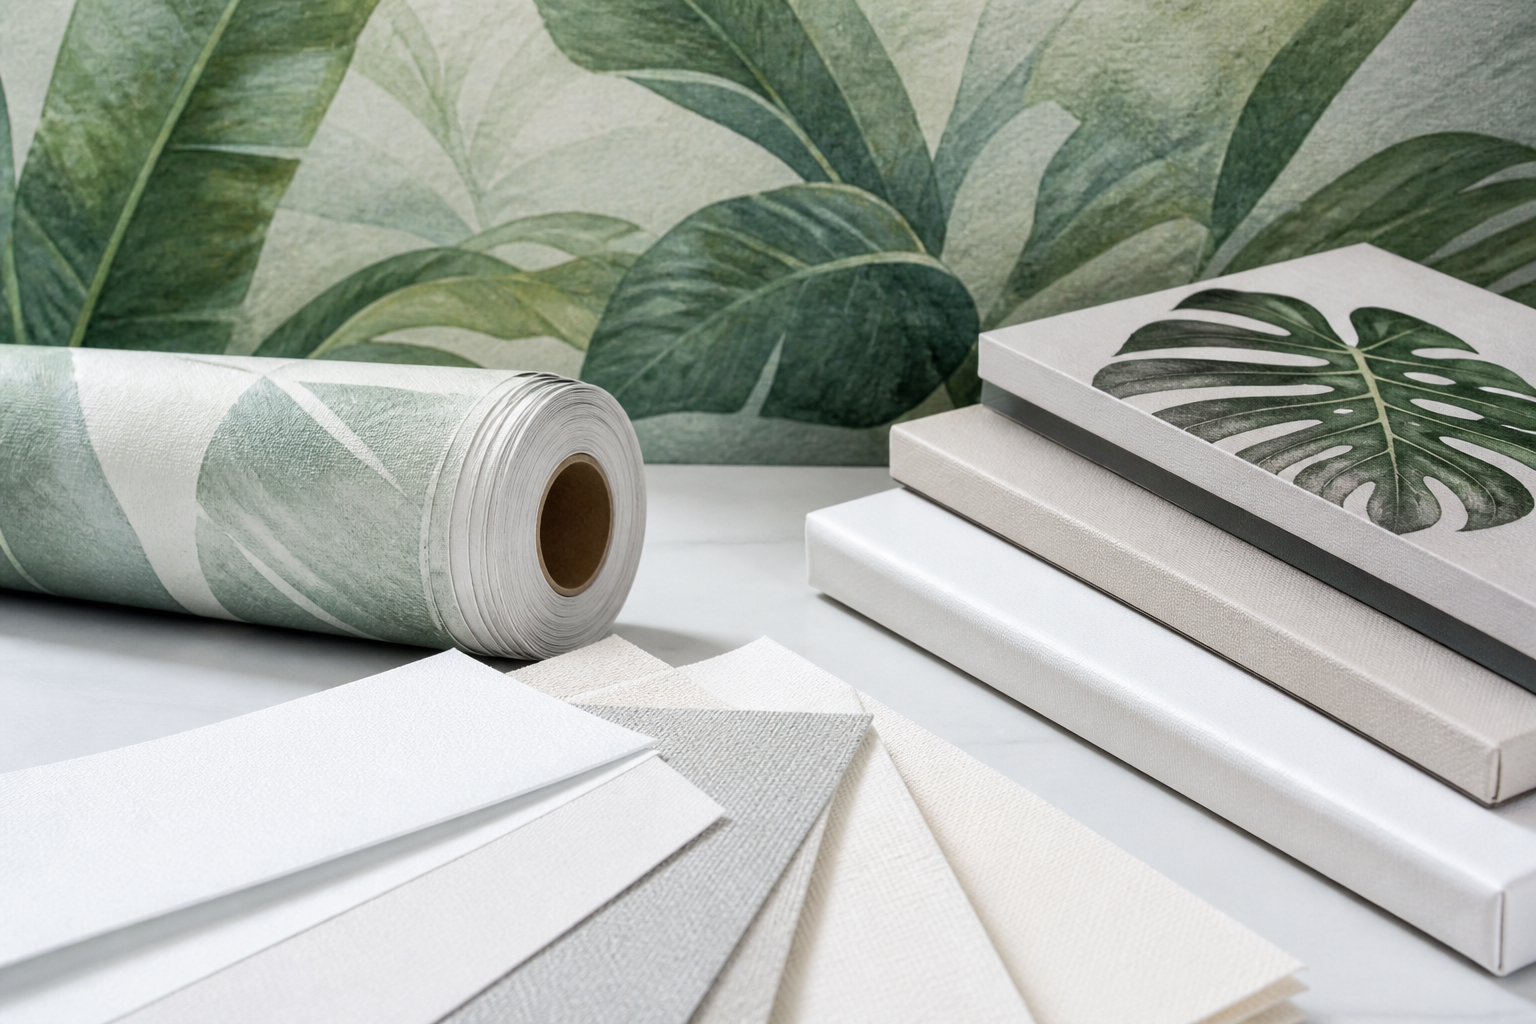
Choosing custom wall murals materials: a room-by-room checklist
Explore custom wall murals materials with practical guidance, key questions, and clear next steps before you contact Ink Blend or make a decision.
When you’re planning a large statement wall or brand-forward feature, the question that decides quality, longevity, and day‑to‑day upkeep is simple: what are the right custom wall murals materials for this surface and space? This guide breaks down the most common material families, how they differ in look and performance, the prep and installation considerations that often get overlooked, and a practical checklist you can use room by room.
Material basics: what “custom wall murals materials” includes
Most interior mural projects land in one of four material families. Each can deliver sharp graphics and large formats, but they behave differently on the wall and over time.
- Direct-to-wall UV print (no substrate): Artwork is printed straight onto a prepared wall. It keeps the wall’s texture, minimizes seams, and eliminates adhesive layers.
- Commercial wallcovering vinyl (PVC): Durable, scrubbable rolls installed with paste or adhesive. Offered in smooth, canvas, or textured embosses.
- Non‑PVC wallcoverings (polyolefin or similar): A lower‑plastic alternative with similar install methods; typically lighter and with a more matte, paper‑like look.
- Fabric‑based murals (polyester knit, woven, or canvas): Soft hand, reduced glare, and a high‑end feel; can be adhesive‑backed or installed with paste.
Beyond these, you’ll also see specialty films for glass, removable decals for short‑term campaigns, and rigid panels for feature installations. For a broader context on substrates and adhesives, see understanding wall covering fundamentals.
Durability, cleaning, and life span
The right choice balances impact with maintenance. Think about abrasion, touch frequency, moisture, and cleaning routines.
- High‑traffic and touch zones: Entrances, corridors, elevators, queue lines, and retail aisles benefit from tougher faces. Commercial wallcoverings (vinyl or non‑PVC) and direct‑to‑wall UV print on well‑primed surfaces are common picks.
- Moderate‑touch areas: Meeting rooms, reception features, alcoves, and residential living spaces often suit non‑PVC wallcoverings or fabric murals, which offer a refined finish without over‑engineering.
- Low‑touch, low‑humidity areas: Bedrooms, libraries, or above‑reach features welcome fabric murals and matte non‑PVC options for warmth and soft light diffusion.
- Cleaning: Smooth and semi‑matte faces are easiest to maintain. Textures can trap dust; specify a light texture if you want depth without heavy grooves.
Any mural’s longevity depends on stable walls: sealed surfaces, controlled humidity, and minimal mechanical abrasion extend usable life regardless of material family.
Finish, texture, and colour accuracy
Finish dramatically changes how colour reads and how a feature photographs.
- Matte: Minimizes glare and reflections, ideal for photography backdrops and colour‑critical branding.
- Satin/eggshell: Adds gentle depth and slightly higher cleanability without mirror‑like hotspots.
- Textured embosses: Canvas, linen, or stipple patterns can add a tactile feel and disguise minor wall flaws; they can also soften fine detail.
- Direct‑to‑wall: Preserves your wall’s existing texture (e.g., smooth skim coat). The smoother the wall, the crisper the perceived detail.
For murals containing small typography or thin linework, prioritize smooth or lightly textured faces and confirm scale in a mockup before production.
Installation and surface preparation
Great prints underperform on poorly prepared walls. A few fundamentals keep results consistent across materials:
- Wall condition: Surfaces should be smooth, clean, dry, and fully cured. Patch, sand, and prime glossy areas to a uniform sheen.
- Primer and paint: Quality primer improves adhesion and print sharpness for direct‑to‑wall work; for wallcoverings, it helps with slip and future removability.
- Seams and paneling: Wallcoverings arrive in drops; plan seam locations away from focal points and high‑touch corners. Direct‑to‑wall prints avoid seams but demand precise layout and masking.
- Obstructions: Account early for outlets, thermostats, sconces, and baseboards. Adjust artwork to avoid cutting through key elements.
- Environmental stability: Keep temperature and humidity steady during and after installation to prevent edge lift or substrate movement.
Room‑by‑room picks and what to ask
Use this quick chooser to narrow options, then validate with samples and a scaled mockup.
- Reception or lobby feature
Goal: high visual impact, controlled lighting.
Shortlist: direct‑to‑wall UV print for a seamless look; premium non‑PVC or fabric wallcovering for subtle texture.
Ask: How does light hit the wall during the day? Will reflections challenge photography? - Open office or collaboration wall
Goal: balanced durability and low glare.
Shortlist: non‑PVC wallcovering matte; smooth commercial vinyl in satin if wipe‑downs are frequent.
Ask: Will chairs or carts brush the wall? Choose a tougher face if yes. - Meeting rooms
Goal: legible graphics on video calls, minimal glare.
Shortlist: matte direct‑to‑wall on smooth plaster; matte non‑PVC wallcovering.
Ask: Are there ceiling can lights that create hotspots? Matte wins here. - Retail aisles and fitting rooms
Goal: resistance to touch and abrasion.
Shortlist: commercial vinyl wallcovering; direct‑to‑wall with robust topcoat systems when appropriate prep exists.
Ask: How often will staff clean surfaces? Pick a finish that tolerates routine wipe‑downs. - Restaurants and cafes
Goal: easy cleaning near traffic zones; inviting ambience elsewhere.
Shortlist: smooth vinyl or non‑PVC near circulation; fabric or matte options for seating nooks.
Ask: Are there grease or moisture sources nearby? Keep murals outside splash zones unless specified for it. - Hotels and residential living spaces
Goal: refined finish, low glare, comfort.
Shortlist: fabric murals or non‑PVC with light texture; direct‑to‑wall for a built‑in, architectural feel.
Ask: Will headboards or luggage contact the wall? If yes, bias toward tougher faces. - Kids’ rooms and play areas
Goal: warmth, soft look, and cleanability.
Shortlist: matte non‑PVC or smooth vinyl depending on cleaning expectations.
Ask: How often will crayons or markers meet the wall? Plan accordingly. - Corridors and back‑of‑house
Goal: longevity under abrasion.
Shortlist: commercial vinyl wallcovering with scrubbable finish.
Ask: What equipment moves through here? Seam strategy matters.
Design and file prep for crisp results
Material interacts with artwork. Plan files with surface and viewing distance in mind.
- Scale and sharpness: Vector artwork or high‑resolution raster files help preserve fine detail, especially on smooth or direct‑to‑wall projects.
- Contrast and texture: On heavily textured wallcoverings, subtle gradients can appear mottled; boost contrast slightly for clarity.
- Edge planning: If outlets or fixtures sit on the wall, shift focal elements to avoid cuts through logos or faces.
- Colour expectations: Ambient light changes colour perception. View proofs in representative lighting when possible.
For broader context on mural deliverables and creative scope, you can scan the wall murals overview or explore custom artwork printing details for artwork‑specific considerations.
Cost drivers and lifecycle thinking
Budgets vary by material, wall size, access, and surface prep—but cost isn’t the only metric. Consider the full lifecycle:
- Preparation: Smoother walls often mean cleaner results and easier future updates.
- Seams vs. seamless: Wallcoverings introduce seams to manage; direct‑to‑wall removes them but requires precise onsite execution and stable surfaces.
- Finish durability: Tougher faces may reduce touch‑up cycles in high‑traffic areas.
- Refresh cadence: In branded environments that update seasonally, prioritize removability and reprint logistics.
Decision checklist you can copy
- Define goals: What should the wall do—wayfinding, brand storytelling, ambience, photo backdrop?
- Map environment: Traffic level, touch risk, cleaning routine, humidity, and direct light.
- Audit surface: Current paint type, texture, repairs needed, and obstacles.
- Choose finish first: Matte vs. satin and desired texture; this narrows the material family.
- Plan seams or go seamless: Decide early to align artwork composition with install reality.
- Proof at scale: Review a mockup with measurements and call‑outs for fixtures and trims.
- Schedule conditions: Lock in a stable temperature/humidity window for install and cure.
- Set care expectations: Note approved cleaners, wipe frequencies, and touch‑up protocols.
FAQ
What’s the best material for small text and fine linework?
Smoother faces perform best. Direct‑to‑wall on a smooth, well‑prepped surface or a smooth, matte wallcovering helps preserve edge definition. Avoid heavy textures that can break up thin strokes.
Can I use custom murals in humid areas like bathrooms?
Murals can live near humidity if the wall is properly sealed and the finish supports routine wipe‑downs. Keep graphics outside direct splash zones unless you have a system specified for that exposure, and maintain ventilation to limit moisture buildup.
How do I hide minor wall imperfections?
Light textures (canvas or linen embosses) help disguise small flaws. That said, significant defects should be patched and sanded; textured faces complement good prep but don’t replace it.
Will a matte finish make colours look dull?
Matte eliminates glare and can slightly soften perceived saturation under some lighting. Careful profiling and contrast‑aware design usually keep colours vivid without introducing hotspots common to glossy finishes.
What if I need to refresh branding later?
Plan with lifecycle in mind. Where frequent updates are expected, select wallcoverings and primers that balance adhesion during use with manageable removability when it’s time to rebrand.