
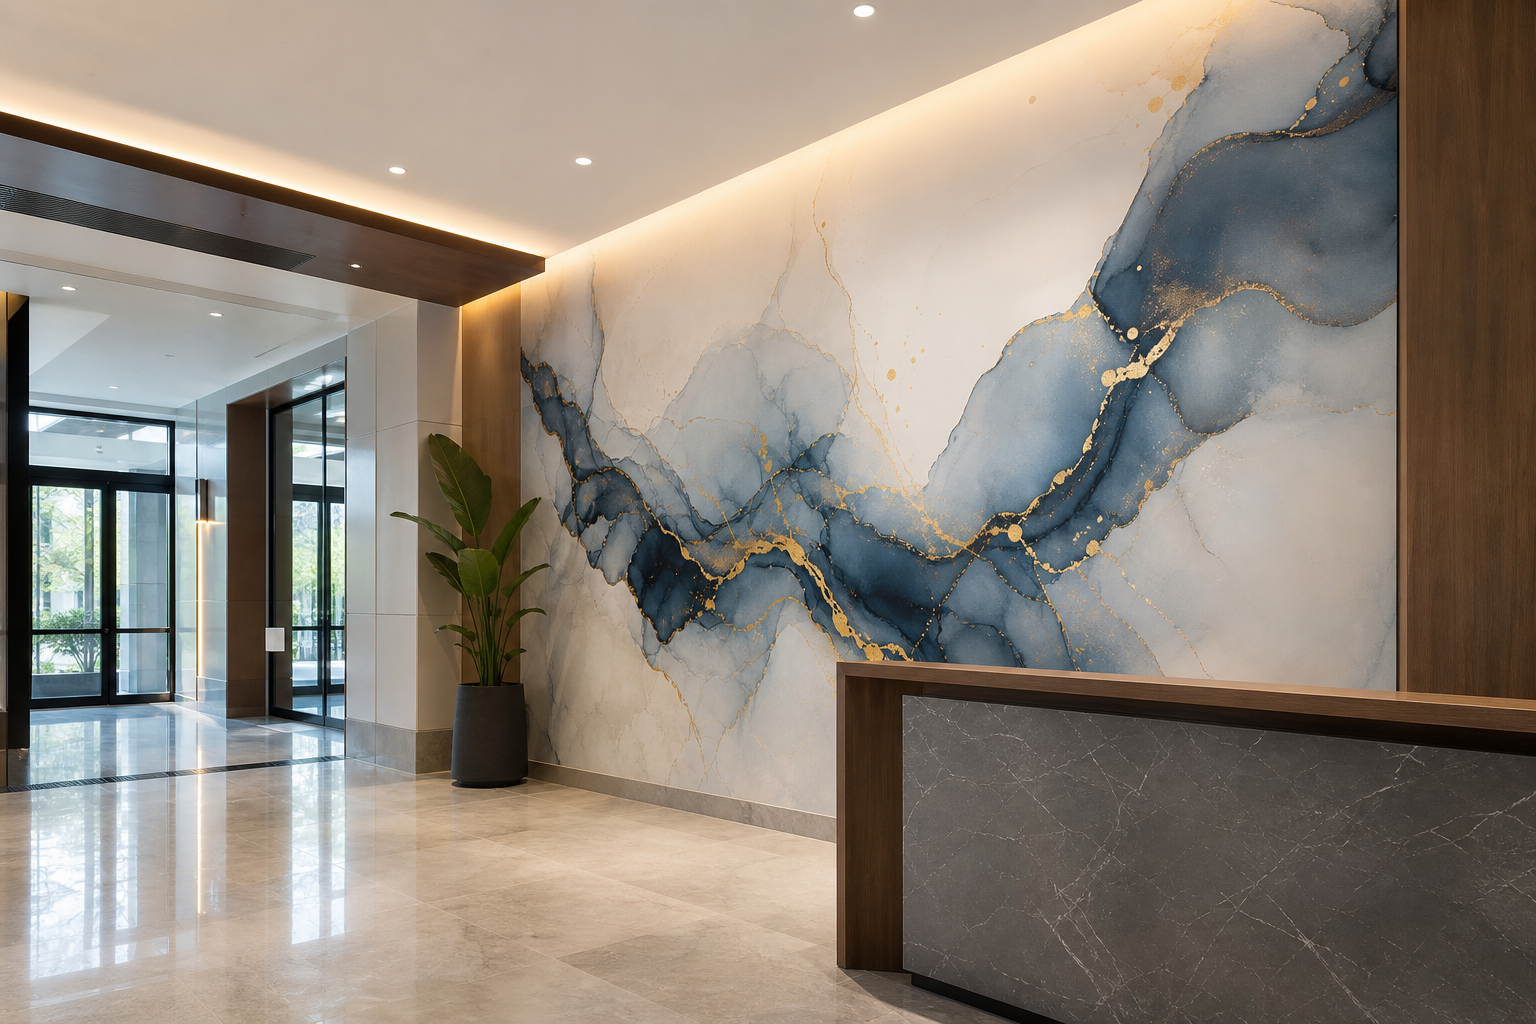
A Practical Guide to Condo Lobby Mural Design
Explore condo lobby mural design with practical guidance, key questions, and clear next steps before you contact Ink Blend or make a decision.
A condo lobby mural does more than decorate a wall—it sets the emotional tone for arrivals and departures, frames first impressions for prospective buyers and guests, and helps residents feel a sense of home. This guide walks property managers, developers, boards, and designers through a practical, step-by-step approach to planning, commissioning, and maintaining a lobby mural that looks purposeful on day one and continues to perform over time.
1) Define the purpose before you pick the picture
Clarity of purpose keeps aesthetic decisions grounded. Before you explore artwork styles, write down why the lobby needs a mural and what it must do for the space. This turns personal taste into a measurable brief.
- Arrival mood: Calm and restorative, or energetic and social?
- Identity signal: Subtle nods to building name or theme, or a neutral, timeless composition?
- Wayfinding help: Orient visitors to reception, elevators, mail room, or concierge sightlines.
- Scale and impact: Statement feature visible from the entry, or a layered backdrop supporting furniture and lighting?
- Durability priorities: Hands-off feature behind a console, or touch-adjacent near seating and corners?
Summarize the purpose in a short paragraph. Share it with all stakeholders and use it to evaluate every visual decision later.
2) Audit the space like a set designer
A lobby is a constantly moving stage. Analysing its constraints early prevents surprises during artwork production and installation.
- Circulation: Map typical paths from entry to reception and elevators. The mural should support, not confuse, this flow.
- Sightlines: Stand at the entrance, reception, elevator bank, and primary seating. Photograph each vantage to understand where the composition should “read.”
- Obstructions: Note fire panels, thermostats, vents, access doors, sconces, and cameras. Plan artwork to work around them, not fight them.
- Dimensions: Record width, floor-to-ceiling height, and any reveals, pilasters, or bulkheads. Include measurements for baseboards and trims.
- Lighting: Identify natural light, overhead fixtures, sconces, and shadows throughout the day. Glare and hotspots change how colour and detail appear.
- Acoustics: Large hard surfaces amplify sound. Consider whether the mural wall should remain smooth or integrate adjacent soft elements (rugs, furniture) to balance reverberation.
3) Shape the artwork direction with a simple brief
Translate your purpose and space audit into concrete creative guidelines. A concise brief keeps reviews objective and helps shortlisted artists or production vendors respond efficiently.
- Concept anchors: Two or three words (for example, “serene, modern, layered”).
- Palette: 4–6 colours that coordinate with finishes and lighting temperature.
- Texture tolerance: Clean vector forms, painterly textures, photographic depth, or a hybrid.
- Scale logic: One focal motif vs. repeated pattern vs. panoramic narrative.
- Brand sensitivity: If the building has a logo or wordmark, decide whether to exclude it, reference it abstractly, or incorporate it sparingly.
- Timelessness vs. trend: Choose a position and state it clearly to steer later debates.
4) Choose a mural format that fits the wall and workflow
Several mural production methods can achieve a lobby-quality result. The best fit balances surface conditions, timelines, finish expectations, and future maintenance plans.
- Hand-painted mural: Artist-driven, tactile, and adaptable on site. Requires dry times and skilled protection during other trades.
- Direct-to-wall UV printing: Artwork printed directly onto prepared wall surfaces with crisp detail. Useful when you need precise registration and consistent colour across large areas.
- Digitally printed panels: Rigid panels (such as composite or acrylic) mounted to the wall. Offers modularity and removable sections for access panels.
- High-performance wall graphics: Film-based solutions applied to primed walls. Good for patterns and gradients, with the option to replace sections later.
- Mosaic or tile compositions: Durable, tactile, and architectural; planning, lead times, and substrate prep are significant.
Whichever route you choose, pair the method with the correct primer, topcoat or clear, and protection plan based on the wall’s location and expected contact.
5) Plan for surface prep and artwork resolution together
Surface quality and artwork fidelity are two sides of the same coin. Resolve them together before any production starts.
- Substrate: Confirm drywall level (for example, Level 4 or 5 finish), skim coat needs, and sanding expectations.
- Primer and paint: Specify primer compatible with the chosen method and a smooth, uniform topcoat sheen to improve colour consistency.
- File prep: For printed formats, supply high-resolution or vector artwork sized to final dimensions. For photography, use large-format images with careful upscaling if necessary.
- Mockups: Use scaled elevations with accurate trims, furniture, and lighting notes. Mark any cut-outs or devices to align composition.
6) Treat lighting and colour as a single design system
Colour never exists in isolation. The same mural can feel cool in morning light and warm under evening sconces. Test and tune before final approval.
- Colour temperature: Align mural palette with predominant lighting (for example, warm sconces vs. cooler overheads) to avoid muddy neutrals.
- Glare mapping: Identify reflective hotspots from polished floors, glass, and fixtures. Adjust placement of high-contrast details to maintain legibility.
- Night vs. day: Review proofs under the most common lighting scenario for residents (often evening).
- Accent lighting: Consider wall washers or adjustable track to even out gradients and bring out textures intentionally.
7) Design for real-world use and durability
Lobbies are high-touch, high-traffic, and cleaning-intensive. A few practical choices can preserve the mural’s finish and legibility for years.
- Edge protection: Where bags and carts pass, avoid delicate edge details or add corner guards adjacent to the mural.
- Lower-zone strategy: Use darker or less intricate content within the bottom 600–900 mm to mask scuffs.
- Cleanability: Pair the production method with appropriate clear coats or protective films where needed.
- Service access: If the wall hides panels or valves, design modular elements or seams for future access without visible scars.
- Furniture buffer: Maintain a small clearance behind benches or consoles to reduce abrasion.
8) Make the artwork inclusive and approachable
Condos host a broad range of ages, cultures, and preferences. Aim for inclusive balance without losing character.
- Readability: Ensure key forms read at multiple distances (entry, mid-lobby, and close-up).
- Contrast: Provide enough contrast for wayfinding cues without creating visual fatigue.
- Content sensitivity: Avoid imagery that can be misread as directional or regulatory unless that is intentional.
- Cultural breadth: Abstract or nature-inspired themes often bridge diverse tastes while feeling premium.
9) Coordinate with wayfinding and subtle brand touches
When the mural and signage collaborate, the lobby feels calmer and more intuitive.
- Hierarchy: The mural should guide the eye toward reception and elevators without overshadowing functional signage.
- Echo motifs: Repeat a simple line, shape, or colour from the mural on directional signs or elevator surrounds to connect the system.
- Discreet branding: If desired, integrate building initials or patterns derived from the logo as texture, not a billboard.
10) Handle approvals, licensing, and rights early
Clear administrative steps protect the project and avoid rework.
- Stakeholder sign-off: Obtain written approvals from the board or ownership group at concept, mockup, and final artwork stages.
- Artist agreements: Define scope, revision limits, installation responsibilities, and crediting.
- Licensing: For commissioned art or purchased images, confirm usage rights, duration, and geographic scope suitable for a residential common area.
- Attribution: Decide whether and how artist credit appears in the lobby.
11) Build a realistic timeline and sequencing plan
Murals intersect with many trades. Lock sequencing early to prevent damage and delays.
- Discovery and brief (photos, measurements, goals, constraints).
- Concept development and mockups (with scale notes and sightline tests).
- Surface preparation (patch, skim, sand, prime, finish coat, cure time).
- Production (artwork finalization, test prints or swatches if applicable).
- Installation/painting window (coordinate elevator pads, floor protection, and access).
- Protection and cure (clear coats, barricades, and drying times as needed).
- Turnover and photography (final review and documentation for records).
Build in buffer for approval cycles and any required curing or acclimatization times for finishes.
12) Budgeting without surprises
Even without sharing exact numbers, you can make costs predictable by listing the drivers up front.
- Wall size and accessibility: Larger or harder-to-reach walls require more production and on-site time.
- Artwork complexity: Photographic detail, gradients, and fine linework affect production effort.
- Surface condition: Patching, skim coating, priming, and full repainting materially change scope.
- Protection and staging: Floor protection, containment, and after-hours access can add logistics.
- Contingency: Reserve a percentage for unforeseen conditions discovered after priming.
When requesting quotes, send clear photos, exact measurements, and any relevant access notes (loading, ceilings, and hours for quiet work).
13) Maintenance and care plan
A simple, written maintenance plan protects both the finish and the artwork’s intent.
- Cleaning protocol: Specify acceptable cleaning methods for the chosen surface and finish.
- Inspection cadence: Schedule periodic checks for scuffs near corners and seating zones.
- Touch-up strategy: Keep a marked-up copy of the final artwork and finish specs for future touch-ups or reprints.
- Environmental checks: Note any new sources of moisture, direct sun, or mechanical abrasion introduced after installation.
14) Sample condo lobby mural checklist
- Purpose and mood statement approved by stakeholders.
- Annotated photos and measurements of the wall and adjacent features.
- Concept brief with palette, texture tolerance, and scale logic.
- Chosen production method aligned with surface and timeline.
- Surface prep plan with primer and finish specifications.
- Lighting review completed for day and evening scenarios.
- Mockups with accurate trims, devices, and furniture positions.
- Licensing and artist agreement signed.
- Sequenced schedule coordinated with other trades and lobby access.
- Protection measures and maintenance plan documented.
Frequently Asked Questions
How do I size artwork files for a large lobby wall?
For vector-based designs, supply layered vector files so they scale without loss. For photography or raster illustration, target final output resolution that preserves crisp edges at typical viewing distances. If exact file sizing is unclear, provide the wall’s dimensions, closest viewing distance, and a sample crop at intended scale; request a preflight check and, if needed, a small test print or swatch to validate sharpness before full production.
What if the wall is textured or has visible patchwork?
Texture changes how light scatters and can reduce perceived detail. Decide whether texture is part of the design character or a distraction. For crisp, fine detail, consider additional skim coating and sanding to create a smoother base, followed by compatible primer and finish. If keeping the texture, steer the artwork toward bolder forms, higher contrast, and fewer hairline details. Always test colour and contrast on a small section under the lobby’s actual lighting.
How long does a lobby mural project typically take?
Timelines vary by wall size, surface prep needs, artwork complexity, and coordination with other trades. A practical approach is to separate the schedule into design (brief, concept, mockups, approvals), surface preparation (patching, priming, finishing, curing), production (file finalization, any test swatches), and installation/painting. Build buffer into each stage for approvals and drying or curing time appropriate to the chosen materials.
Can a mural include branding without feeling like an advertisement?
Yes—treat brand elements as subtle design DNA. Translate the brand into a restrained palette, abstract motifs, or gentle patterns rather than literal logos. Keep any direct brand marks secondary to the overall composition and integrate them where they support wayfinding or orientation rather than dominate the field of view.
Next step
A practical next step
To discuss the options that apply to your situation, contact Ink Blend and request the relevant details before moving forward.