
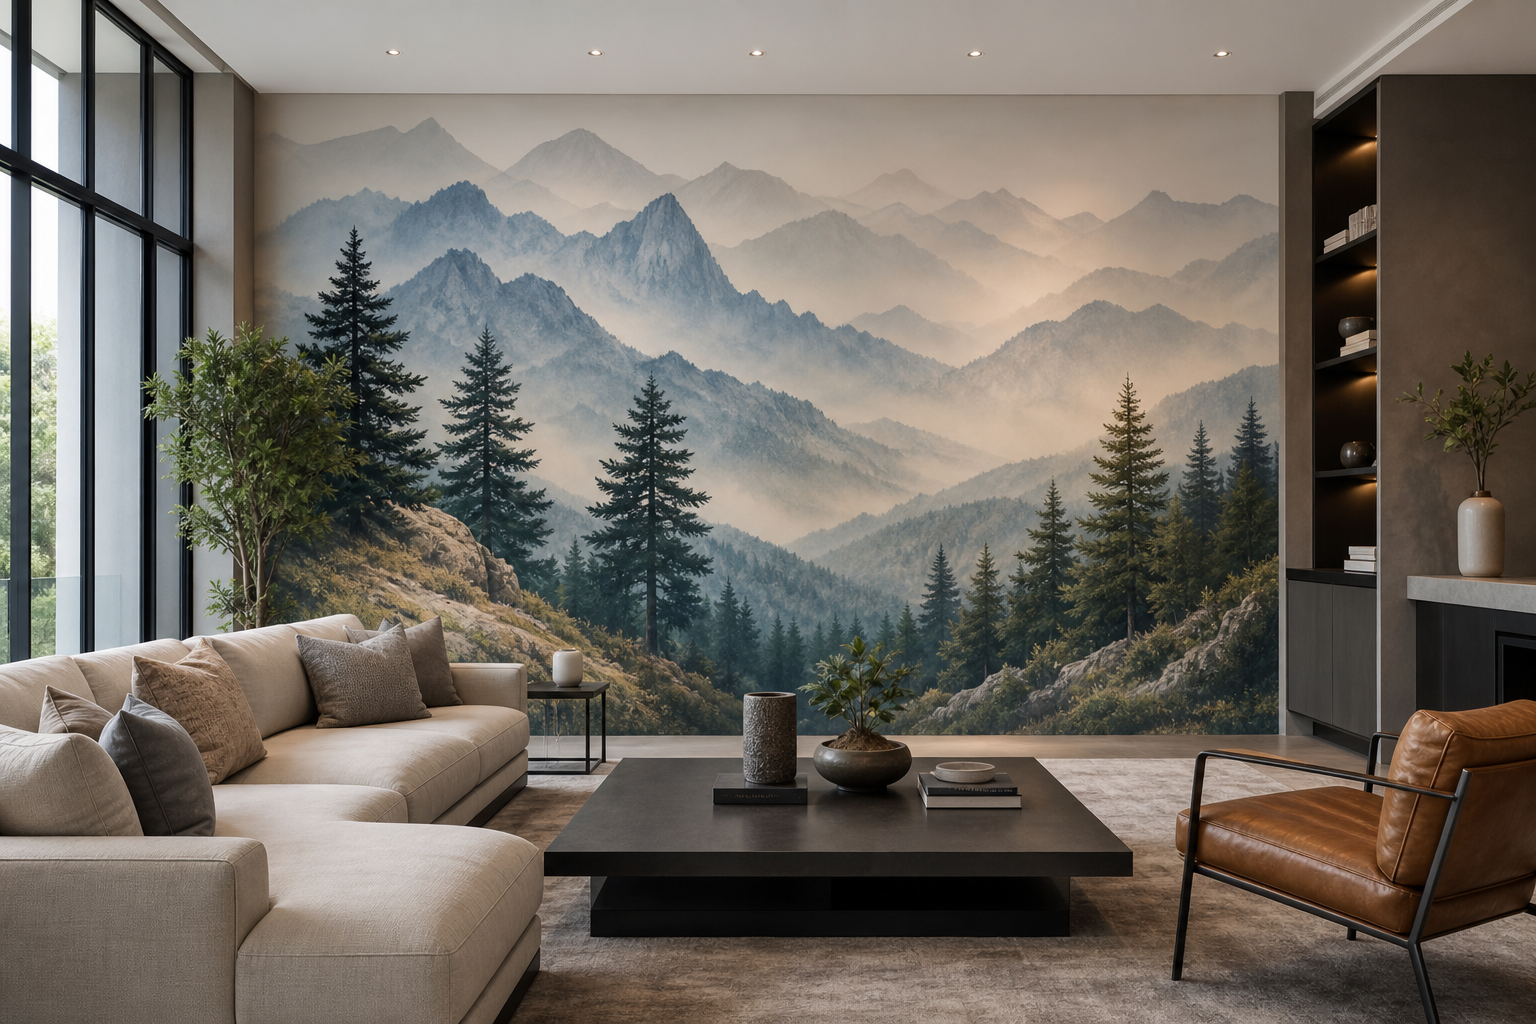
A Practical Guide to Custom Wall Murals Brampton
Explore custom wall murals brampton with practical guidance, key questions, and clear next steps before you contact Ink Blend or make a decision.
Custom wall murals can turn an ordinary room into a statement space. Whether you are refreshing a home, shaping a branded environment for a restaurant, or building a welcoming office reception area, a clear plan helps you get results you’ll love. This guide walks through the essentials for custom wall murals in Brampton—from design choices and surface preparation to artwork specs, installation, and long‑term care—so you can make confident, verifiable decisions.
Benefits of custom wall murals
- Define the space: Murals establish a focal point, guide movement, and frame key moments like entrances, dining zones, or reception desks.
- Express identity: In commercial settings, murals reinforce visual identity across colors, typography, and imagery. In homes, they reflect personal style.
- Leverage scale: Large graphics make small spaces feel intentional and big spaces feel cohesive.
- Support wayfinding and mood: Imagery, patterns, and color blocking can calm, energize, or orient visitors.
- Offer a wallpaper alternative: Depending on your approach, you can avoid seams and achieve highly detailed, durable graphics applied directly to prepared surfaces.
Popular approaches and materials
There are several reliable ways to deliver a custom wall mural. Your choice should match your surface, design complexity, durability needs, and the experience you want on install day.
- Hand‑painted murals: A craft‑driven option ideal for bespoke illustration and painterly textures. Consider timelines for on‑site painting, the need for protective coatings, and access constraints while work is in progress.
- Printed wallcoverings (vinyl wallpaper): Widely used and familiar to many contractors. Expect panel seams, a need for smooth walls, and attention to paste/adhesive compatibility with your paint system.
- Direct‑to‑wall UV printing: Artwork is applied directly to the prepared surface with high resolution. This can reduce seams and provide crisp detail when the wall is clean, dry, and properly finished.
- Rigid panels and large‑format surfaces: For locations where walls are not suitable (rough masonry, moisture‑prone areas) or where removable installations are preferred. Panels are printed and mechanically mounted.
When deciding, evaluate:
- Surface suitability: Texture, porosity, and flatness influence which method performs best.
- Artwork style: Fine typography and photographic images benefit from high‑resolution approaches.
- Durability: Consider traffic, cleaning needs, and the potential for scuffs.
- Installation impact: Some methods are faster and cleaner on site than others.
Planning your mural step by step
- Clarify your intent: Is this a feature wall, a brand story, a soothing backdrop, or a bold centerpiece? Write a one‑sentence purpose statement.
- Measure and photograph: Capture full‑wall measurements (width x height) and note obstructions (doors, windows, outlets, thermostats). Photograph the wall straight‑on and from the room’s main entry point.
- Gather references: Build a small mood board of 6–12 images that reflect tone, color, and composition. Note what you like about each example.
- Select your delivery method: Compare hand‑painted, printed wallcoverings, direct‑to‑wall UV printing, or panel systems based on your surface, schedule, and visual goals.
- Request a visual mockup: Ask for a scaled preview placed on your wall photo with notes for dimensions and key alignments. Approve the layout before production.
- Confirm timeline and access: Align installation with other trades, planned closures, or quiet home hours. Provide parking, elevator bookings, and clear paths.
- Prepare the surface: Ensure the wall is smooth, clean, and dry. Resolve any repairs, filler, or patchwork prior to production day.
- Approve color and finish: If brand consistency matters, confirm color values and discuss finish characteristics appropriate for your lighting.
Artwork prep and resolution
The leap from a laptop to a wall is all about resolution, scale, and color management. Use these guidelines to keep details crisp:
- Work with vector or large raster files: Vector files (SVG, AI, EPS, PDF) scale cleanly for logos, patterns, and typography. For photos and illustrations, supply the largest original raster files you have.
- Mind effective resolution at scale: What looks sharp on a desktop may soften when stretched across meters of wall. Request guidance on minimum pixel dimensions for your final mural size.
- Organize layers and outlines: Convert type to outlines when requested to avoid font substitution. Keep linked images embedded or provide a packaged folder.
- Color considerations: Identify brand or target colors in advance and confirm how they translate in the chosen print approach and wall finish.
- 4K artwork detail: If your vision involves ultra‑fine detail, plan file prep and proofing around that objective so the production method supports it.
Surface preparation and conditions
Good prep is the most reliable way to ensure a premium finish. Before any mural application or direct‑to‑surface printing:
- Check the substrate: Common interiors include drywall, plaster, brick, concrete, wood, and glass. Each has different porosity and texture; smooth, stable surfaces tend to yield the cleanest results.
- Resolve texture and defects: Skim coat or sand to reduce heavy texture if you want crisp edges and legible type. Fill holes, feather repairs, and spot‑prime as needed.
- Paint system readiness: If the wall is newly painted, follow manufacturer guidance on cure time before applying graphics or printing directly to the surface.
- Moisture and temperature: Interior walls should be dry and at a stable temperature to support adhesion and consistent print behavior.
- Cleanliness: Remove dust, oils, and debris. Pay attention to high‑touch areas near switches or seating.
Installation logistics and site coordination
Organized site coordination protects your space and streamlines the day:
- Access plan: Reserve parking, loading access, and elevators. Confirm door clearances for any large equipment or panel deliveries.
- Room readiness: Clear the wall, cover nearby furniture, and protect flooring where traffic and equipment will be.
- Operational timing: For workplaces, book installation during low‑traffic windows. For homes, plan around family schedules.
- Power and lighting: Ensure adequate power outlets and lighting so teams can verify color and alignment throughout the process.
- Mockup and approvals on hand: Keep a printed or digital mockup accessible to confirm placement, scale notes, and any critical alignments before printing or mounting.
Care, maintenance, and updates
Murals are built to be seen and lived with. A few habits preserve their finish:
- Routine dusting: Use a soft, dry cloth or microfiber duster to lift light dust without abrading the surface.
- Spot cleaning: If your mural allows, a lightly damp, lint‑free cloth can address fingerprints. Test an inconspicuous area first and avoid aggressive scrubbing.
- Protect high‑impact areas: Consider a chair rail, standoff furniture, or protective accents where scuffs are common.
- Update strategy: If you anticipate seasonal or campaign changes, plan for artwork that can be refreshed without major wall repairs—panels and certain print approaches make updates simpler.
Budgeting and timeline considerations
Every mural is unique, so quotes depend on multiple factors. Use this checklist to accelerate accurate estimates:
- Wall dimensions: Width and height to the nearest centimeter or inch. Note ceiling height and any soffits or reveals.
- Obstructions and photos: Clear photos that show outlets, thermostats, windows, and doors help with layout and scale.
- Surface type and condition: Identify the substrate (drywall, plaster, brick, concrete, wood, glass) and share any texture or repairs.
- Artwork readiness: Confirm whether you have final, print‑ready files or need concept development and visual mockups.
- Delivery method: Note your preference (hand‑painted, printed wallcovering, direct‑to‑wall UV printing, or panels) and any finish requirements.
- On‑site logistics: Access constraints, hours, parking, elevators, and whether other trades will be present.
- Desired date: Share a target window and any hard deadlines (openings, events, move‑ins).
Quotes are often faster when you provide photos and measurements up front. If you are still developing ideas, ask for a range based on size, surface, and a few style references, then narrow as mockups evolve.
Branding and experience design
Murals do more than decorate; they guide experience. Consider these use cases when planning:
- Restaurants and cafes: Feature walls that support photography and reinforce brand colors. Place where guests naturally face.
- Retail and salons: Backdrops for product displays or service areas that maintain visual clarity in mirrors and photos.
- Offices and corporate spaces: Reception statements, culture walls, and meeting room graphics to align teams and welcome visitors.
- Hotels and condos: Large‑scale decorative walls that unify lobbies, corridors, and amenity spaces.
- Homes and luxury interiors: Personalized murals for living rooms, bedrooms, and entryways that harmonize with furnishings and lighting.
- Religious and cultural spaces: Respectful, high‑resolution artwork that reflects heritage and community narratives.
As you refine your concept, map sightlines from doors and primary seating. Test whether the composition reads well from both close up and at a distance, and check that typography remains legible.
Frequently asked questions
What wall conditions are best for a crisp, detailed mural?
Smooth, stable, and clean walls deliver the sharpest results. Heavy texture, flaking paint, dampness, or contamination can reduce adhesion and clarity. If you want crisp lines, address texture and repairs first and confirm the paint system is fully cured per the manufacturer.
How do visual mockups help before production?
Mockups place your artwork on a photo of the actual wall with scale notes, allowing you to confirm composition, typography size, and alignment to features like furniture, doors, and lighting. Approving a mockup reduces risk and helps align stakeholders before installation day.
What’s the difference between printed wallcoverings and direct‑to‑wall UV printing?
Printed wallcoverings mount pre‑printed panels to your wall, which introduces seams and relies on adhesives. Direct‑to‑wall UV printing applies artwork to the prepared surface itself, supporting crisp detail and minimizing panel seams. Your surface condition, schedule, and visual goals determine which path fits best.
How do I share artwork for large‑scale production?
Provide the highest‑resolution files available. Vector formats are ideal for logos and patterns, while high‑resolution raster files support photography and illustration. Include target dimensions, color notes, and any brand guidelines. If possible, request a proof or scaled preview.
Can murals be updated later without major disruption?
Yes. If periodic updates are likely, plan for approaches that simplify refresh cycles, such as printed panels or designs built for modular replacement. Early planning around access and hardware helps future changes go smoothly.
Next steps
A practical next step
To discuss the options that apply to your situation, contact Ink Blend and request the relevant details before moving forward.