
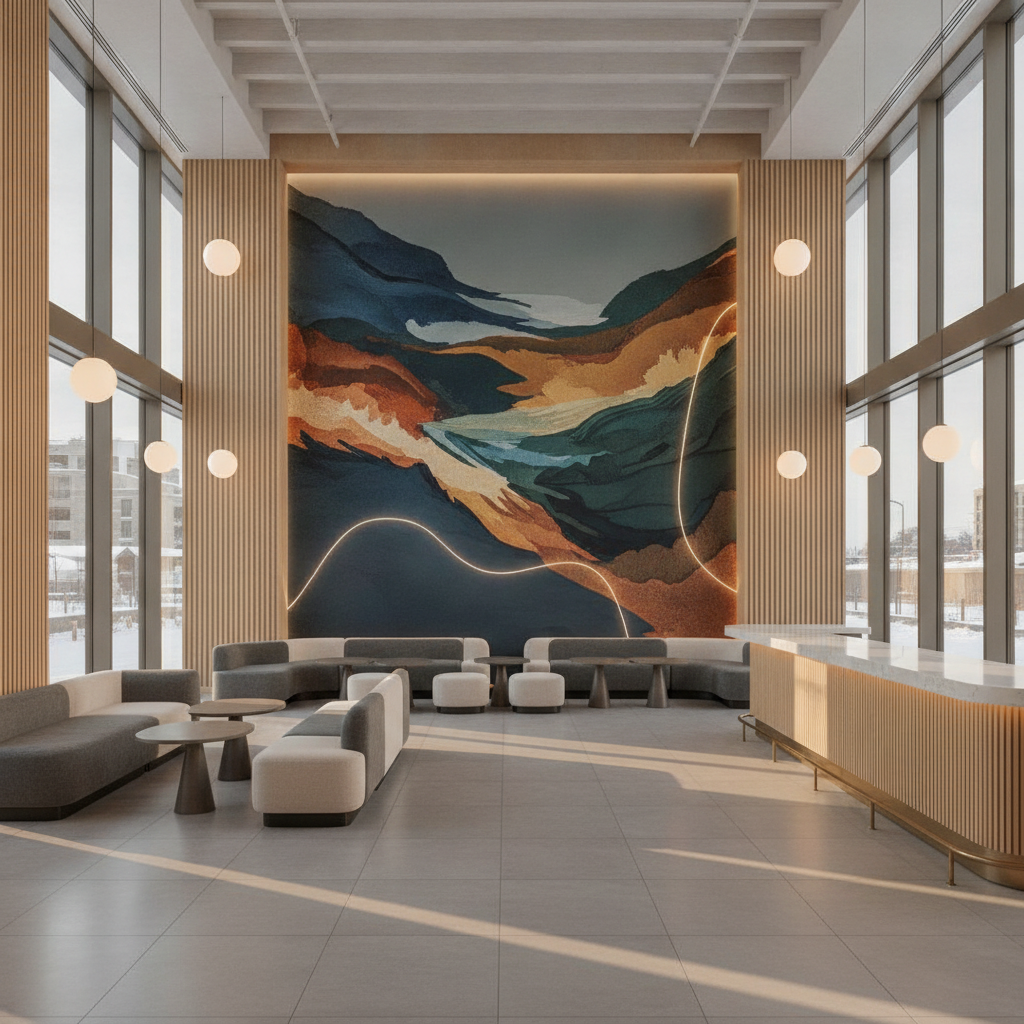
Custom Wall Murals: Save Time With Clear Mockups 2026
Plan custom wall murals with UV wall printing, mockups, and smart prep for durable, on-brand feature walls across Ontario and Canada.
Custom wall murals are site-specific, large-format graphics that turn blank walls into branded or decorative centerpieces. In Ontario and across Canada, Ink Blend prints murals directly onto prepared walls with UV-cured inks for crisp, durable detail. This guide explains what murals are, how they work, and why mockups speed decisions.
By Ink Blend | Last updated: June 22, 2026
Above-Fold Overview
Custom wall murals transform walls into high-impact visuals using site-specific artwork and professional production. With Ink Blend’s direct-to-wall UV printing and approval-ready mockups, teams get precise scale, fast sign-off, and a premium finish that stands up to daily wear in hospitality, retail, offices, and homes.
Here’s what you’ll find in this complete guide for Ontario and Canada-wide projects:
- Plain-English definition of custom wall murals and when to use them
- Step-by-step look at direct-to-wall UV printing and approvals
- Comparison of mural methods: painted, printed coverings, and direct UV
- Artwork specs (PPI/DPI), surface prep, lighting, and scheduling tips
- Real-world examples across restaurants, retail, offices, hotels, condos, and homes
- Actionable checklists, local considerations, and a practical implementation plan
What Are Custom Wall Murals?
Custom wall murals are large-scale graphics tailored to a specific wall, produced to deliver brand stories, ambiance, and wayfinding at scale. Unlike off‑the‑shelf decor, murals fit exact dimensions, sightlines, and lighting, creating a seamless, high-resolution visual centerpiece that elevates the space.
At Ink Blend, custom murals are designed to read clearly from real viewing distances and photo angles. We align content to the true wall size, account for outlets and reveals, and balance contrast for the room’s lighting. The mural becomes a purposeful asset: it tells your story, anchors the room, and photographs consistently.
Key characteristics
- Site-specific scale: Artwork sized to exact wall dimensions; obstacles and safe zones mapped in mockups.
- High-resolution output: Prepare files to roughly 150–300 PPI at final size; vector for logos and type.
- Seamless look: Direct-to-wall UV printing eliminates panel seams and bubbles seen with coverings.
- Durable finish: UV-cured inks resist scuffs and fading; wipeable maintenance in busy interiors.
- Brand alignment: Color-led production keeps brand hues consistent under the room’s lighting.
In our experience, the most-photographed wall in a venue is rarely an accident. It’s planned with sightlines, composition, and lighting in mind—then locked in with a visual mockup before a single drop of ink hits the wall.
Why Custom Wall Murals Matter
Custom wall murals drive brand recall, shape guest flow, and create memorable ambiance. Placed on primary sightlines, they become shareable backdrops and everyday marketing assets. With durable finishes, murals add impact without adding daily workload for your staff.
Murals do more than decorate. They help visitors feel oriented, confident, and curious. In hospitality, the right feature wall inspires photos. In offices, culture walls align teams. In retail and salons, graphics signal quality before a product is touched. In condos and hotels, polished visuals set the tone for the entire stay.
- Brand asset, not just decor: Turn unused square footage into a visible, working identity tool.
- Wayfinding and zoning: Color, typography, and pattern subtly guide guests through space.
- Low-maintenance impact: UV-cured finishes resist daily wear and clean up quickly.
- Photo consistency: Large-scale art creates on-brand backgrounds for social and press.
- Faster alignment: Mockups clarify scale and placement early, minimizing revisions.
For commercial branding, we translate campaign ideas into interiors your audience can walk through. Explore how we approach this on our commercial branding page.
How Custom Wall Murals Work (Direct-to-Wall UV)
Direct-to-wall UV printing lays high-resolution ink straight onto prepared surfaces and cures it instantly with UV light. The outcome is crisp detail, rich color, and a seamless look. A mockup-driven workflow locks scale, placement, and lighting checks before print day to reduce risk.
Ink Blend’s end-to-end workflow is visual and predictable. It moves from discovery to concept, approval, and on-site print—with documented checkpoints that keep everyone aligned.
- Discovery (photos + measurements): Share straight-on and angled wall photos plus width/height. We review substrate, obstacles, and lighting.
- Concept and mockups: We overlay designs onto your actual wall photos, annotate scale, and present options for sign-off.
- Approval package: Final art at size, brand color notes, and surface prep steps are issued for stakeholders.
- On-site print and reveal: After prep, we print directly to the wall. UV curing stabilizes ink in seconds so the space returns to service quickly.
Technical checkpoints include artwork at roughly 150–300 PPI at final size, vector logos and typography, and lighting tests to predict reflections. Smooth, primed walls help ink lay down evenly. A light scuff-sand and two primer coats typically create a consistent base.
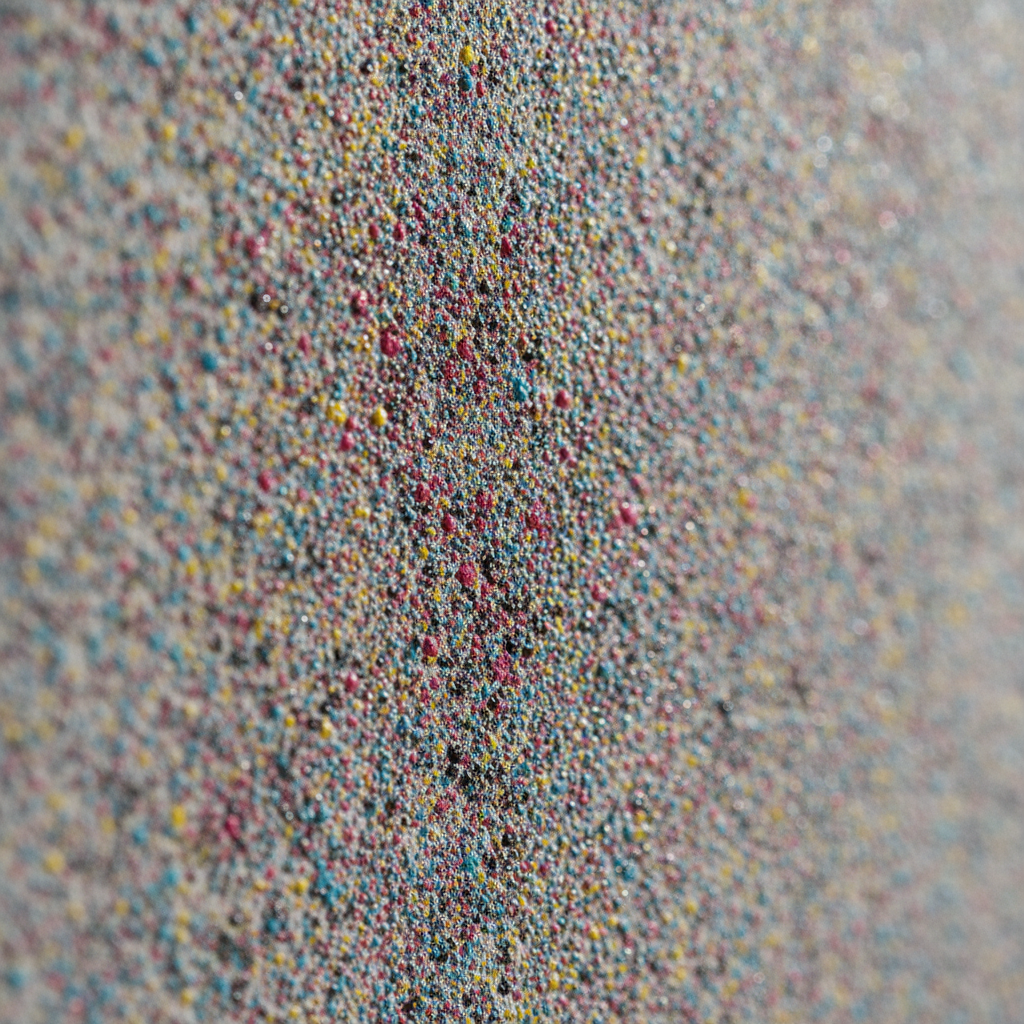
To compare methods and finishes, see our UV wall printing service and how it pairs with broader surface printing solutions for complex environments.
Types, Methods, and Approaches
Three common mural approaches are hand-painted art, printed coverings (vinyl or wallpaper), and direct-to-wall UV printing. Choose based on detail, durability, seams, and logistics. For crisp, durable, and seam-free indoor results, direct UV is the premium low-maintenance option.
Primary approaches
- Hand-painted murals: Expressive and one-of-a-kind; great on textured substrates. Longer on-site time; touch-ups typically need the original artist.
- Printed coverings (vinyl/wallpaper): Strong for patterns and repeats. Expect panel seams and exacting install requirements; edges can be vulnerable in high-traffic zones.
- Direct-to-wall UV printing: Seamless appearance, instant-cure durability, and photo-grade detail. Fast, clean installs when surfaces are properly prepared.
Quick comparison
Factor Hand-Painted Printed Covering Direct-to-Wall UV Detail/Resolution Artist-dependent High (printed) Ultra-high, photo-grade Seams None Panel seams visible None Durability Good with clearcoat Good; edges vulnerable Excellent; UV-cured Install Speed Days Hours (with panels) Hours (on-site print) Maintenance Artist touch-ups Panel replacement Wipeable; spot reprintIf you are comparing coverings, a practical wall prep checklist can help. A clear field guide from Celestial Painting on wall preparation outlines substrate checks and primer considerations that also support consistent direct-to-wall results.
When to choose each
- Choose hand-painted for artistic, textured looks where brushwork is part of the story.
- Choose printed coverings for repeating patterns, removable event branding, or curved surfaces.
- Choose direct UV when you want photo-grade detail, a seamless look, and durable, wipeable finishes.
Best Practices: Artwork, Surfaces, Lighting, and Approvals
Great results start with high-resolution art, smooth primed walls, balanced lighting, and mockups that lock scale and placement. Use photo-based previews for buy-in, prep the surface to a level-4/5 finish, and verify reflections before print day to preserve color and detail.
Artwork specifications
- Resolution: Prepare files to roughly 150–300 PPI at final size; vectorize logos and large type.
- Color management: Provide CMYK or wide-gamut profiles and note brand color priorities; share reference photos of room lighting.
- Safe zones: Keep critical elements 3–6 inches from edges, outlets, and hardware—or as annotated in mockups.
- Hierarchy: Design for viewing distances of 6–15 feet in hospitality and 3–8 feet in corridors.
Surface preparation
- Finish level: Target a level-4/5 drywall finish; skim uneven areas and sand smooth.
- Prime and base: Two coats of high-quality primer followed by a uniform base coat support even ink laydown.
- Cure time: Allow fresh paint to cure 24–48 hours before printing for best adhesion and color stability.
- Dust control: Wipe walls and protect floors to avoid contamination during print passes.
Lighting and reflections
- Glare management: Favor matte or satin visual targets in strong daylight or direct downlights.
- Consistency: Evaluate murals under the lighting used during service hours, not just install time.
- Color perception: Warmer lights shift reds/yellows; cooler lights shift blues—mockups help set expectations.
For clients weighing coverings, see this practical overview of wallpaper vs. paint. The base coats and edge behaviors discussed there also influence direct-to-wall print quality.
Approval-ready mockups
- Photo overlays: We composite designs onto your real wall photos with scale notes to preview sightlines.
- Stakeholder pack: Final art, dimensions, brand color notes, and placement diagrams streamline sign-off.
- On-site checks: We reconfirm measurements and lighting conditions before the first pass of ink.
Local considerations for your area
- Schedule overnight or off-hours prints for restaurants and retail in busy Ontario corridors to minimize downtime.
- Account for winter humidity swings; allow proper cure times and keep HVAC stable through print windows.
- In multi-tenant buildings, coordinate elevator bookings and floor protection; our team handles site coordination.
Soft CTA: Want a fast visual to align stakeholders? Review our documented process and request a photo-based mockup to see your wall before print day.
Tools and Resources
Plan with three toolsets: approval mockups to align content and scale, substrate and primer guidance for adhesion, and run-of-show checklists for day-of logistics. Together, they reduce rework, protect finish quality, and keep operations running while you upgrade the space.
- Visual mockups: Approval-ready composites with scale notes and safe zones reduce guesswork.
- Substrate guidance: Primer selection and finish-level checks ensure uniform ink laydown.
- Run-of-show checklists: Access, protection, and sequencing plans keep prints on time.
- Portfolio validation: Review our custom murals, UV wall printing, and luxury feature walls to benchmark finish levels and styles.
If you are designing cultural or educational content, this reference on wall murals offers context on narrative flow and subject selection for public audiences—useful when planning respectful, high-resolution storytelling.
Case Studies and Examples
Effective murals start with a clear goal—attract, inform, or immerse—and are executed with mockups and surface prep. These condensed scenarios across hospitality, retail, offices, hotels/condos, and homes show how direct-to-wall UV printing delivers crisp, durable, on-brand results.
Restaurants and Cafes
- Goal: Create a photo-friendly feature wall without adding maintenance to service routines.
- Approach: Direct UV on primed drywall; matte target to control glare in daylight and under pendants.
- Result: Seamless art behind seating becomes a natural backdrop for guest photos and menu shots.
- Tip: Keep key elements 12–18 inches above table height to stay visible when guests are seated.
Retail and Salons
- Goal: Signal quality and brand identity within the first 10 feet of entry.
- Approach: High-resolution product textures and brand motifs with reinforced corners and edge safe zones.
- Result: Strong first impressions and consistent backgrounds for social content and product drops.
- Tip: Align lighting color temperature near primary product photography for harmony.
Offices and Corporate
- Goal: Align teams with a culture wall and energize meeting rooms used for client demos.
- Approach: Mission elements and abstract forms balanced for long viewing durations; avoid visual noise behind presenters.
- Result: Branded spaces that read well on video calls and in-person tours, reinforcing values daily.
- Tip: Keep fine text above 24–30 points at viewing distances of 8–12 feet.
Hotels and Condos
- Goal: Deliver a dramatic lobby or corridor moment that resists scuffs from luggage traffic.
- Approach: Direct UV on smooth, sealed walls with evening lighting checks for warm tones.
- Result: Durable, high-contrast visuals with straightforward wipe-down maintenance across guest cycles.
- Tip: Reserve 6–8 inches above baseboards as a clean band for edge definition and maintenance.
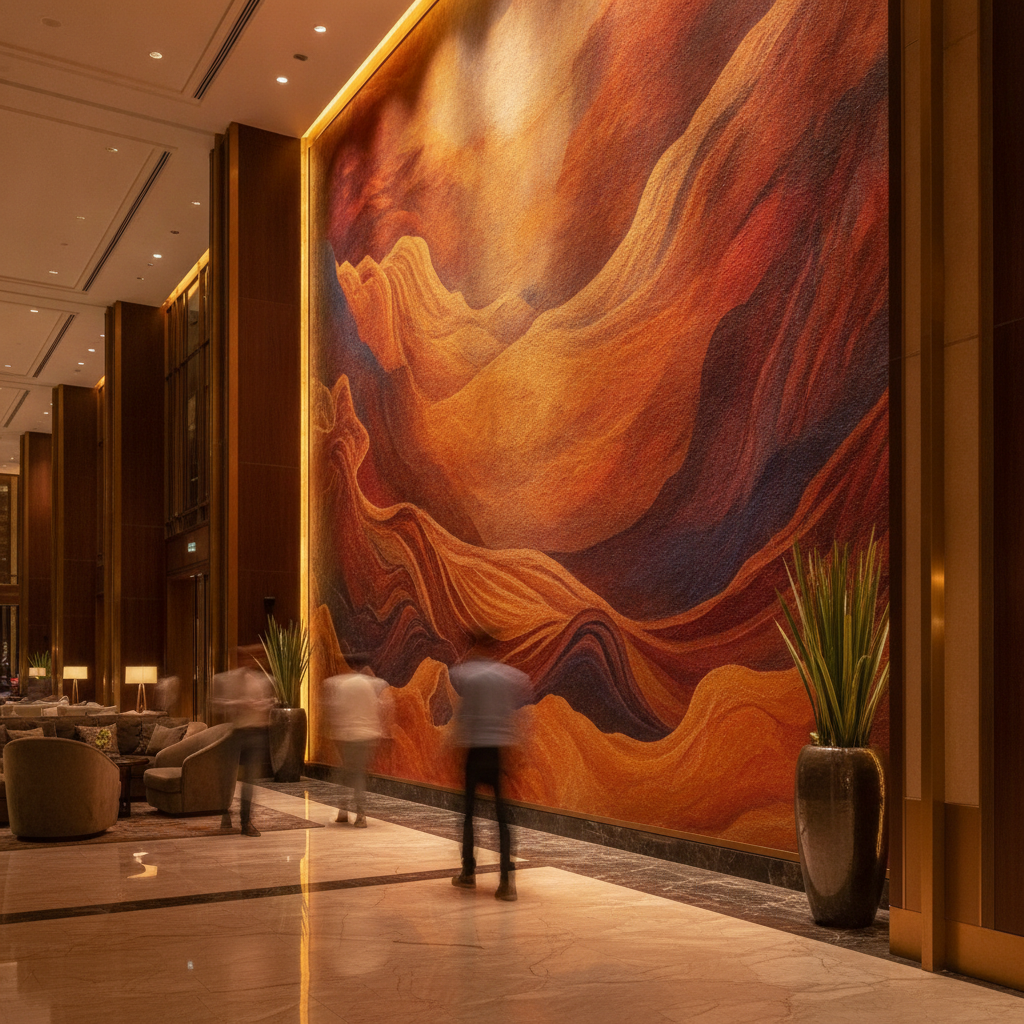
Homes and Luxury Interiors
- Goal: Add a unique statement in living rooms, kids rooms, or primary suites.
- Approach: Family photography, landscape art, or bespoke patterns scaled to room proportions and furniture layout.
- Result: Personalized spaces with gallery-level clarity and easy cleaning for daily life.
- Tip: For bedrooms, use muted contrast ratios for restful viewing in lower evening light.
To see how murals slot into broader brand systems, compare material and method pairings on our surface printing page and explore brand-forward strategies on commercial branding.
Why Ink Blend for Custom Murals
Ink Blend pairs direct-to-wall UV technology with a mockup-first process built for speed and clarity. Photo-based quotes, 4K artwork detail, and organized site coordination deliver premium murals with less disruption—turning walls into reliable brand assets across hospitality, retail, workplaces, and homes in Ontario.
- Direct-to-surface UV: Crisp, durable ink laydown with instant curing and a seamless appearance.
- 4K artwork detail: Color-led production preserves fine lines, typography, and texture.
- Visual approvals: Mockups, scale notes, and easy sign-off reduce rework and compress timelines.
- From photos to print: Quick quoting from wall photos and measurements accelerates decisions.
- Organized on-site: Clean protection, staging, and documented site coordination minimize operational impact.
Implementation Checklist
Use this checklist to move from idea to printed mural with confidence: clarify goals, capture wall data, secure mockups, prep the surface, schedule print windows, and perform a final lighting check so color and detail read correctly in real conditions.
- Define outcomes: Photo backdrop, wayfinding, brand story, or ambiance—pick your top two to guide design.
- Measure precisely: Width/height to the nearest 1/4 inch; note ceiling slopes, reveals, and obstacles.
- Photograph context: Straight-on, left, and right angles; include floor and ceiling for proportion.
- Share lighting notes: Day vs. evening behavior, glare sources, and color temperature if known.
- Request mockups: Approve scale, crop, and safe zones against your actual wall photos.
- Prep the surface: Level-4/5 finish, two primer coats, and dust control before print day.
- Confirm access: Elevators, parking, and protection plans for adjacent surfaces.
- Schedule wisely: Overnight or off-hours for hospitality and retail to avoid downtime.
- Stage lighting: Turn on service-hour lighting to evaluate reflections and color read.
- Verify details: Cross-check final art, placement diagrams, and brand colors with stakeholders.
- Print and review: Inspect first passes, confirm alignment, and document the finished wall.
- Maintain: Wipe with a soft cloth and mild soap as needed; avoid abrasive pads.
Frequently Asked Questions
Below are concise answers to common questions about custom wall murals—from artwork specs and surfaces to maintenance and scheduling. Each response is designed to stand alone for quick reference or voice assistants.
What file resolution do I need for a large mural?
Aim for artwork prepared to roughly 150–300 PPI at final size based on viewing distance. Use vector files for logos and type. We’ll flag any areas that need upscaling or re-illustration during the mockup and approval stage.
Which walls are best for direct-to-wall UV printing?
Smooth, primed drywall delivers the most predictable results. We also print on sealed plaster and select interior panels. A level-4/5 finish, dust-free prep, and quality primer ensure crisp edges and uniform color.
How long does on-site printing take?
Most single-feature walls print within a few hours once the surface is prepared. UV-cured inks set instantly, so the space is functional quickly. We recommend an overnight or off-hours window for busy venues.
How do I keep the mural clean?
Use a soft, damp cloth and mild soap as needed. Avoid abrasive pads or harsh solvents. A smooth, well-primed base coat makes routine cleaning easier and preserves edge fidelity over time.
Can you print brand colors accurately?
Yes. Provide brand color targets and reference imagery from the actual room lighting. Our color-led workflow balances ink sets, profiles, and viewing conditions to keep critical hues consistent on the wall.
Conclusion and Next Steps
The fastest route to a standout mural is a mockup-first, direct-to-wall UV workflow. High-resolution art, level-4/5 surfaces, balanced lighting, and organized site coordination ensure a premium, durable finish that turns walls into reliable brand assets.
Key takeaways
- Define goals, sightlines, and viewing distances before design begins.
- Use photo-based mockups to accelerate approvals and protect outcomes.
- Direct-to-wall UV printing delivers crisp, seam-free, wipeable results.
- Smooth, primed walls and stable lighting preserve color and detail.
Ready to turn a blank wall into an asset? Explore UV wall printing, review our custom murals service, compare finishes on surface printing, and walk through our organized process.
Related Articles and Deep Dives
Explore adjacent topics inside Ink Blend’s service library—from direct UV printing fundamentals to design-forward feature walls—to plan your mural with confidence and clarity.
For deeper planning, browse service pages on murals, UV printing, and surface graphics to compare finish options and see portfolio examples suited to restaurants, retail, workplaces, hotels, condos, and homes.