
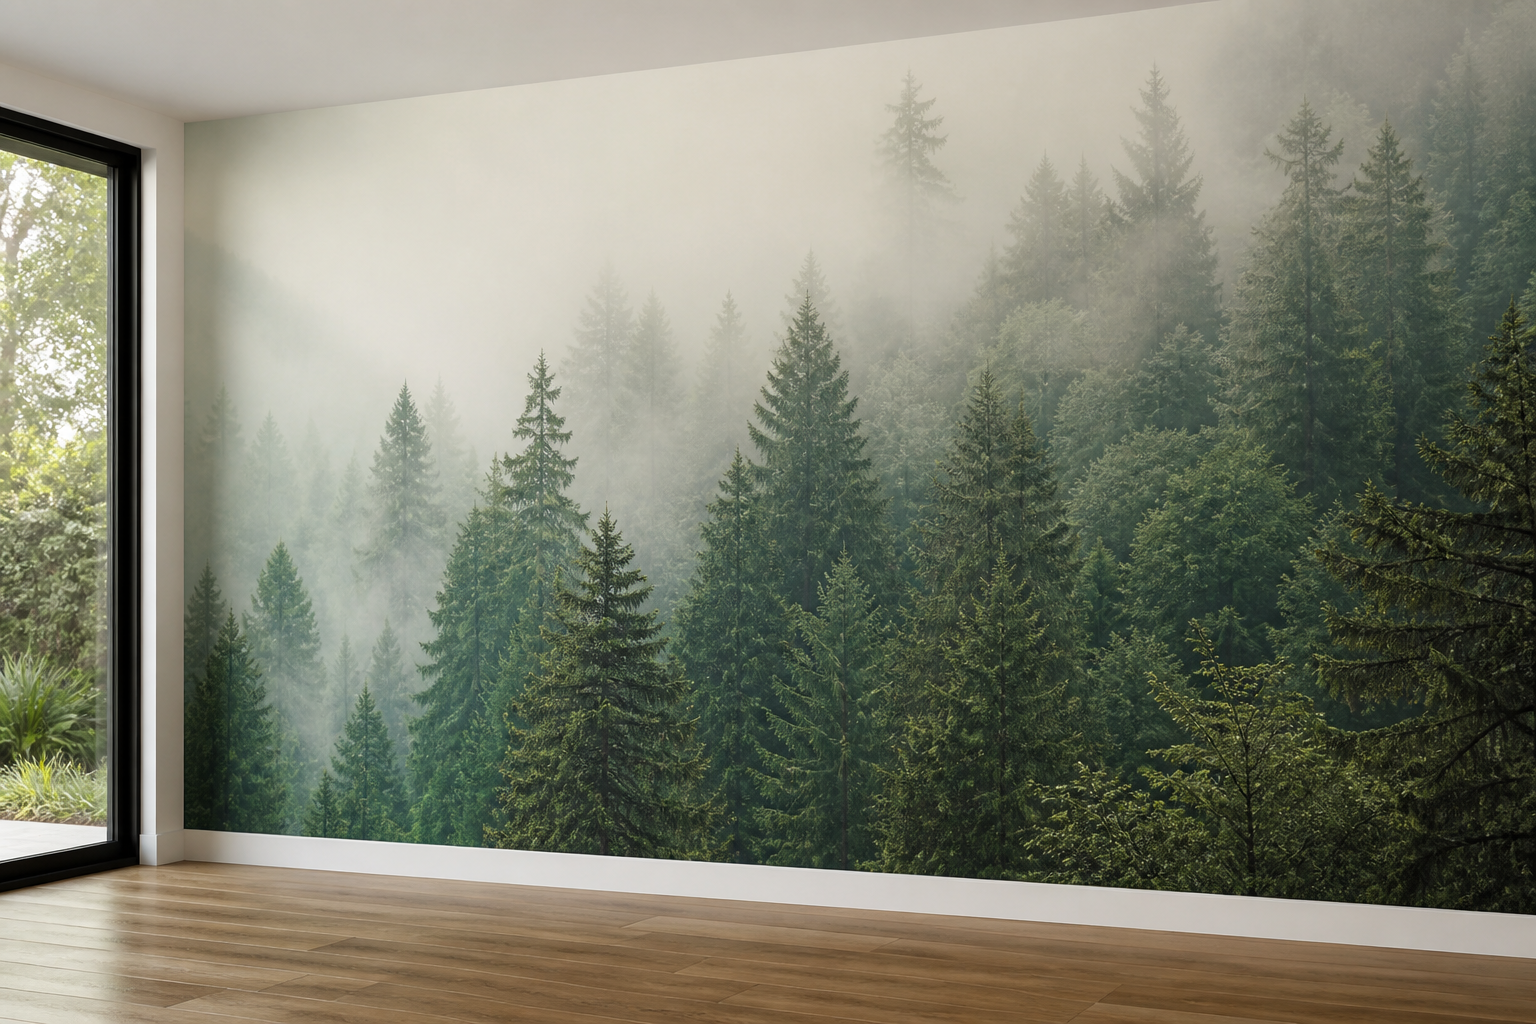
Direct to wall printing guide for interiors: decisions, files, surfaces, and on-site workflow
Explore direct to wall printing guide with practical guidance, key questions, and clear next steps before you contact Ink Blend or make a decision.
Direct-to-wall UV printing places your artwork, brand elements, or murals straight onto a prepared interior surface—without vinyl or wallpaper. If you are planning an on-surface print for a restaurant feature wall, retail statement area, office culture wall, or home interior, this direct to wall printing guide walks you through the decisions that shape clean results: what the process is, which surfaces are suitable, how to prepare artwork and scale, how to plan the on-site day, and what to do after the reveal.
What direct-to-wall printing is and when to choose it
Direct-to-wall printing refers to using a UV-curable ink system to print a design directly onto an interior surface such as painted drywall, plaster, primed wood, certain tiles, and other flat substrates. The process removes extra layers like vinyl or paste-applied wallpaper, allowing fine detail, precise registration, and edge-to-edge composition in the architecture itself.
Consider it when you want:
- Custom murals that fit a wall’s exact proportion without panel seams.
- High-detail artwork, typography, or brand graphics applied on a smooth, prepared surface.
- A wallpaper alternative where you manage colour and layout precisely before print.
- On-site execution that minimizes material waste and preserves architectural lines.
Surface readiness checklist
Great artwork still fails on the wrong surface. Use this checklist to decide if your wall is print-ready or what to fix first.
- Flatness and texture: Direct printing loves smooth, even walls. Light orange peel textures can still print, but heavy textures diffuse detail and can cause banding or inconsistent ink laydown. If in doubt, skim coat and sand.
- Cleanliness: Dust, oils, and residue interfere with adhesion. Vacuum, tack cloth, and wipe down with a compatible cleaner. Avoid silicone-based products that can repel ink.
- Paint status: Fully cured paint is crucial. Fresh paint off-gasses and can compromise results. Follow the manufacturer’s cure window before scheduling print.
- Primer and sheen: Quality primer with a consistent sheen helps ink anchor evenly. Matte to eggshell is usually safest; very glossy or hydrophobic coatings can be challenging.
- Repairs: Fill holes and cracks, sand flush, and spot-prime. Unprimed patchwork can create visible tonal shifts after print.
- Moisture and temperature: Avoid damp areas or fluctuating conditions during print and cure. Stabilize HVAC to typical operating conditions before and during production.
- Edges and obstructions: Remove fixtures if possible. Mask adjacent surfaces. Define clear margins near corners, baseboards, or ceilings to prevent unwanted overspray.
Measuring, planning, and scale
Wall measurements inform proportion, readability, and cost drivers. Start with a simple diagram and a set of photos taken straight-on and from both corners.
- Measure width and height at multiple points: Buildings are rarely perfectly square. Note the largest height and width and any irregularities.
- Map obstacles: Doors, windows, sconces, thermostats, fire pulls, and vents should be shown with exact offsets from edges and the floor.
- Define a visual centre: Align key elements to eye level in the primary viewing zone. Typical eye height is roughly 145–160 cm from the finished floor in public interiors; adjust for seating zones.
- Viewing distance drives type size: If your design includes text, test legibility by printing a small excerpt to scale on paper and viewing it from the expected distance.
- Bleeds and safety: Plan for a few centimetres of design bleed beyond the intended crop if you are printing to an edge. Keep critical details away from the very edge to account for wall variability.
Artwork prep, resolution, and colour
Direct printing rewards clean files and predictable colour. Here’s how to prepare:
- File types: Vector formats (AI, SVG, EPS, PDF with outlined fonts) are ideal for logos, typography, and flat graphics. Use high-resolution raster files (TIFF, PSD, high-quality JPEG) for photography and illustration.
- Resolution: For raster art, target effective resolution near final scale that maintains clarity at typical viewing distances. If the wall is extremely large, prioritize detail in focal areas and consider vectorizing linework.
- Colour management: Provide a colour reference or swatch target. Expect some variation between backlit screens and cured ink on paint; soft-proofing helps set expectations.
- Layers and effects: Flatten transparencies and expand strokes as needed. Avoid overprinting settings that may behave unexpectedly.
- Typography safety: Outline fonts to avoid substitution and check small text against the texture you’ve accepted. Hairline serifs can disappear on rougher walls.
- Test tiles: When possible, request a small on-wall test or a scaled print sample on a representative painted board to confirm colour and detail.
Layout, composition, and legibility
Murals behave differently than posters because the viewer shares the same space. Use composition rules that respect architecture and human sightlines.
- Work with the wall’s proportion: Design to the wall’s aspect ratio; don’t just crop a square artwork into a panoramic space.
- Plan around fixtures: Treat vents or panels as part of the composition or position focal points away from them.
- Balance density: Heavy detail from floor to ceiling can feel overwhelming. Concentrate complexity at or slightly above eye level and soften toward edges.
- Use scale to your advantage: Oversized type and simplified shapes read better at distance; fine textures add interest up close.
On-site logistics and day-of print
Direct-to-wall printing is a coordinated on-location process. A smooth day depends on access, safety, and a clear sequence.
- Access and clearance: Arrange elevator bookings, loading access, and pathway clearance for equipment. Protect floors and nearby furniture.
- Wall masking and protection: Mask adjacent walls, trims, and fixtures. Remove or cover items within the print zone.
- Ventilation and safety: Follow manufacturer recommendations for airflow and site safety during cure. Keep traffic out of the zone until the wall is cleared.
- Final inspection: Review colour, edges, and registration. Touch up minor artifacts if needed and document the finished wall for your records.
Aftercare and maintenance
Printed walls are easy to live with if you set the right expectations and cleaning approach.
- Cure time: UV inks cure during printing, but allow a brief buffer before touching, cleaning, or reinstalling fixtures.
- Cleaning: Use a soft, damp cloth with a mild, non-abrasive cleaner. Avoid harsh solvents, scouring pads, or anything that could burnish the paint around the print.
- Repairs: For dings or scrapes, consult your printer about touch-up methods. In some cases, localized reprinting is possible after spot repair.
- Environmental stability: Keep humidity and temperature within typical interior ranges to maintain the wall and paint integrity.
Common pitfalls and how to avoid them
- Rushing fresh paint: Printing over uncured paint risks adhesion and colour shifts. Respect cure windows.
- Ignoring texture: Highly textured walls will reduce fine detail. If detail matters, prepare a smoother surface.
- Underestimating viewing distance: Tiny type and micro-details disappear across a lobby or dining room. Scale accordingly.
- Skipping mockups: A quick scale mockup prevents surprises with placement, cropping, and negative space.
- Forgetting lighting: Directional light can create glare or shadows. Review the design under final lighting conditions before sign-off.
Workflow checklist from idea to reveal
- Document the wall: Take straight-on and angled photos, measure multiple points, and map obstacles.
- Confirm surface readiness: Repair, sand, prime, and let paint cure fully. Clean thoroughly.
- Finalize artwork: Provide vector files for logos/type and high-res raster for imagery. Outline fonts, flatten transparencies.
- Approve layout: Review scaled mockups with safe margins, focal alignment, and fixture callouts.
- Schedule the site: Book access, clear the zone, plan masking, and confirm power and ventilation.
- Attend the print: Be available for sign-off at the start and after key sections.
- Inspect and document: Walk the wall, note any touch-ups, and photograph the final result.
- Maintain: Follow gentle cleaning practices and keep environmental conditions stable.
Design ideas by space type
- Restaurants and cafes: Branded feature walls, ingredient illustrations, neighbourhood maps, or pattern fields that carry across banquettes.
- Retail and salons: Oversized typography, lifestyle imagery, or repeatable patterns that connect fitting rooms, merchandising zones, and backdrops.
- Offices and workplaces: Mission statements, wayfinding bands, culture walls with photography or illustration, and reception focal graphics.
- Hotels and condos: Lobby murals that echo architectural lines, corridor motifs, and elevator bank feature walls.
- Homes and luxury interiors: Bespoke art panels, children’s room scenes, and subtle textural graphics that act as a wallpaper alternative.
FAQs: direct-to-wall printing
What surfaces can be printed directly?
Prepared, smooth, and fully cured interior surfaces such as painted drywall, plaster, primed wood, and some tiles can be suitable. The more uniform and clean the surface, the better the result. Extremely textured, flaky, or dirty walls are poor candidates without prep.
How should I prepare my artwork files?
Supply vector files for logos and type, and high-resolution raster files for images. Outline fonts, flatten complex effects, and include colour references. If you expect viewers to stand far away, prioritize bold shapes and adequate type sizes.
Is direct printing removable or changeable later?
Because the ink bonds to the prepared surface, removal typically involves sanding and repainting rather than peeling like a decal. If you anticipate frequent changes, plan designs that can be overprinted or confined to panels that are easy to refinish.
What if my wall has minor imperfections?
Small dents and patched areas can telegraph through a print. Fill, sand, and prime repairs to a uniform sheen before printing to maintain consistent colour and detail.
How do lighting conditions affect the final look?
Lighting shapes perception of colour and contrast. Evaluate your design under actual site lighting and time of day, and avoid placing critical small details where glare may occur.
Next steps
A practical next step
To discuss the options that apply to your situation, contact Ink Blend and request the relevant details before moving forward.