
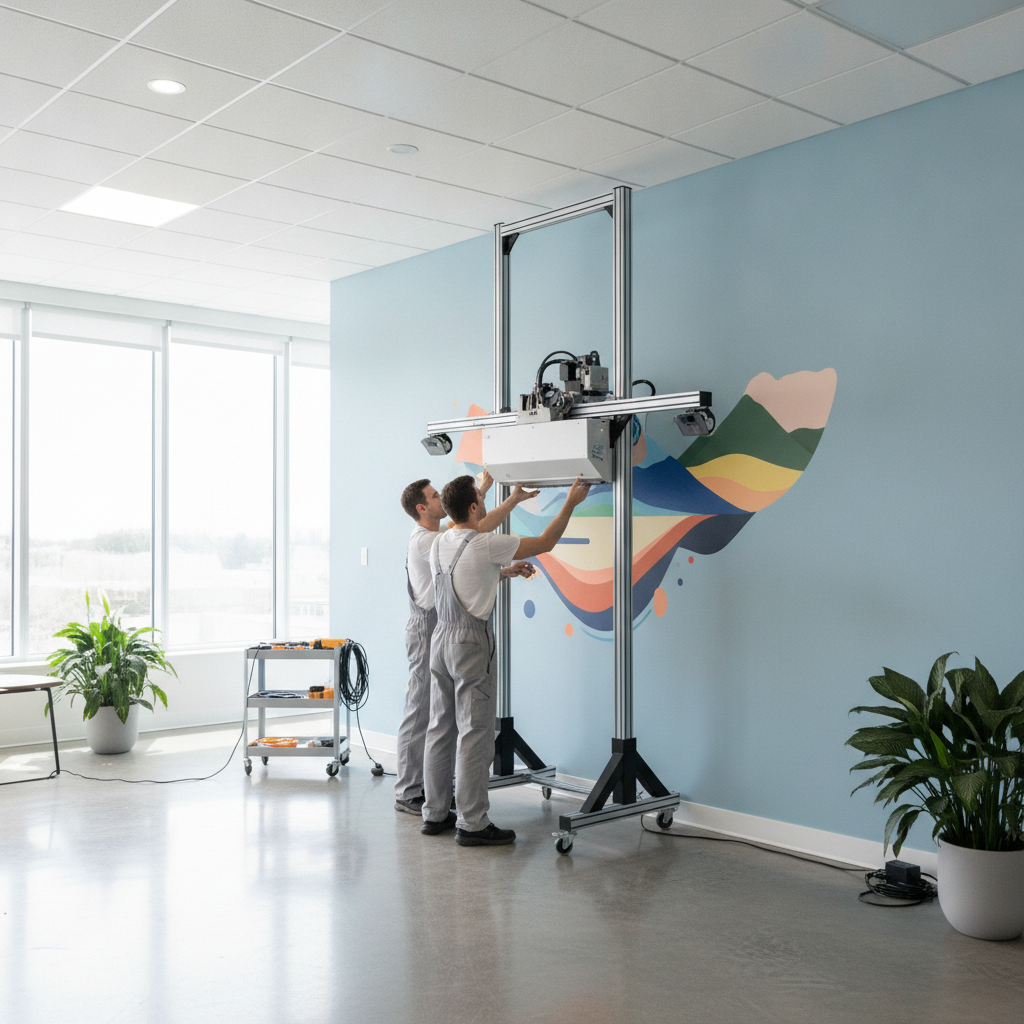
What Is Direct-to-Wall Printing? Brampton Guide Inside
Direct-to-wall printing process guide from a Brampton UV studio: steps, surfaces, and quality factors for seamless murals without vinyl seams.
Direct-to-wall printing process is the on-site method of preparing a stable wall, aligning a mobile UV printer, and curing ink instantly to create high-resolution artwork directly on interior surfaces. It yields a seamless, built-in finish without vinyl seams or wallpaper paste—ideal for durable brand environments in Brampton workplaces, restaurants, and retail spaces.
Quick answer: Direct-to-wall UV printing puts ink straight onto prepared walls and cures it immediately with UV light. Done right, it delivers crisp detail, durable color, and a permanent-feel look—no film, seams, or edges. Our four-step approach (verify, mockup, logistics, print) removes guesswork for Brampton projects. Based inBrampton (Ontario) Service areaOntario projects: Toronto, Mississauga, Brampton, Vaughan, Markham, Oakville, Hamilton, Kitchener Quote methodFrom photos + wall measurements Core servicesUV Wall Printing, Commercial Branding, Custom Wall Murals, Large-Format Surface Printing- Overview
- What it is
- Step-by-step process
- Best surfaces & spaces
- Quality & longevity
- UV vs vinyl & panels
- Provider questions
- FAQ
Brampton scheduling tip for on-site prints
Morning load-ins avoid elevator queues and keep dust low. We coordinate with building teams the day before so masking and priming are finished. Winter projects include substrate warm-up and an extra adhesion test in case paint films are still curing.
Quick Summary
Direct-to-wall UV printing places ink onto prepared walls and cures it instantly. Ink Blend’s four-step workflow—verify surface, approve scaled mockups, lock logistics, and print with calibrated cure—keeps decisions clear and install windows short, producing brand-accurate murals without wallpaper seams or vinyl edges.
Ink Blend is a Brampton-based UV print studio focused on UV wall printing, commercial branding, custom wall murals, and large-format surface printing. Our mockups and 1:1 scaling give stakeholders certainty before anyone rolls a machine into your space.
Local considerations for Brampton
- Plan printing around building quiet hours so reception areas stay usable; our process planning aligns with facility calendars.
- Cold-season walls may off‑gas longer; we run extra adhesion tests before committing to full-size passes.
- Retail turns move fast after holidays; locking artwork early keeps your feature wall camera‑ready for product launches.
What Direct-to-Wall UV Printing Actually Is (and Isn't)
Direct-to-wall UV printing lays ink directly onto a prepared interior wall and cures it instantly with UV LEDs. There’s no film, paste, or seams. The finished mural keeps the wall’s texture and reads as part of the architecture—not a poster stuck on top.
Uncomfortable truth from the field: the wall decides. If a surface is dusty, greasy, chalky, or still off‑gassing, ink won’t anchor well. Our cross‑hatch tape test reveals failure fast—flakes on tape, powdering on your finger, or shiny patches where paint is under‑cured. We pause, seal or reprime, and retest instead of forcing a bad print day.
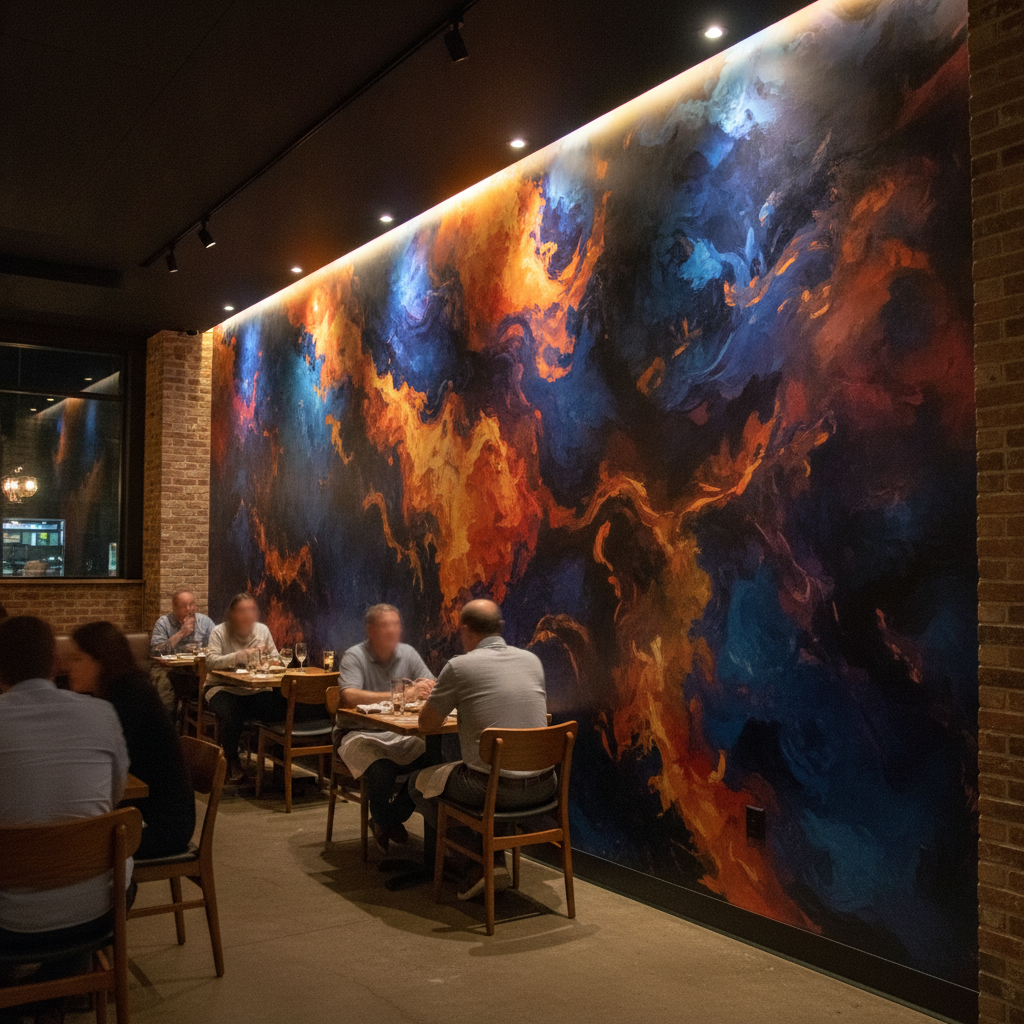
Client-eye view: on Monday morning, your team walks in and the reception wall looks built in—no edges, no sheen changes, just color that follows the wall. Guests in a dining room slow down mid‑step because the feature art feels part of the room, not an overlay.
How the Direct-to-Wall Printing Process Works — Step by Step at Ink Blend
Our process is strict: verify the surface, approve scaled mockups, lock logistics, then print and cure on site. Each step removes risk and keeps your install window short so operations stay on schedule.
- Surface verification: You send photos and measurements; we flag prep needs and run an adhesion test. Fresh paint and dusty drywall are the most common failures.
- Scaled mockups: We place art to furniture and sightlines so approvers sign off on proportion—not guesses.
- Logistics lock‑in: Access windows, masking, ventilation, and protection planned with your facility team.
- Print & cure: Vertical rail alignment, calibrated passes, and a final tape‑pull check before handover.
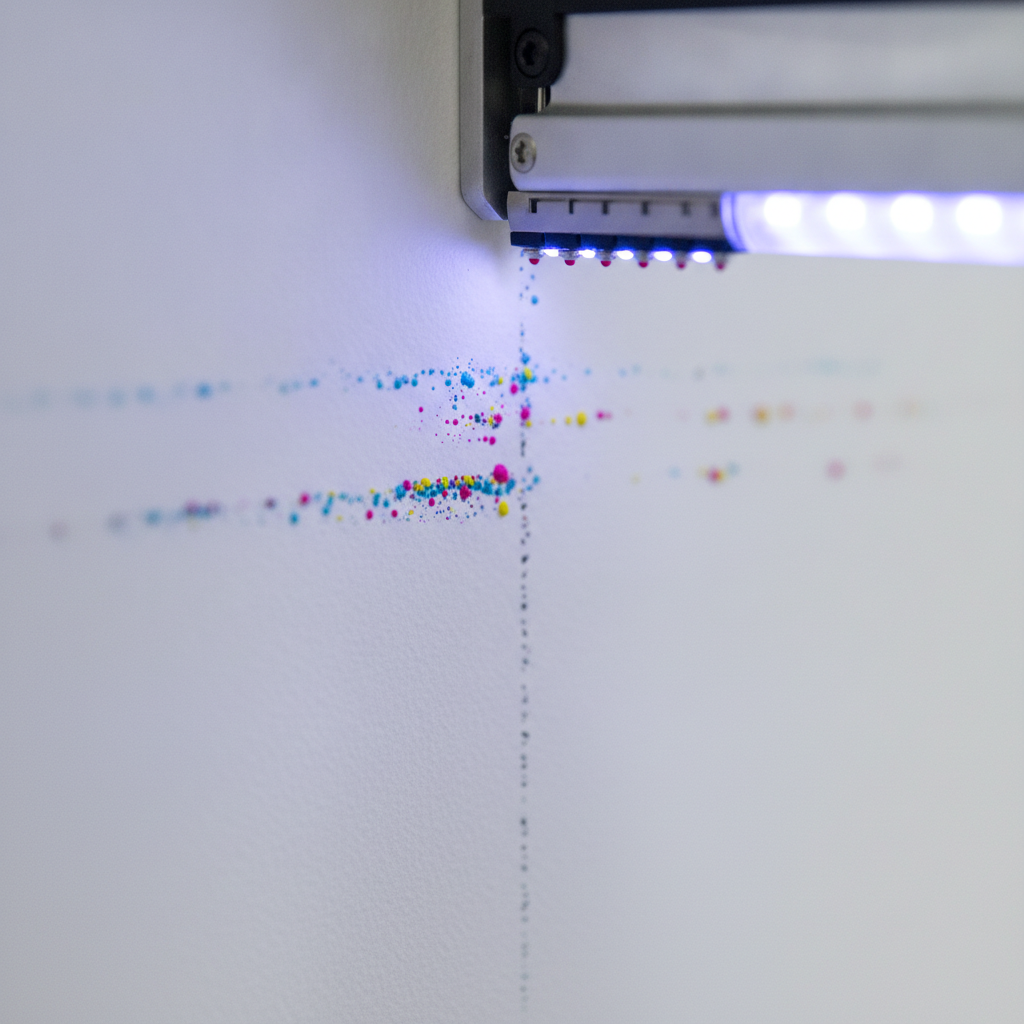
Artwork specs we enforce for crisp results: final size at 150–200 PPI for typical viewing, vector logos for razor edges, embedded ICC profiles per your brand guide, outlined type, and layered PDFs or TIFFs for rasters. This avoids fuzzy gradients and brittle hairlines on large walls.
Want a visual plan? Share wall photos and measurements. We’ll return a scaled mockup and a quote‑ready path through our four‑step workflow.
Which Surfaces and Spaces Work Best
Sealed drywall (Level 4–5), skimmed plaster, primed MDF, and sealed concrete print cleanly. High‑traffic areas—receptions, dining rooms, retail focal walls—benefit most because the finish is seamless, durable, and easy to maintain.
- Green light: sound, sealed walls with minimal texture; interior brick with consolidated joints.
- Test first: low‑energy paints, limewash, heavy texture, or fresh coatings still curing; we’ll adhesion‑test.
- Wrong fit: active moisture zones, rough masonry you want to keep rough, or surfaces slated for frequent repainting—choose vinyl or panels.
Good prep makes great prints. A practical wall prep checklist and this guide on preparing your walls outline filling, sanding, and priming—steps we verify during discovery so your surface is stable and clean before the printer rolls in.
What Affects Print Quality and Longevity
Clean, stable substrates + correct artwork + alignment + cure = durable murals. Most issues trace back to surface contamination or rushed paint cures, not the printer itself—so our verification step protects your timeline.
- Prep quality: fill, sand, and prime; chalky or glossy spots cause edge wear and scuffing.
- Cure control: We set lamp energy to anchor ink without over‑baking paint films.
- Color management: Embed profiles so brand tones hold across substrates and lighting.
- Environment: Ventilation and dust control keep people comfortable and surfaces clean during print.
We document before/after views and keep color references for future refreshes. That supports long‑term brand consistency across commercial branding programs and multi‑site rollouts in Ontario.
How Ink Blend's Process Differs From Vinyl and Panel Alternatives
Direct‑to‑wall UV prints have no seams or edges to fail and keep wall texture intact. Vinyl and panels are better for temporary campaigns, frequent change‑outs, or when the wall must remain untouched.
Use caseDirect-to-wall UVVinyl wrapPrinted panels Permanent brand wallExcellentGood (edge care)Good (panel joints) Seasonal/temporaryNot idealExcellentGood Acoustic needsNeutralNeutralPanels can help Heavily textured wallTest/usually noNeeds high‑tackFurred panelsWe’ll recommend vinyl or panel systems when a surface fails testing or your brief requires rotation. The goal is the right spec, not forcing one method. If you’re weighing options, our interior design graphics team will map pros/cons and timelines so you can choose confidently.
What to Ask Any Direct-to-Wall Provider Before You Book
Press for specifics on adhesion testing, file specs, cure settings, and site protection. Real pros show their method, not just their machine—and that transparency saves you time.
- What adhesion test will you run, and what does failure look like?
- What file specs do you require (PPI at scale, color profile, formats)?
- How do you protect adjacent finishes and control dust during business hours?
- What’s your plan for ventilation and odor control during printing?
- Can we see before/after photos from jobs like ours in Brampton?
For broader prep context in busy interiors, this overview of commercial interior painting shows how small prep misses snowball later—exactly why we verify surfaces before a single pass.
FAQ
What happens if our wall "looks fine" but fails testing?
We’ll show the tape‑pull: flake on the tape, dusting on your fingertip, or glossy patches where paint hasn’t cured. Then we pause, seal or reprime, and retest. Printing over a weak substrate wastes time and scuffs quickly—we don’t proceed until it anchors.
How should we prep artwork files?
Provide final size at 150–200 PPI for typical viewing. Supply vector logos, outline fonts, embed ICC color profiles, and export layered PDFs or TIFFs for rasters. Avoid upscaling screenshots; they look fuzzy when enlarged.
Where is direct-to-wall not the right choice?
Active moisture areas, rough masonry you plan to keep rough, and spaces needing frequent graphic swaps. In those cases we’ll spec vinyl or panels for easier change‑outs and predictable maintenance.
Key takeaways
- The direct-to-wall printing process works best on sealed, stable walls with verified adhesion.
- Scaled mockups remove guesswork and keep stakeholder approvals fast.
- Good prep and calibrated cure outlast high traffic without edge lift or seams.
- Use vinyl or panels when you need frequent changes or the wall can’t be prepped.