
Surface prep for wall printing: 7 red flags and what to fix
Identify seven surface red flags that can block a crisp UV wall print, follow a practical prep checklist, and learn what photos and measurements to send.
Why surface preparation matters for a crisp, durable UV print
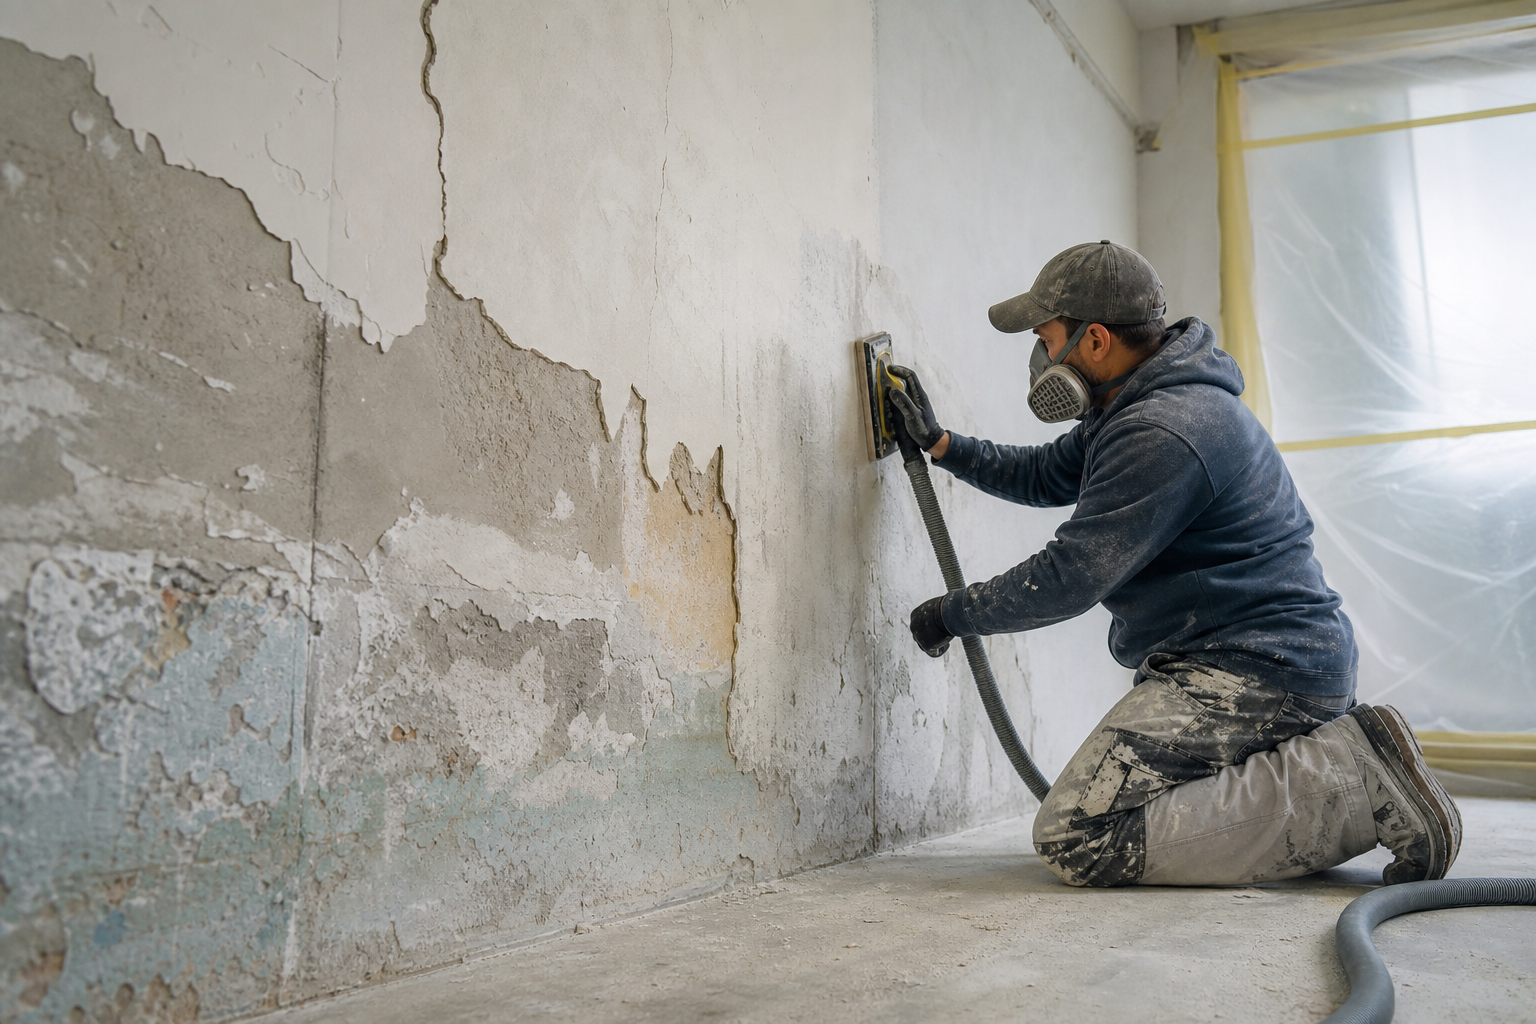
Direct-to-wall UV printing applies high-resolution inks directly to the substrate you present. Any surface contamination, texture change, or structural defect can affect adhesion, ink laydown and the final appearance. A surface that would be acceptable under a normal paint job can still reveal flaws once high‑detail ink is applied; thorough preparation reduces the risk of visible defects and rework. As a general rule, a clean surface improves outcomes—see the guidance from Consumer Reports on why cleanliness matters when preparing walls for finishing.
7 red flags that can ruin a wall print (what to look for)
Below are the most common surface problems that lead to printing issues, with brief triage and when to call a professional.
-
Nail pops and loose fasteners.
What to spot: raised bumps or visible nails beneath the paint. Why it matters: raised points disrupt flatness and can produce shadows or breaks in printed detail. Triage: countersink and fill, then sand smooth. Call a pro if pops recur or are widespread—this can signal movement or framing issues.
-
Cracks at corners and seams.
What to spot: hairline or wider cracks where drywall meets trim or at inside corners. Why it matters: cracks may telegraph through printed areas and can reopen after finishing. Triage: fill and tape small cracks, sand and prime. For long, repeating, or structural cracks, arrange a trades assessment.
-
Bubbled or loose joint tape.
What to spot: soft or spongy sections where tape or compound has separated. Why it matters: loose tape can shift under the printer’s pass and create texture or adhesion problems. Triage: remove and re-tape small areas; for widespread delamination, use a drywall contractor. Family Handyman lists these flaws as common drywall problems to fix before finishing.
-
Holes, gouges and uneven patches.
What to spot: large anchor holes, poorly feathered repairs or uneven patch density. Why it matters: patched areas can accept ink differently and appear as spots. Triage: fill, feather and sand small patches; for many or large repairs, a skim coat by a professional gives the most even result.
-
Grease, soot, or heavy grime.
What to spot: darkened zones, films or oily residues. Why it matters: contaminants block adhesion and cause blotchy printing. Triage: wash walls with warm, soapy water (work bottom-up) and rinse—this is the standard cleaning approach before finishing recommended by The Spruce. If residues won’t come off, inform the printer so they can recommend a primer or specialist cleaning.
-
Glossy or hard coatings.
What to spot: shiny surfaces or unknown commercial sealers and coatings. Why it matters: glossy films reduce mechanical grip and can lead to adhesion failure. Triage: scuff-sand gloss; when coatings are unknown (epoxy, urethane), test adhesion and consult a preparer to assess compatibility.
-
Structural moisture, mould, or efflorescence.
What to spot: damp patches, staining, salt on masonry, or visible mould. Why it matters: moisture prevents proper curing and will compromise long-term results. Triage: do not print on damp or mouldy surfaces—these conditions require investigation and remediation by qualified trades with appropriate safety measures. For exterior murals, follow specialist guidance about materials, timing and documentation, as noted in Canada.ca’s conservation guidance for outdoor murals.
Photos and measurements that get you an accurate, fast quote
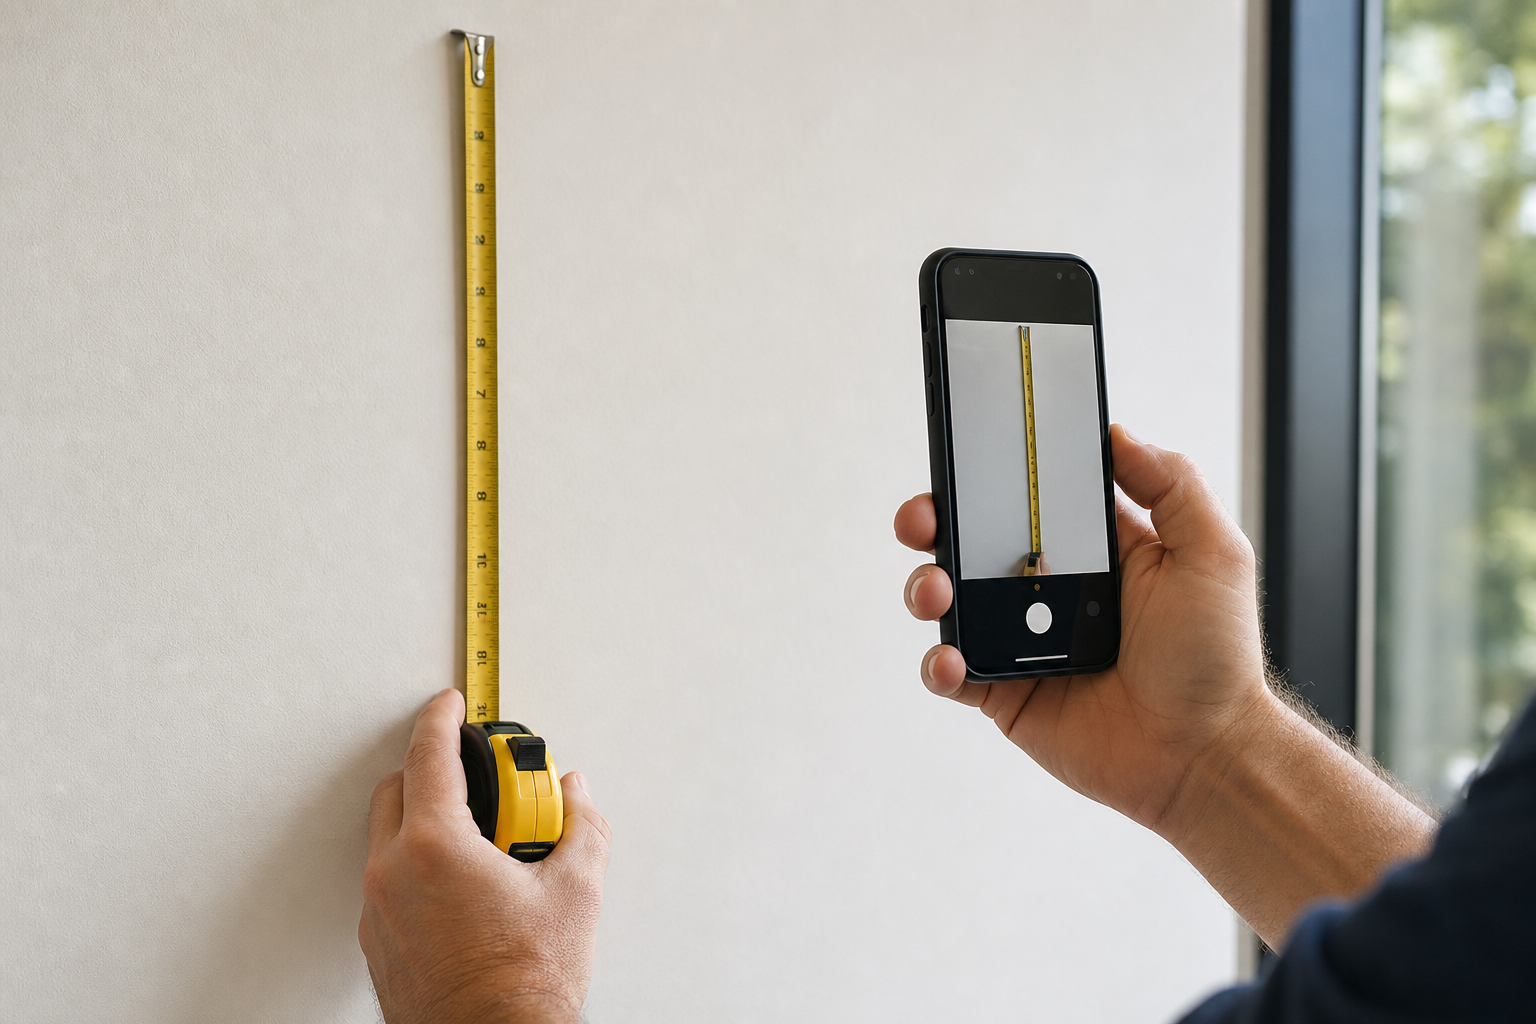
To speed quoting and accurate mockups, provide clear photos and measured dimensions. Use this short checklist to prepare materials the studio can work from:
- Straight-on full-wall photo: stand far enough back (or as far as the space allows) with the camera level so the entire target wall is visible. Note ceiling and floor heights in your message.
- Corner context shots: photos from each adjacent corner to show trim, doors, windows and neighbouring walls.
- Close-up detail photos: 3–6 images at arm’s length of any defects (nail pops, cracks, patches, glossy spots, stains).
- One scale reference image: hold a tape measure, ruler, or printed A4 sheet beside a feature so the studio can verify proportions.
- Exact dimensions and obstacles: list wall width and height in centimetres, and mark positions of outlets, switches or fixtures measured from a fixed corner.
- Site access shots: show hallways, stairwells or loading routes and indicate available power to help plan print‑day logistics.
Clear, consistent photos and a scale reference let a studio identify prep issues early and produce more accurate mockups without an initial site visit.
Who should fix problems, and when should prep be completed?
Responsibility depends on your contract and scope, but the following common-sense split helps planning:
- Client or in‑house maintenance can typically handle: cleaning with warm, soapy water, small nail pops, minor filling and light sanding, and spot priming. These are routine maintenance tasks many property teams can complete.
- Bring in a tradesperson for: extensive joint repair, tape delamination, structural cracks, moisture remediation, mould removal or testing/stripping unknown commercial coatings. These affect substrate integrity and usually require specialist skills.
- Scheduling note: allow sufficient time for patching compounds and primers to dry—typically several days—and confirm the studio’s pre‑print inspection window when you receive your quote and approvals so there’s time for a final check before print day.
Surface types and special preparation notes (paint, plaster, concrete and exterior flags)
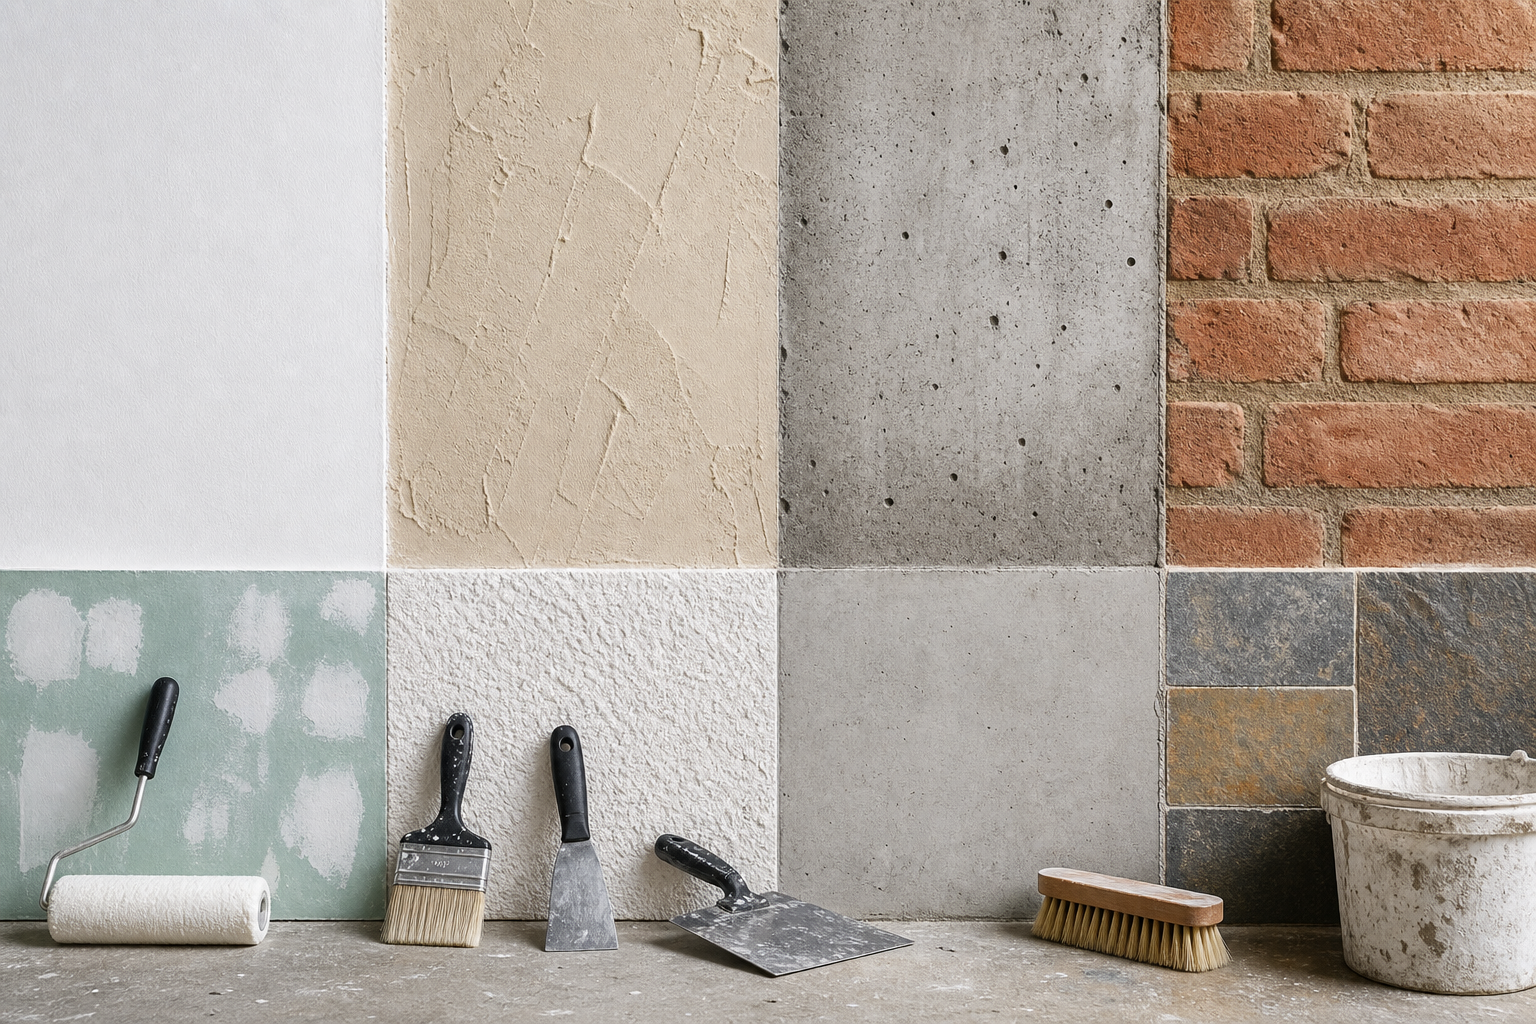
Different substrates need different attention. Use these flags when assessing a wall:
- Painted drywall: the most common and usually straightforward: clean, address flaws, sand glossy areas and prime patched spots.
- Plaster: older or cracked plaster often benefits from stabilization or a skim coat; test for loose areas and repair before printing.
- Concrete and masonry: remove salts or efflorescence, repair spalls and consider a masonry-specific primer—these substrates absorb differently and may need a more robust adhesion strategy.
- High-gloss or specialist coatings: scuff-sand and adhesion-test; unknown commercial coatings should be evaluated by a professional preparer.
- Exterior murals: interior prep rules don’t automatically apply outdoors. Canada.ca notes that outdoor murals require durable materials, careful timing with favourable climate, and formal documentation and safety planning—seek specialist guidance for exterior work.
Frequently asked questions
Do I need to clean and wash my walls before a UV wall print?
Yes. Remove dust, grease and grime for better adhesion and a smoother finish. Start with warm, soapy water and a rinse; flag stubborn residues to your print provider so they can recommend primers or specialist cleaning.
Which minor drywall repairs can wait and which must be done before printing?
Fix small nail pops, hairline cracks and tiny holes before printing—these are visible under high‑detail ink. Widespread tape delamination, structural cracks or recurring nail pops generally need a tradesperson before printing.
What exact photos and scale references should I send for a quick quote?
Send a straight‑on full-wall photo, two corner context shots, close-ups of any defects, one image with a tape measure or A4 sheet for scale, and exact wall width and height measurements. Include access-route photos and note obstacles.
How far in advance should surface prep be finished before print day?
Allow several days for patching compounds and primers to dry and for a final inspection; confirm the studio’s pre‑print inspection window when you request your quote. Last‑minute repairs can delay printing if they haven’t cured or been checked.
Ready to request a quote or schedule a site check?
For studios that work direct-to-surface, the usual next steps are a photo- and measurement-driven quote, mockups for approval, site coordination to confirm access and power, and on-site direct-to-surface printing after surface preparation is complete. See the studio’s surface printing page for submission guidance.
Questions About surface prep for wall printing?
To explore the questions covered in this article, contact Ink Blend and confirm the details that apply to your situation.