
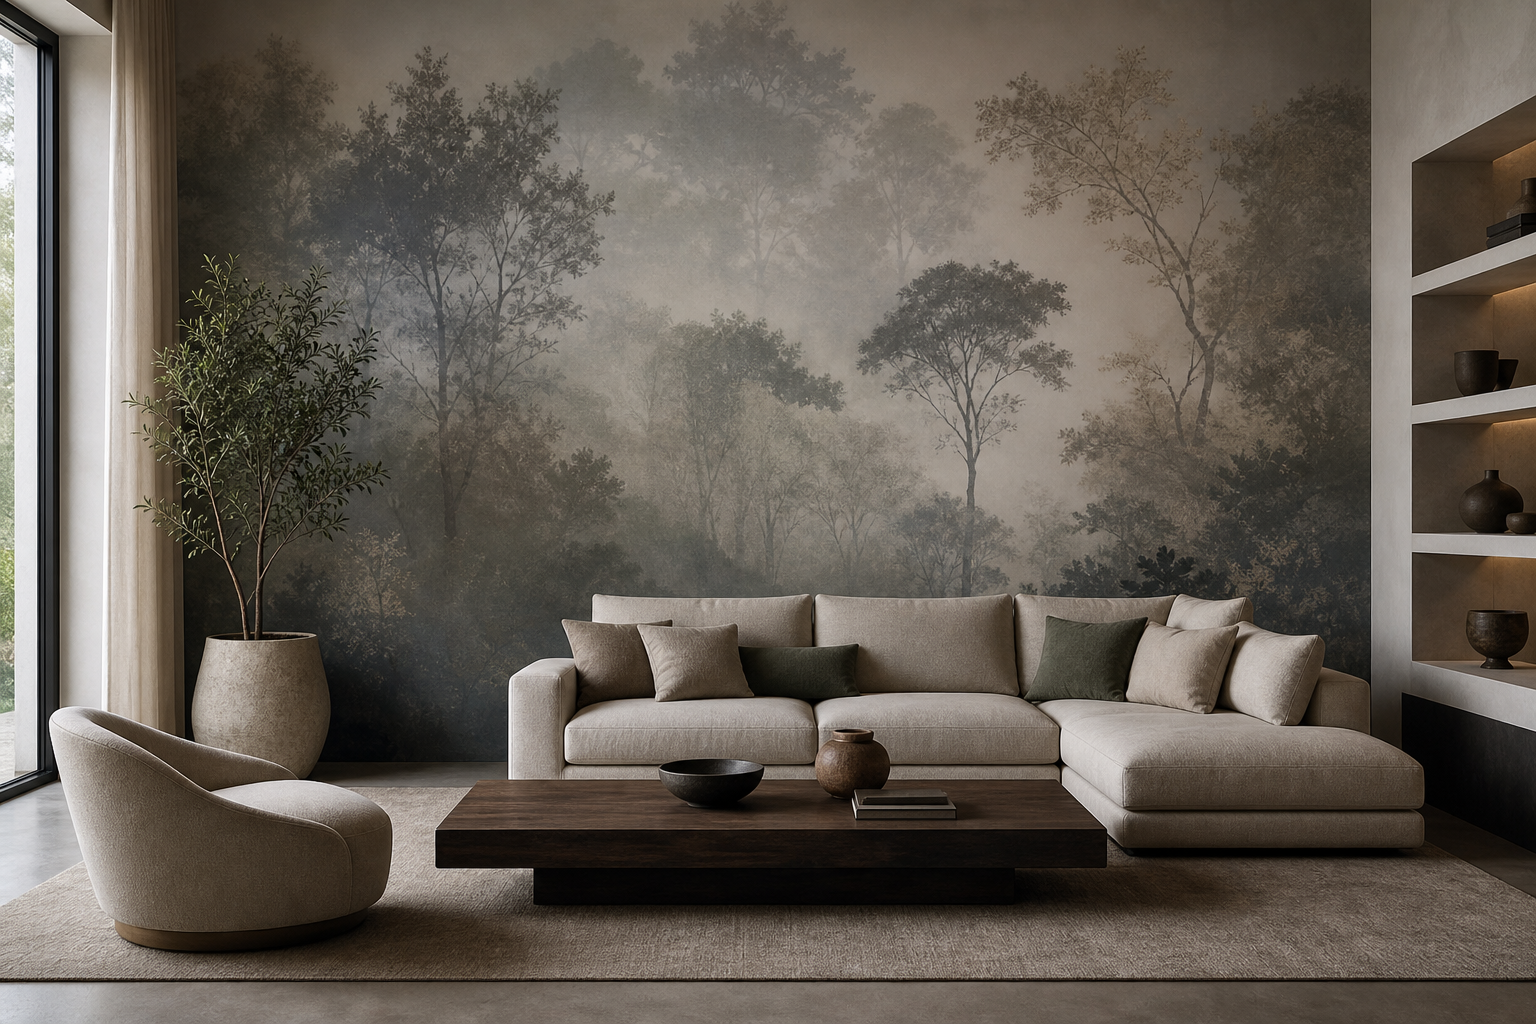
A Practical Guide to Luxury Residential Murals
Explore luxury residential murals with practical guidance, key questions, and clear next steps before you contact Ink Blend or make a decision.
Luxury residential murals turn everyday rooms into immersive, highly personal environments. Whether you prefer a museum‑grade reproduction, a subtle textural field, or a bold contemporary statement, this guide walks you through the decisions that create a refined result—without guesswork. Use the frameworks below to clarify intent, select materials and production approaches, plan the wall, and protect your investment over time.
What defines luxury in residential murals
“Luxury” in a home mural isn’t only about price. It’s the cumulative effect of intentional choices that stand the test of time. Hallmarks include:
- Concept clarity: The artwork has a purpose—calm, drama, heritage, or narrative—and supports the way the room is used.
- Material integrity: Surfaces, inks/paints, and finishes appropriate to the space and lighting conditions.
- Scale precision: Proportions tuned to sightlines, furniture placement, and circulation paths.
- Colour discipline: A cohesive palette that respects natural and artificial light.
- Flawless edges and alignment: Clean margins, tidy transitions around millwork, and well‑managed corners.
Choosing subject and style
Start with the role your mural will play in daily life. Use this simple decision ladder:
- Function first: Is the mural a conversation piece, a meditative backdrop, or a visual boundary between zones? Define the job to be done.
- Emotional tone: Choose an adjective triad (for example: grounded, luminous, quiet) to guide style and colour.
- Subject family: Abstract texture, landscape, architectural motif, botanical, cartographic, typographic, or figurative.
- Detail density: From soft, low‑contrast washes to intricate linework you’ll enjoy at arm’s length.
- Longevity test: Ask, “Will I love this in five years?” If uncertain, adjust saturation, subject complexity, or placement.
For children’s rooms, consider growth‑friendly designs (e.g., nature forms, geometry) that mature gracefully. In primary living areas, prioritize subjects that reward repeated viewing without dominating conversation.
Materials and production approaches
Today’s luxury murals can be created in several ways. Each has strengths—choose according to artwork type, surface, and desired maintenance profile.
- Hand‑painted murals: One‑of‑a‑kind, tactile brushwork, seamless on textured walls. Best when you want visible artistry and subtle surface variation.
- Printed murals (direct‑to‑surface or to media): Excellent for photographic detail, repeatable patterns, or precise colour control. Useful when you need exact reproduction and clean edges around fixtures.
- Panel‑based installations: Graphics applied to rigid panels (e.g., for feature niches or movable walls) when substrates are challenging or future relocation is desired.
When comparing options, weigh resolution needs, seam visibility, wall texture, expected wear, and how often the space is cleaned. A luxury outcome can be achieved with any approach if the execution is meticulous.
Planning your space
Good planning eliminates most compromises. Work through these checkpoints before commissioning artwork:
- Measure accurately: Overall width and height; note soffits, returns, baseboard height, outlets, vents, thermostats, and sconce positions.
- Map sightlines: Stand at the entry, primary seating, and adjacent rooms. Identify the “hero” zone where key imagery should sit.
- Confirm furniture layout: Lock major pieces (sofa, bed, dining table, console) and center compositions accordingly.
- Light audit: Document daylight direction and temperature of fixtures. Cool light can mute warm palettes; warm light can deepen reds and golds.
- Edge conditions: Decide how the mural terminates at corners and ceilings—full‑bleed, framed reveal, or soft fade.
Artwork sourcing and licensing
Luxury often involves unique or correctly licensed art. Consider these routes:
- Commissioned originals: Collaborate with an artist for site‑specific work aligned to your brief.
- Fine‑art reproductions: Obtain high‑resolution files and permissions for classic works or contemporary photography.
- Design libraries: Curated pattern and illustration collections can be tailored in colour and scale.
Always clarify reproduction rights, edition limits (if any), and permissible sizes. Retain proof of permissions with your project documents.
Colour, scale, and resolution
Three variables determine visual crispness and comfort:
- Viewing distance: Detailed linework needs higher resolution when viewed up close (hallways, bedside walls) than across a living room.
- Scale strategy: Anchor focal elements near eye level and allow negative space around architectural features.
- Palette calibration: Sample swatches on the actual wall and observe across morning, afternoon, and evening lighting.
For digital files, request a scale proof or mockup with dimensions annotated. If the artwork includes typography or geometric repeats, confirm that line weights and repeat intervals survive enlargement without distortion.
Surface preparation and installation basics
Even extraordinary art can look ordinary on a poorly prepared wall. A clean, stable substrate is non‑negotiable:
- Repair and smooth: Fill fastener holes and hairline cracks; sand to a consistent profile. Texture can be retained intentionally but should be uniform.
- Prime appropriately: Use a compatible primer for the chosen paint or print method. Confirm cure times before installation.
- Masking and protection: Safeguard floors, trim, and adjacent surfaces. Pre‑remove switch plates and mark stud locations if hardware will be reinstalled.
- Environment control: Maintain stable temperature and humidity during and after installation to prevent adhesion issues or paint flashing.
If your mural wraps an inside or outside corner, plan how artwork will register across planes. For printed work, precise measurements and on‑site alignment checks reduce drift and mismatched seams.
Care and longevity
Protect your mural with simple, consistent habits:
- Routine dusting: Use a soft, dry microfiber cloth. Avoid abrasive pads.
- Spot cleaning: Test a small, inconspicuous area first; use mild solutions and light pressure.
- Sunlight management: Consider sheer window treatments or UV‑moderating films if the wall receives prolonged direct light.
- Impact avoidance: Add discreet bumpers behind dining chairs or moveable furniture near mural edges.
Keep a record of paint colours, ink/finish specifications, and any protective coatings to streamline future touch‑ups or expansions.
Budgeting and timeline questions
Every home and artwork combination is unique, but thoughtful questions will lead to a smoother process and clearer quotes:
- Scope clarity: Is the mural one wall or a multi‑surface composition? Are ceilings, niches, or doors included?
- Artwork readiness: Do you have final artwork, or will you commission/curate it as part of the project?
- Surface complexity: How much preparation does the wall need before application?
- Site constraints: Are there elevators, stair turns, or access windows that influence scheduling?
- Decision checkpoints: What approvals (mockups, colour proofs) are required and by whom?
Allocate time for discovery, artwork refinement, approvals, surface preparation, and installation. Building these steps into your plan helps avoid last‑minute compromises.
Common pitfalls to avoid
- Choosing art before measuring: Early measurements prevent cropping important details or misplacing focal points.
- Ignoring light temperature: A perfect studio palette can shift dramatically under warm or cool residential lighting.
- Over‑busy compositions in small rooms: High‑contrast, dense imagery can make compact spaces feel cluttered.
- Under‑specifying resolution: Low‑res files enlarged to wall scale can blur edges and reveal artifacts.
- Forgetting functional clearances: Plan around thermostats, sconces, and cabinetry so they feel integrated, not accidental.
Room‑by‑room considerations
- Entry and corridors: Favor directional compositions that guide movement and withstand close viewing.
- Living rooms: Balance a strong focal element with generous negative space to avoid visual fatigue.
- Dining areas: Mid‑tone palettes encourage warmth without overpowering table settings or artwork elsewhere.
- Bedrooms: Low‑contrast, large‑scale forms near headboards maintain calm while retaining depth.
- Home offices: Subtle grids, maps, or tonal botanicals add sophistication without distracting on video calls.
Collaboration with designers and artists
Strong partnerships create better murals. Share a concise brief containing:
- Room photos with exact wall dimensions and ceiling height.
- Furniture plan and key sightlines annotated.
- Three reference images for mood, not literal copying.
- Palette constraints (wood tones, metals, textiles) and light notes.
- Non‑negotiables (e.g., avoid specific motifs; preserve outlet access).
Request scaled mockups with crop guides, alignment marks for corners, and any required bleed. Approve a final composite before work begins.
Sustainability and material mindfulness
Luxury can also mean responsible choices. Consider low‑emission coatings where applicable, durable finishes that reduce replacement frequency, and timeless designs that remain relevant. Careful selection at the start extends the mural’s life and reduces waste.
Documentation and future‑proofing
Keep a project dossier so future maintenance or expansions are straightforward:
- Final artwork file names and version dates.
- Colour references (paint codes, digital colour profiles).
- Installation diagrams showing reference points from corners and trim.
- Care instructions and compatible cleaning products.
If you ever renovate, this file speeds up reprints, touch‑ups, or coordinated additions elsewhere in the home.
FAQ
How do I decide between a hand‑painted mural and a printed one?
Choose hand‑painted work if you value visible brushwork, on‑site improvisation, and a singular, tactile presence. Choose printed when you need photographic fidelity, exact repetition, or precise colour matching and alignment around fixtures. Many homes blend approaches—hand finishes layered over printed bases can add depth.
Will a mural make my room feel smaller?
It depends on contrast, complexity, and placement. Large, low‑contrast forms and continuous horizons can visually expand space, while high‑contrast, intricate patterns may compress it. Test with scaled mockups: place focal elements near natural sightlines and allow breathing room around architectural features.
What resolution do I need for a crisp result?
Resolution should match final viewing distance and scale. As a rule of thumb, detailed imagery viewed up close demands higher effective resolution than abstract textures or distant landscapes. Ask your producer for a scale proof that shows expected sharpness at 100% size and verify small text or line weights if included.
Can murals wrap around corners or over doors and niches?
Yes, with planning. Provide precise measurements for each plane and decide how the artwork will register across transitions. Align key elements away from hinge lines and tight reveals to minimize visual distortion.
How should I clean and maintain a mural?
Use a soft, dry microfiber cloth for dusting and test any cleaner on an inconspicuous area. Avoid abrasive tools. Manage direct sunlight if fading is a concern, and protect edges from repeated impacts by furniture.
Next steps
A practical next step
To discuss the options that apply to your situation, contact Ink Blend and request the relevant details before moving forward.