
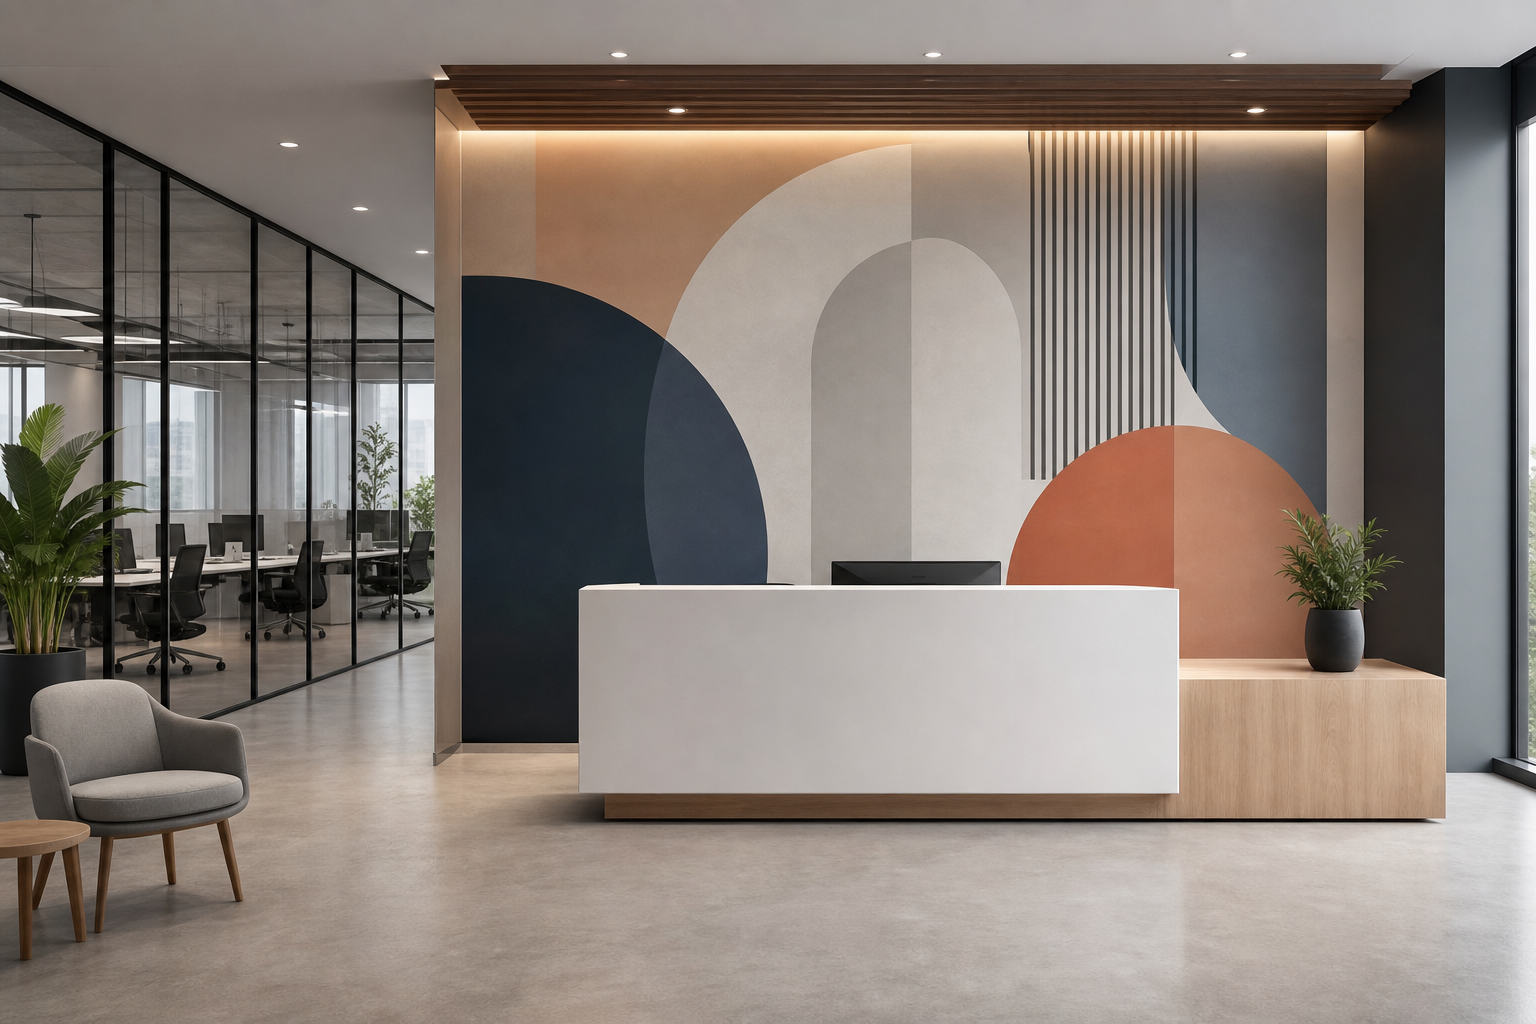
A Practical Guide to Office Reception Wall Graphics
Explore office reception wall graphics with practical guidance, key questions, and clear next steps before you contact Ink Blend or make a decision.
Reception areas do more than welcome visitors—they frame first impressions, orient guests, and communicate brand personality in seconds. Thoughtfully planned office reception wall graphics can unify your visual identity, make navigation intuitive, and set a professional tone. This guide walks through the essentials: strategy, artwork planning, measurement, production approaches such as UV wall printing and large-format surface graphics, installation basics, maintenance, and stakeholder approvals. Use the checklists and prompts to move from idea to installation with clarity and confidence.
What Reception Wall Graphics Do
“Reception wall graphics” refers to any intentional visual treatment applied to the main greeting zone—often the wall behind or adjacent to the front desk. Formats range from subtle typographic treatments to immersive custom wall murals. When executed well, reception graphics can:
- Express brand identity consistently through color, typography, and imagery.
- Convey key information quickly (name, floor, department, wayfinding cues).
- Create a focal point that makes check-in intuitive for guests.
- Elevate perceived quality by aligning the environment with brand standards.
- Set the tone for culture and values in a way emails and slide decks can’t.
Set Goals and Metrics
Before designing, define what success looks like. Clear goals help you choose the right content, scale, and production method.
- Primary goal examples: reinforce brand, simplify wayfinding, create a photo-friendly backdrop, or celebrate milestones.
- Secondary goal examples: improve visitor flow, reduce “where do I go?” questions, or unify multiple entrances.
- Simple metrics: track visitor wayfinding questions at reception, average check-in time, staff feedback, and post-install visitor comments.
Content Strategy and Design Principles
Decide what the wall should say and how it should feel. Keep it intentional and legible from real-world viewing distances.
- Hierarchy first: prioritize the most important message—brand name, logo, or directional cue—then supporting text or patterns.
- Scale for distance: headlines visible from 15–25 feet need larger letter heights than close-up captions.
- Contrast and clarity: high contrast between type and background improves readability in varied lighting.
- Image quality: use high-resolution artwork for custom murals or surface graphics. For large formats, prepare files at appropriate print resolution.
- Consistency: align colors and type with your brand standards across signage, screens, and print collateral.
- Accessibility mindset: avoid overly reflective finishes behind critical text; ensure adequate contrast.
Choosing Production Methods
Reception graphics can be produced a few different ways. Your choice depends on surface condition, design complexity, desired longevity, and refresh plans. Common approaches include:
- Direct-to-wall printing (including UV wall printing): artwork is printed directly onto prepared interior surfaces. Useful for crisp detail, alignment with architectural features, and a “painted-in-place” look without seams.
- Applied surface graphics: pre-printed vinyl or films applied to the wall. Offers removable or replaceable panels and specialty finishes.
- Large-format panels: rigid or semi-rigid panels printed with the design, then mounted. Helpful when walls are imperfect or when you want dimensional separation from the surface.
- Hybrid solutions: a printed mural as the base layer with dimensional letters, halo lighting, or plaque elements on top.
Ask these questions to narrow options:
- Is the wall smooth, sealed, and free of moisture? If not, panels or additional surface prep may be better.
- Do you plan to refresh content frequently? Consider applied graphics or modular panels for quicker changes.
- Is the artwork highly detailed or photographic? High-resolution production methods, including large-format surface printing, help preserve detail.
Sizing, Layout, and Measurement
Accurate measurements reduce risk and rework. A reception wall must balance scale with proximity to desks, doors, and seating.
- Capture overall wall width and height, plus ceiling height.
- Measure offsets to fixed elements (doors, windows, alarms, outlets, thermostats, and HVAC grilles).
- Note desk height and depth; ensure key content isn’t blocked by monitors or signage.
- Map sightlines from the main entry and elevator corridor to confirm focal placement.
- Account for baseboards, chair rails, and uneven corners when planning bleed and edges.
Tip: create a simple elevation sketch with dimensions and photos. Mark the intended “safe area” for critical content and allow bleed on all sides for seamless coverage.
Color and Material Considerations
Color accuracy and finish influence both legibility and perceived quality. Consider how finishes interact with lighting and furniture.
- Brand color fidelity: design with official color values and request proofs or swatches when possible.
- Finish selection: matte and satin finishes minimize glare at reception, while gloss can accent images but may reflect lighting.
- Tactile contrast: combine printed elements with dimensional lettering or plaques for hierarchy and depth.
- Environmental factors: consider foot-traffic wear near corners and seating; select durable finishes where contact is likely.
Surface Preparation and Installation Basics
Even the best artwork can underperform if the surface isn’t ready. Basic steps improve adhesion and print quality:
- Wall readiness: surfaces should be clean, dry, smooth, and fully cured if recently painted.
- Repairs: patch holes and sand texture where possible to prevent visual artifacts in large fields of color.
- Primers and sealers: appropriate primers can improve adhesion and color consistency for direct-to-wall printing or applied graphics.
- Masking and protection: cover adjacent floors, desks, and electronics during installation.
- Ventilation and access: plan safe access around reception hours; coordinate lifts or ladders if needed.
Note: For complex installations or specialized methods such as high-resolution UV printing or large-format panel mounting, consult qualified providers who can advise on surface suitability and on-site logistics.
Maintenance and Refresh Cycles
Reception walls live in high-visibility zones. Plan for care and future updates when scoping your project.
- Cleaning: use non-abrasive methods consistent with the chosen material to remove dust and fingerprints.
- Edge inspection: periodically check corners and seams (if any) near traffic paths.
- Refresh cadence: time updates with brand milestones—rebrands, anniversaries, product launches, or lobby renovations.
- Modular thinking: keep frequently changing information (like tenant lists) on separate, easily updatable elements.
Workflow, Approvals, and Mockups
A smooth workflow keeps projects on schedule and reduces surprises on installation day. A practical sequence looks like this:
- Discovery: gather goals, wall measurements, photos, brand standards, and any wayfinding needs.
- Concepting: build initial layouts that establish hierarchy, scale, and color approach.
- Visual mockups: create to-scale previews placed onto photos or elevations to verify positioning and sightlines.
- Approvals: share annotated proofs that show dimensions, offsets, and safe areas; confirm final artwork and copy.
- Pre-install checklist: confirm surface condition, site access, hours, and protection plans for nearby furniture and floors.
- Installation and reveal: execute the chosen production method and complete a post-install walkthrough to note any touch-ups.
Common Mistakes to Avoid
- Skipping measurements for outlets, alarms, or vents that later cut through critical artwork.
- Placing key text where the reception monitor or visitor blocks it.
- Overly low contrast type that disappears in bright lobby lighting.
- Artwork prepared at insufficient resolution for large-format printing.
- Choosing glossy finishes behind wayfinding text, increasing glare and reducing legibility.
- Underestimating surface preparation needs, leading to adhesion or print quality issues.
- Not planning a refresh strategy for time-sensitive content.
Budget and Scoping Questions
Use these prompts to shape scope before requesting quotes or proposals:
- What are the exact wall dimensions, and where are obstructions?
- Which production approach aligns with refresh needs: direct-to-wall printing, applied surface graphics, or panels?
- When can installation occur with minimal disruption to reception operations?
Technique Spotlight: UV and Large-Format Options
Several methods commonly used for reception walls focus on clarity, durability, and scale:
- UV wall printing: a form of direct-to-wall printing where UV-curable inks are applied to prepared interior surfaces for crisp detail.
- Custom wall murals: artwork scaled to fit the entire wall, from abstract textures to photographic scenes that set mood and narrative.
- Commercial branding graphics: brand marks, taglines, and patterns that align with broader environmental graphics.
- Large-format surface printing: production geared for oversized areas, detailed imagery, and consistent color across broad spans.
These approaches can be mixed with dimensional logos, plaques, or wayfinding strips to create hierarchy and make future updates easier.
Reception Wall Checklist
- Goals documented with simple success metrics.
- Accurate wall measurements, photos, and obstruction map.
- Design hierarchy and brand standards applied.
- High-resolution artwork prepared to print specifications.
- Production method selected (direct-to-wall, applied graphics, panels) and finish chosen.
- Surface preparation plan defined and scheduled.
- Mockups and proofs approved by stakeholders.
- Installation day logistics confirmed: access, protection, timing.
- Post-install review and maintenance plan established.
FAQs
How do I decide between a logo wall and a full custom mural?
Start with your primary goal. If you want immediate brand recognition and a clean, minimal look, a focused logo wall or typographic treatment often works best. If your aim is to create an immersive environment, communicate a story, or make a bold visual impact across a large surface, a custom wall mural may be the better approach. Consider refresh frequency: murals can set long-term mood, while logo walls are easier to evolve with modest updates.
What resolution should my artwork be for large-format printing?
Resolution needs depend on viewing distance and production method. As a rule of thumb, prepare vector files for logos and type when possible, and supply raster images at sufficiently high pixel dimensions for the final print size and expected viewing distance. Request print specifications in advance so you can export artwork to the correct scale and resolution.
Can reception graphics help with wayfinding?
Yes—reception walls can integrate directional cues that orient visitors immediately upon entry. Simple, well-placed arrows, floor labels, or department markers near the main focal area reduce confusion and streamline check-in. Balance wayfinding with brand elements so neither competes for attention.
What should I know about surface preparation?
Surface condition influences the final result. Walls should be smooth, clean, and dry; patched areas should be sanded; and fresh paint should be fully cured. For direct-to-wall or applied graphics, appropriate primers or sealers can improve color consistency and adhesion. If the wall is irregular or difficult, consider panel-based solutions that bypass surface imperfections.
How do I plan around lighting and glare?
Visit the space at different times of day to see how natural and artificial light interact with the wall. If glare is likely, favor matte or satin finishes for critical text and logos. If you want sheen for photographic imagery, ensure key information remains legible in all lighting conditions.
A practical next step
To discuss the options that apply to your situation, contact Ink Blend and request the relevant details before moving forward.