
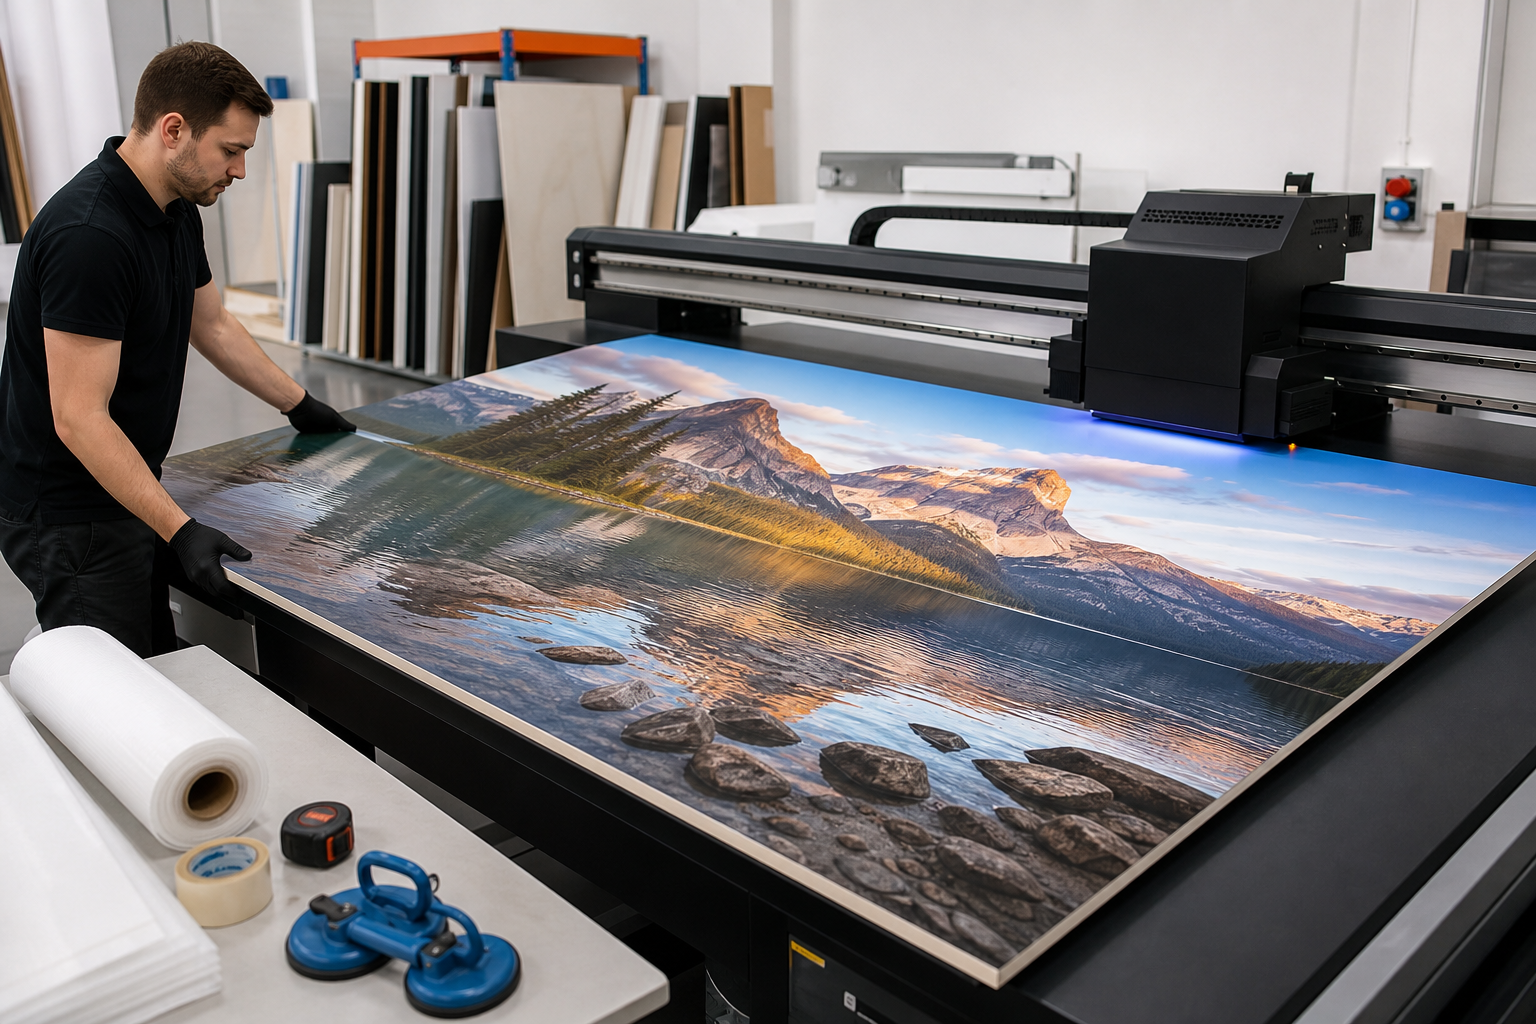
How to prepare for large format panel printing
A step-by-step decision checklist to prepare files, photos, surfaces, and site logistics before requesting a quote for large format panel printing.
Overview: decide scope, budget, and timeline before you ask for a quote
Before you collect artwork and site photos, make three core decisions that make quotes comparable and speed up approvals. First, define scope. Are you ordering a single decorative panel, a multi-panel system for a continuous mural, or printed sheets to mount on a framed substrate? Second, set a budget band that either covers artwork and surface preparation or excludes those services. Third, set a target timeline and note any blackout dates when installation cannot occur.
Use simple decision criteria to prioritise choices: visibility and viewing distance, expected foot traffic, desired finish (matte, satin, gloss), and whether you require a colour sample or full-scale mockup. If you only know wall dimensions, you can still get a meaningful photo quote, but list any fixed obstacles and whether you will accept small seams where panels meet.
How to get a fast, accurate quote from photos and measurements
Remote quoting relies on clear photos plus a few measurements. Follow this ordered photo checklist before you contact a printer:
- Wide shot of the entire wall including floor and ceiling to show scale.
- One photo with a tape measure visible across the width, or a person standing to show scale.
- Close-ups of surface texture and any damage, cracks, or uneven paint.
- Photos of adjacent walls, doors, windows, vents, and fixed features like light switches or outlet boxes.
- Notes about access: loading door size, elevator availability, nearby parking, and any required building permits for exterior works.
Mark measured zones on a simple sketch and list exact wall width and height in metres or feet. Printers use these inputs to estimate labour, scaffolding, masking, and time on site. If the photos show complex access or heavy surface repairs, expect the printer to request a site visit before finalising labour costs. For Ink Blend’s photo-based quoting workflow and visual mockup process see the studio overview on the Ink Blend site.
Artwork and preflight checklist: convert, size, and export correctly
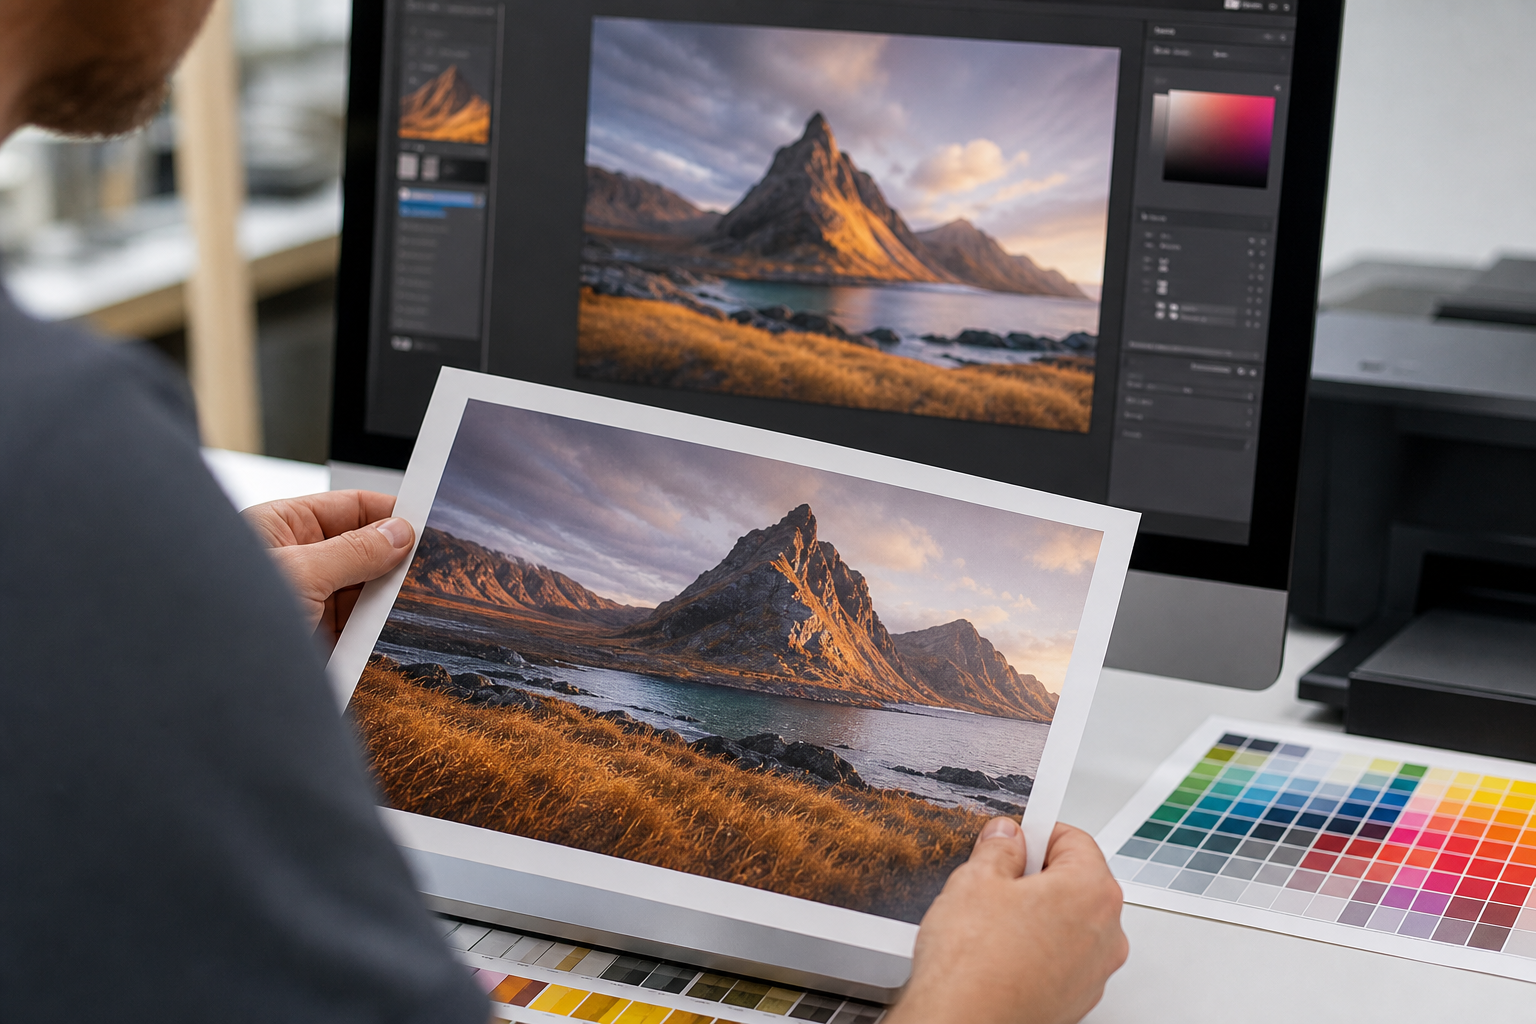
Proper file preparation prevents delays and costly reprints. Run this preflight checklist before you send artwork:
- Convert artwork to CMYK unless the printer asks for RGB as part of a managed workflow, because many large format providers prefer CMYK for predictable colour results. For a technical explanation see HP’s large format printing best practices.
- Export a print-ready PDF with fonts embedded or outlined and include crop and bleed marks.
- Confirm pixel dimensions at the final printed size using the resolution guidance below.
- Set a safe area and avoid placing faces or small text on trim lines or panel seams.
- Label multi-panel files clearly, with panel numbers and overlap or registration marks when required.
These steps reflect common prepress routines used by large format specialists. For practical advice on required export settings and preflight checks see guides on preparing artwork for large-format printing and file setup best practices.
Image resolution and viewing distance
Large-format work typically uses lower PPI than small-format print because viewers usually stand further away. A safe indoor target for close-view panels is around 150 PPI at final size, but photographic murals viewed from a distance can use lower resolutions. Check your image pixel dimensions at the final output scale and consult your printer about upscaling options or rephotography when necessary. For more on resolution trade-offs for posters and panels see industry resolution guides for large-format printing.
Colour mode, profiles, bleeds, and PDF export steps
Convert files to CMYK unless your provider requests otherwise to reduce the risk of visible colour shifts. When you export, include 3 to 5 mm bleed for panel edges, and set a clear safe area inside trim lines so critical elements never fall on a seam. Export as a print-ready PDF and include bleed marks so prepress staff can confirm trim and registration. These are standard preflight steps recommended by several large-format resources and prepress guides.
Panel seams, layout rules, and content placement
Decide how artwork will cross panel seams before you approve print-ready files. Options include printing continuous artwork across seams or aligning art breaks to architectural joints. Follow these practical layout rules:
- Never place faces or small text directly over a panel seam when possible.
- Where seams are unavoidable, plan natural breaks at grout lines, architectural moulding, or shadow lines.
- Request scaled mockups that show seam placement and sightlines from typical viewing positions.
Mockup reviews reduce surprises on install day. See additional layout tips in large-format artwork setup guides and in local file requirement summaries for Canada based providers. If you want detailed guidance on mounting and panel selection review the Ink Blend article about large format signage surfaces for substrate options and mounting considerations.
Surface preparation and substrate choices
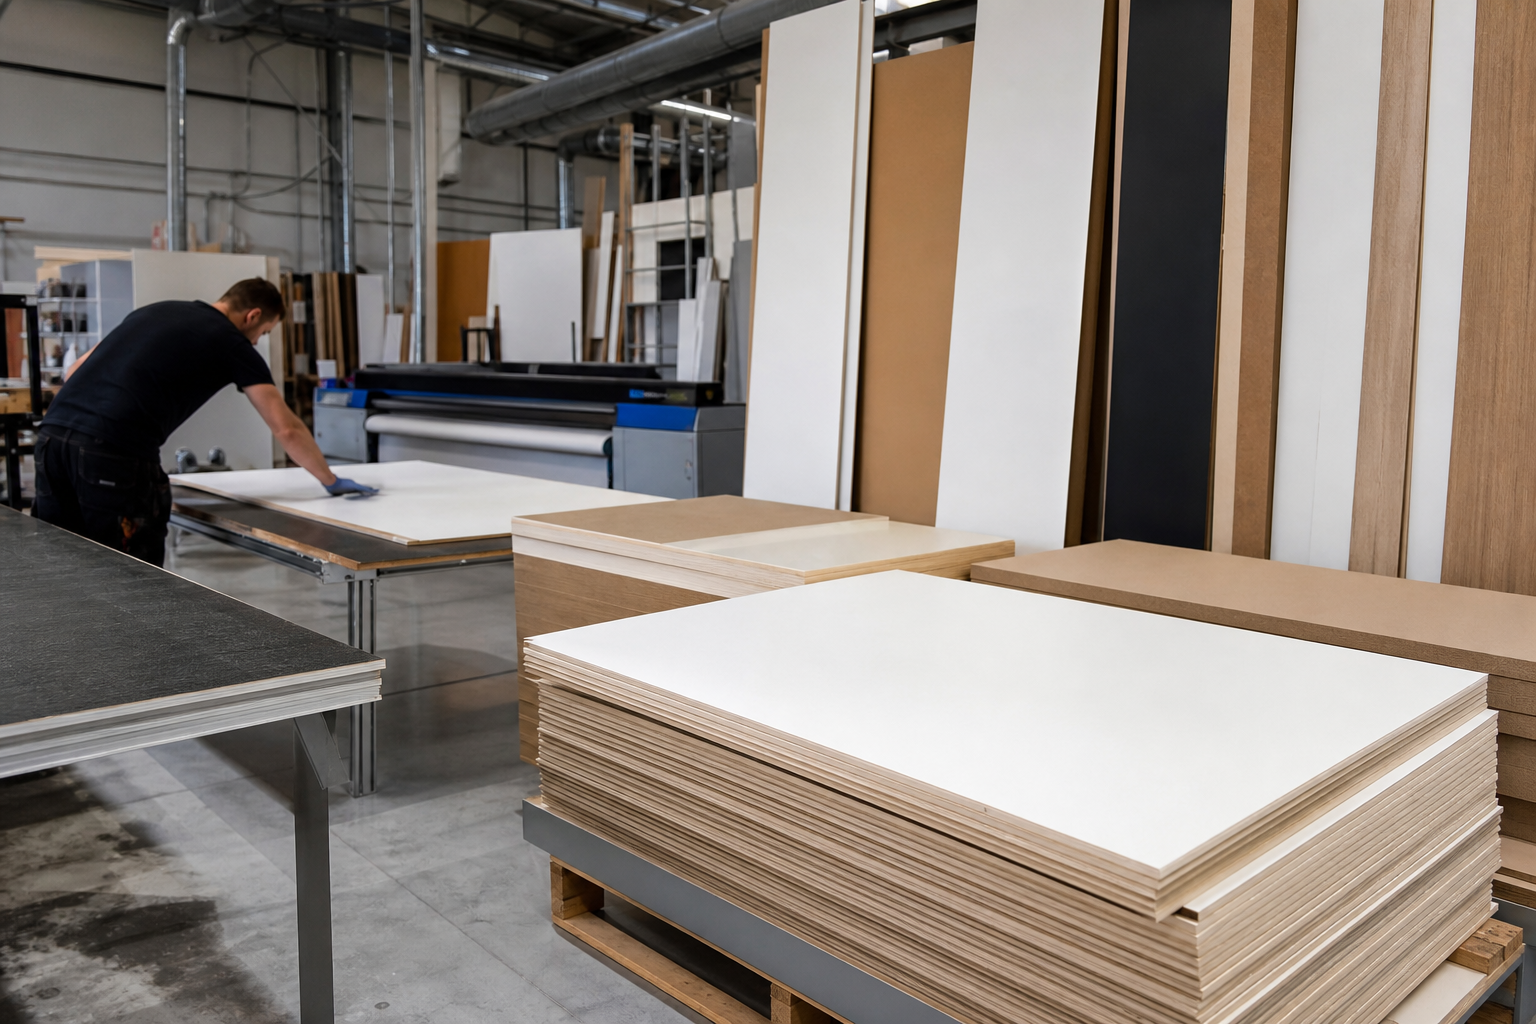
Surface condition drives both cost and visual outcome. Inspect walls for paint adhesion, texture type, moisture, cracks, and structural irregularities. Decision points include:
- Repair or replace. Small repairs and sanding may be sufficient. Severely damaged or wet substrates often require replacement or a stable panel surface for printing.
- Texture. Heavy orange peel finishes and rough plaster might show through prints unless smoothed or printed to an engineered substrate.
- Priming. Some substrates need a dedicated primer to ensure adhesion for direct-to-surface UV printing.
Ink Blend’s workflow emphasises surface preparation and mockups before on-site direct-to-surface UV printing. For projects where durability is important, ask for adhesion tests or small test patches before full production. For more on panel materials and when to choose premade panels over direct wall application see the studio’s guidance on large format signage surfaces.
On-site logistics for UV printing and installation
On-site coordination decisions affect schedule and cost. Confirm these items before you approve a quote:
- Access windows and staging. Provide clear loading paths and a sheltered staging area for equipment and panels.
- Scaffold or lift requirements based on wall height and interior ceiling clearance.
- Power availability for UV curing equipment when printing on site, and whether a generator is needed.
- Working hours and restrictions. Night or weekend installs reduce customer disruption but may change labour rates and permissions.
- Protection for adjacent finishes, fixtures, and flooring during prep and print operations.
If your building has strict access rules or if exterior permits may be required, inform the printer early. Ink Blend serves Ontario projects and factors travel time and local access constraints into installation planning.
Mockups, proofs, and final acceptance criteria
Reduce risk with a structured approvals process. Typical approval steps are:
- Scaled visual mockup showing seams, dimensions, and sightlines.
- Small physical colour patch or sample for critical colour matches on important brand elements.
- Preprint signoff document listing acceptable tolerances for registration, colour variation, and finish.
- On-site reveal checklist confirming the wall is cleaned, adjacent fixtures protected, and maintenance instructions delivered.
Soft proofing can flag major issues, but expect small colour shifts when converting from RGB to CMYK. Request a physical sample when exact colour fidelity is essential. Many best-practice articles for large-format production explain why a signed print approval avoids disputes and reprints.
Next steps and how to request a quote
Prepare the following package to request a fast, accurate quote:
- Photos and measurements from the remote quoting checklist.
- A short scope note describing desired finish, timeline, and budget band.
- Print-ready PDF or the original high-resolution artwork files, clearly labelled for multi-panel layouts.
- Notes about surface condition and site access, and whether you want a physical sample or mockup.
Send the package with any access details to your printer so they can advise on a site visit if needed. For more on substrates and mounting options read the detailed large format signage surfaces article on the Ink Blend blog.
Frequently asked questions
What image resolution do I need for a large format panel that will be viewed up close
For indoor panels that will be viewed at close range, a safe working default is about 150 PPI at final print size. If the viewing distance is greater, you can use a lower PPI. Check pixel dimensions at the intended output size and consult your printer for exceptions or upscaling options.
Can direct-to-surface UV printing be applied to drywall and what surface prep is required
Direct-to-surface UV printing can be applied to drywall but success depends on paint condition, texture, and moisture. Typical prep includes cleaning, light sanding, and priming where adhesion is uncertain. If the drywall is damaged or porous, a prefabricated panel may be a better choice. Ink Blend documents its process and surface checks on the studio website.
How should I handle faces or small text that cross panel seams
Avoid placing faces or small type over seams. During layout, either reposition important elements away from seams or align seams to natural architectural breaks. Request a scaled mockup that shows seam placement and sightlines to confirm the layout before printing.
What information should I include when asking for a photo-based quote
Include wide scale photos (floor to ceiling), a shot with a tape measure or person for scale, close-ups of surface texture, exact width and height measurements, and notes about access, power, and install timing. Label any fixed obstacles and state whether you will accept seams or want continuous printing across panels.
Will my colours shift when converting RGB artwork to CMYK
Converting from RGB to CMYK can cause modest colour changes because the two colour spaces have different gamuts. Printers ask for CMYK files or manage the conversion to reduce surprises. When brand colour is critical, request a physical colour sample before full production.
Ink Blend is available to review photos and send a photo-based quote, create mockups, and advise on surface preparation and on-site UV printing logistics.