
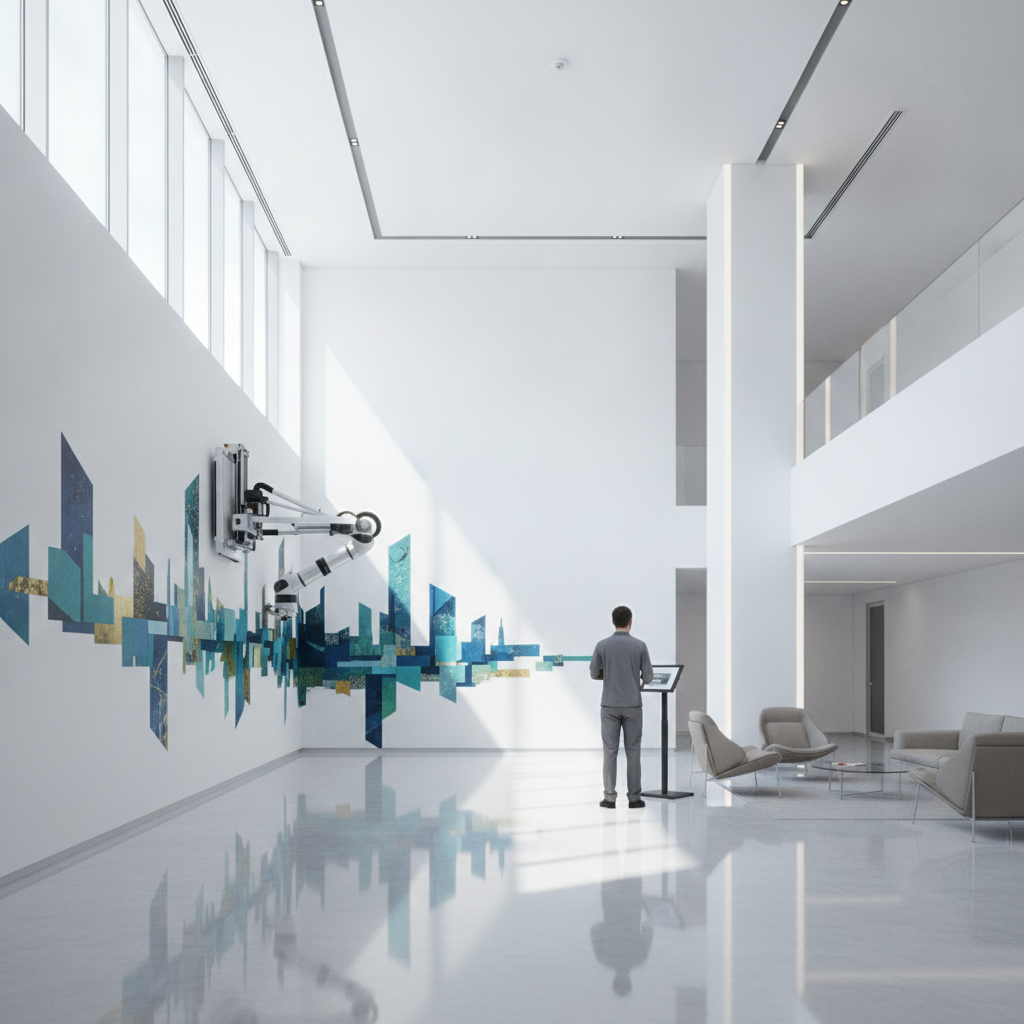
Direct Wall Printing: Pick the Right Look in 2026
UV wall printing guide: how direct-to-wall murals work, best practices, and examples. Ink Blend serves Ontario and Canada with mockups and on-site printing.
UV wall printing is the direct-to-surface method of curing UV ink onto prepared interior walls to create seamless, high-resolution murals. It hardens instantly under LED light, delivers crisp detail, and minimizes downtime. For Ontario and Canada-wide projects, Ink Blend pairs this process with mockups, approvals, and organized on-site coordination for smooth results.
By Ink Blend • Last updated: 2026-06-21
Overview
This complete guide covers what direct-to-wall UV printing is, why it matters, how it works, and how to get it right. Use it to align stakeholders fast with plain-language steps, comparison tables, artwork and surface tips, and case examples from Ink Blend’s discovery-to-print workflow across Ontario and Canada.
Here’s how to use this page: skim the quick summary, then jump to the section you need using the table of contents. If you’re planning a feature wall, a reception statement, or custom murals, you’ll find practical guidance grounded in Ink Blend’s day-to-day studio process.
- Clear definition and benefits of UV wall printing
- Four-step workflow from photos to on-wall reveal
- Artwork and surface preparation best practices
- Comparison to wallpaper, vinyl, and hand painting
- Ontario scheduling, facility, and coordination tips
- What Is UV Wall Printing?
- Why UV Wall Printing Matters
- How UV Wall Printing Works
- Types, Methods, and Approaches
- Best Practices
- Tools and Resources
- Case Studies and Use Cases
- Frequently Asked Questions
- Conclusion
What Is UV Wall Printing?
UV wall printing is an on-site process that jets UV-curable inks directly onto interior walls and cures them instantly with LED light. The result is a seam-free, high-resolution mural with durable color and clean edges, produced in place—no wallpaper panels, paste, or off-site lamination required.
Practically, a compact vertical printer traverses the wall while depositing CMYK (and often white and clear varnish) precisely where your artwork calls for it. Because curing happens in milliseconds, the ink hardens as it lands. This enables tight registration for small type, crisp lines at 1–2 mm thickness, and consistent density across tall spans.
Ink Blend focuses on interior commercial and residential environments—restaurants, cafes, retail, offices, hotels, condos, homes, and cultural spaces—where walls act as brand assets. That’s why our process emphasizes visual mockups, approvals, and color-led production before the printer ever starts moving.
- Direct-to-surface application minimizes material waste and joins
- Instant LED curing reduces smudging and shortens cleanup
- White-underbase protects brand colors on dark or saturated walls
- Optional spot varnish adds controlled sheen and depth to key elements
Why UV Wall Printing Matters
Direct-to-wall printing turns blank surfaces into brand media while reducing downtime. You get crisp, photo-friendly murals, predictable color, and a durable, cleanable finish. With scaled mockups and approvals, teams confirm size and placement in advance—lowering risk and accelerating decisions.
When you’re opening a venue or refreshing a lobby, time matters. A focused on-site footprint, fast curing, and minimal debris mean less disruption. For brand leaders, accurate Pantone/Lab targeting and 4K artwork detail protect design intent at close viewing distances of 2–5 feet. For property managers, UV-cured layers stand up to routine wipe-downs common in hospitality and retail.
Ink Blend’s studio is built for speed to clarity: photo- and measurement-based quoting, scale notes in mockups, and a clean handoff from artwork approval to print. That structure helps multi-stakeholder projects move—especially in spaces that can’t afford multi-day closures.
- Seamless aesthetics versus panel-based wallpaper or vinyl
- Durability suited to high-traffic corridors and reception areas
- Color management aligned to real-world lighting conditions
- Organized site coordination in busy, multi-tenant buildings
How UV Wall Printing Works
The best outcomes follow a four-step path: Discover, Mockup, Approve, Print. You send wall photos and measurements; we produce scaled visuals with sightline notes; you approve artwork and timing; then we prepare the wall and print in place with LED-cured inks—often revealing the finished mural the same day.
Here’s the four-step workflow we use on Ontario and Canada-wide projects:
- Discover (day 0–3): Share a few straight-on photos, wall width × height (inches or feet), and goals. We discuss finish (eggshell or satin), texture level, viewing distance (often 36–120 inches), and whether a white-underbase is needed on darker paints.
- Mockup (day 2–6): We build scaled previews with 1–2 layout options, safe margins (typically 1–3 inches from edges/trim), and notes around outlets or fire devices. This is where we flag tile logic for long runs and confirm reading order across multi-bay walls.
- Approve (day 5–9): You sign off on artwork, color targets, and schedule. In hospitality and retail, we often book early morning or late-night windows to avoid service peaks. We confirm elevator bookings and access lanes if needed.
- Print & Reveal (day 7–14): We prep the wall, align the track, and print. LED curing hardens the ink instantly, so we can remove protections and do a walk-through shortly after the final pass. Typical on-wall printing time ranges from 90–240 minutes for many single-feature projects.
Documentation (dimensions, paint type, texture notes, lighting color temperature in Kelvins, and any obstacles) lives with the project to speed future refreshes or companion walls. The result is a repeatable, low-friction path from idea to reveal.
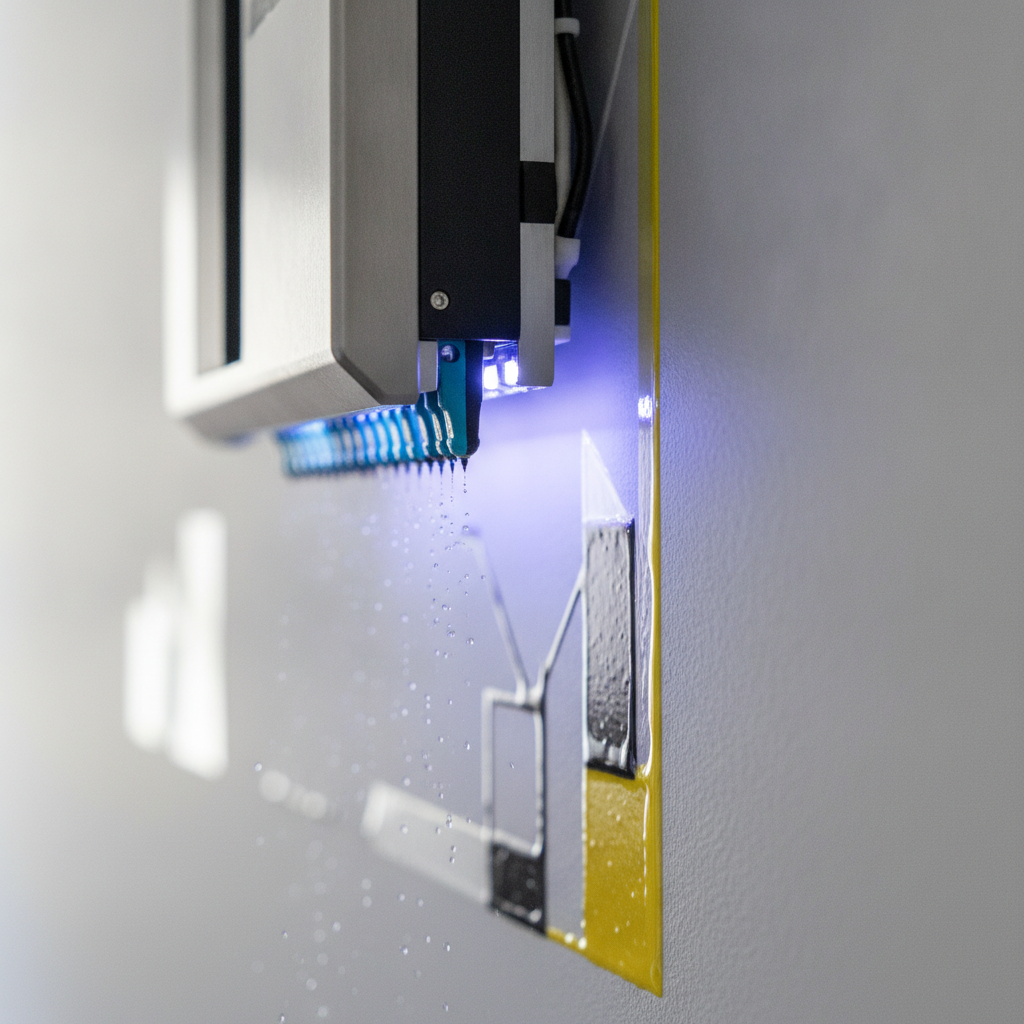
Want more detail on how we structure handoffs? See our end-to-end discovery-to-print workflow and how it pairs with UV wall printing on brand-led interiors.
Types, Methods, and Approaches
Method choices hinge on your wall and your artwork. Smooth drywall with eggshell paint behaves differently than lightly textured surfaces. We tailor pass count, speed, white-underbase coverage, and spot varnish to preserve color accuracy, edge sharpness, and readability—even on tinted or textured walls.
Surface and finish considerations
Surface prep is 80% of the finished look. We print most often on smooth painted drywall (eggshell or satin) because it balances clean color with easy cleaning. Light orange-peel texture is common and can still render small type with the right pass and carriage speed.
- Painted drywall: Smooth walls deliver tight edges. Aim for even sheen across repairs so density reads consistently from left to right.
- Textured walls: We may increase pass count to maintain opacity. Microtext can be enlarged by 10–20% for clarity at 3–5 feet.
- Tinted substrates: A white-underbase stabilizes color on navy, charcoal, or saturated accent walls so brand oranges, teals, and reds stay true.
- Spot varnish: Clear varnish can lift a logo by a few gloss points—subtle in daylight, pronounced under track lighting.
Artwork and color handling
High-res inputs protect detail. For photography or illustration, provide 300+ ppi at final size. For logos and patterns, vectors scale cleanly with no pixelation. We’ll ask for brand Lab values, Pantone targets, or digital swatches and a quick lighting photo (e.g., 3000K warm vs 4000K neutral) to tune test hits.
- Vectors first: Logos, type, and repeating patterns benefit from infinitely scalable vectors.
- Raster clarity: For close viewing at 24–60 inches, supply 300–450 ppi at final size to keep edges crisp.
- Scale notes: Maintain 1–3 inch safety from wall edges, trims, outlets, and sprinklers.
- Tile logic: On long runs, we hide visual breaks at columns or datum lines and preserve reading order across 12–40 foot spans.
Direct UV printing is not a replacement for every scenario, but it excels when you need crisp detail, fast turnarounds, and a seamless look on prepared interior walls without panel seams or paste.
Best Practices for UV Wall Printing
Great results come from three areas working together: prepared surfaces, print-ready artwork, and tight site coordination. Smooth paint and even sheen, high-res files or vectors, and a clear schedule minimize rework. Mockups and approvals align expectations before the printer rolls in.
Surface preparation
Even minor wall repairs can telegraph through cured ink. A short checklist keeps quality high and timelines tight.
- Fill and sand any dings; feather edges so patches don’t halo at 2–3 feet.
- Prime repaired areas to equalize absorbency and sheen before the final paint coat.
- Target eggshell or satin paints for a balance of clean color and wipe-ability.
- Ensure walls are dry and dust-free; wipe with a microfiber cloth before alignment.
For additional context on wall prep fundamentals used in decor projects, review this practical wall prep checklist which echoes many of the same surface-readiness principles.
Artwork readiness
Artwork issues are the most common cause of delays. A few proactive steps prevent last-minute scrambles.
- Supply vector files (AI, PDF, SVG) or 300–450 ppi rasters at final size.
- Embed fonts or provide outlines; share any brand typography rules.
- Provide color targets (Lab or Pantone) and a photo of the space’s lighting.
- Include safe margins from edges, outlets, and fixtures (1–3 inches typical).
Not sure if a wall graphic or an alternate method is better for your material mix? A quick overview like this wall treatment guide can help you discuss trade-offs with your facilities team while you decide.
On-site coordination
Clean, low-disruption installs depend on small logistics done well.
- Reserve an outlet and a clear 6–10 foot lane in front of the wall.
- Protect floors and adjacent finishes with drop cloths and film.
- Schedule outside rush periods—early mornings or post-close slots work well.
- Approve the exact on-wall position before the first pass begins.
If prior patchwork is uneven, subtle bumps can show under cured ink. A short primer on wall repairs and patchwork shows how leveling and sanding impact the final read at close range.
When your project calls for a different look—like a textured finish or multi-material set piece—Ink Blend also delivers large-format surface printing and luxury feature walls. For pure artistry, our custom murals service blends concept development with the same on-site discipline.
Tools and Resources
Plan smarter with visual tools and real specs. Photo-led quoting, scaled mockups, and a portfolio of before/after transformations align teams fast. Pair that with basic safety and air-quality guidance to keep facility managers confident about materials and maintenance.
- Photo + measurement quote: Send straight-on shots with width × height. We return a scoped plan and timeline anchors.
- Scaled mockups: We annotate sightlines, safe margins, and outlet positions so approvals land faster.
- Portfolio proof: Our gallery-first approach shows finish quality before you commit—ideal for committees.
- Surface guidance: We publish practical prep notes and coordinate with your facilities team so paint and sheen are ready.
If you’re building a full environment, explore our commercial branding services and custom artwork printing for cohesive rollouts across reception, corridors, and meeting rooms.
Case Studies and Use Cases
From hospitality to workplace, direct UV murals create focal points that photograph well and wear well. These eight quick scenarios mirror common Ink Blend projects across Ontario and Canada—each one tying brand or design intent to a specific surface, artwork scale, and schedule window.
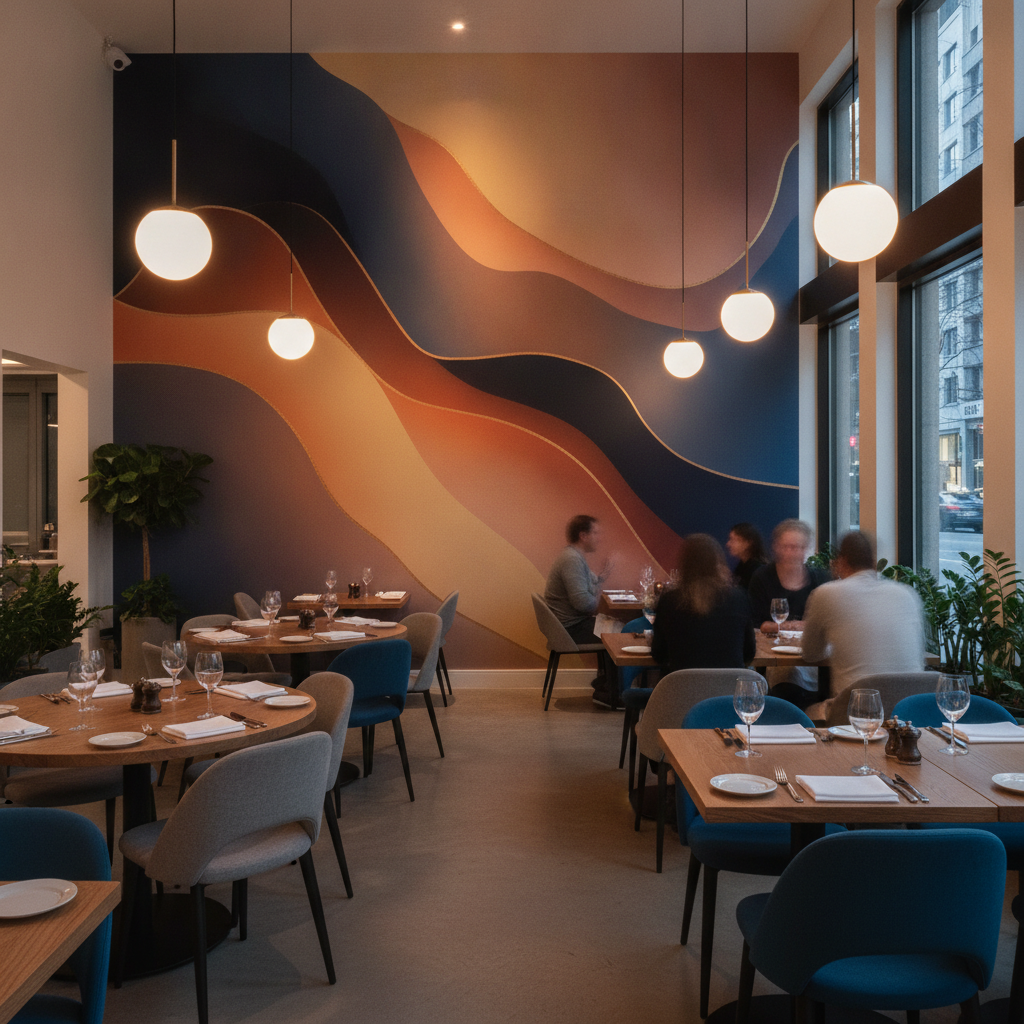
- Restaurant feature wall: An abstract gradient plus logo behind banquettes turns into a natural selfie spot. The cured finish handles nightly wipe-downs without color drift.
- Cafe menu wall: Illustrated beans and an origin map printed over eggshell paint stay clean near espresso equipment and read clearly at 36–60 inches.
- Office reception: A culture statement, set in branded type, gains subtle depth with spot varnish on keywords; the lobby’s 3500–4000K lighting is profiled in advance.
- Retail fitting rooms: Pattern textures printed direct-to-wall reduce scuff visibility and shape a better try-on experience in 5×8 foot bays.
- Hotel corridor: Wayfinding motifs repeat every 12–16 feet. White-underbase keeps palette accurate on deeper taupe walls from floor 3 upward.
- Condo amenities: A 28-foot run benefits from tile logic that hides a micro pause behind a column; reading order remains left-to-right.
- Salon backdrop: A brand monogram with a soft varnish sheen controls glare under track lights and photographs consistently for social content.
- Kids room mural: Personalized constellations print with sharp star points; the finish is durable and cleanable for long-term use.
Local considerations for your area
- Fresh paint needs time to cure; plan printing after the paint film has fully set so adhesion and color stability are consistent.
- Book hospitality installs between service windows; many Ontario venues prefer early morning or late-night slots to avoid rushes.
- For multi-tenant buildings, pre-arrange elevator and loading access; it can save 20–30 minutes on arrival and setup.
Frequently Asked Questions
These concise answers address textured walls, artwork prep, durability, cleaning, and dark wall colors. Share them with stakeholders before requesting mockups and a photo-led quote to save time and avoid email loops.
Will UV wall printing work on textured paint?
Yes—light textures like orange peel print well with the right pass count and carriage speed. For heavier textures, we review photos and may suggest minor prep or slightly enlarging small type to preserve readability at 3–5 feet.
How do I supply artwork for a large wall?
Use vectors for logos and type, and 300–450 ppi raster files at final size for photography or illustration. Include brand color targets and lighting photos. We provide scaled mockups with safe margins and sightline notes for approval before print day.
How durable is the finish and how do I clean it?
UV-cured layers harden in place and resist many scuffs typical in hospitality and retail. For routine cleaning, use a soft cloth with mild soap and water. Avoid abrasives or harsh solvents that can dull the cured surface over time.
What if my wall is a dark color?
We print a white-underbase beneath your design so brand colors stay accurate on navy, charcoal, or saturated accent walls. This layer prevents the wall color from shifting the final palette.
Conclusion
Direct UV wall printing delivers brand-ready murals without wallpaper seams or long installations. With photo-led quoting, scaled mockups, and clean on-site execution, Ink Blend helps Ontario and Canada-wide clients turn blank walls into durable, high-impact visuals that photograph well and last.
- Key takeaways: Seamless look, fast setup, durable, cleanable finish
- Plan smarter: Send photos and measurements for precise, scaled mockups
- Best fit: Hospitality, retail, offices, hotels, condos, homes, and cultural spaces
- Next step: Explore UV wall printing and custom murals to start your concept