
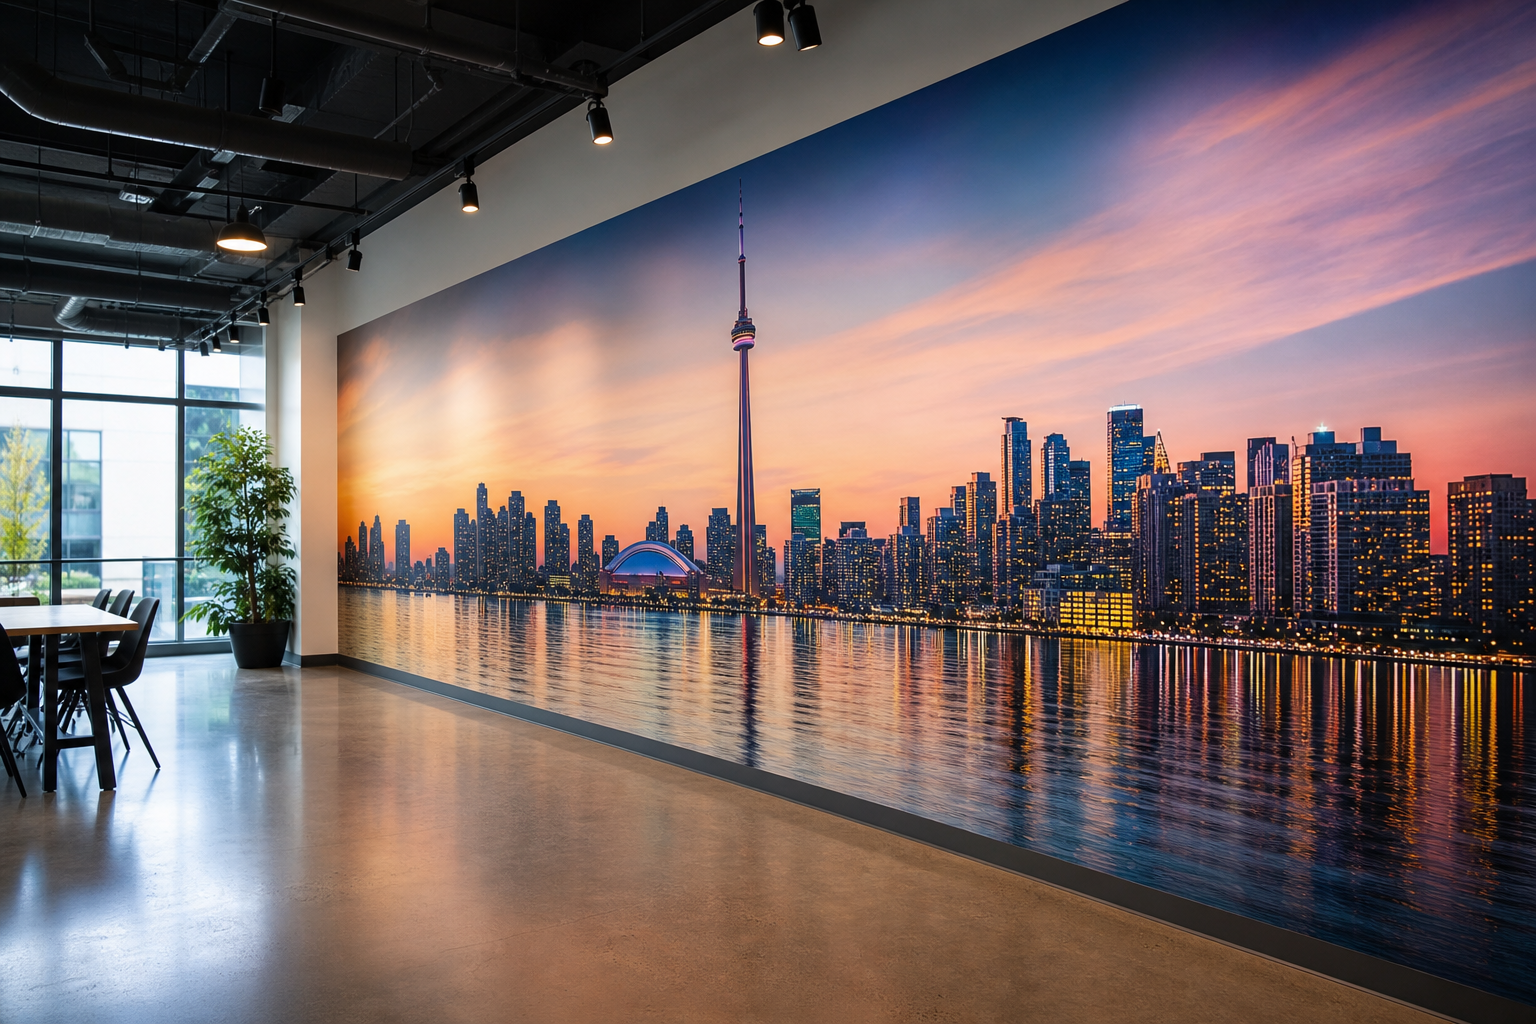
UV wall printing Toronto for branded spaces, murals, and feature walls
A step-by-step decision checklist for uv wall printing Toronto projects that covers photos, vendor questions, surface prep, permit checks, scheduling and.
This checklist walks Toronto project teams through the exact decisions and documentation you need before committing to uv wall printing. Use it to collect photos and measurements for fast quotes, compare vendor technical capability, confirm surface compatibility and site coordination, and check whether your wall graphic triggers a municipal sign permit. Ink Blend offers direct-to-surface UV wall printing with a mockup and approval workflow and 4K artwork detail. The steps below match the information vendors typically need to price and plan a safe, durable installation.
Step 1 collect site photos and measurements
A photo-based quote saves time and prevents surprises. Capture clear, well lit images and simple measurements so vendors can generate an accurate mockup and estimate without an initial site visit.
Photo and measurement checklist
- Full wall, taken straight on from the centre, showing the full width and height of the target wall.
- Two angled shots, left and right, that include adjacent walls, ceiling and floor for context and scale.
- Close-ups of areas with texture, damage, trim, outlets, vents, switches and fixtures that the print will cross or avoid.
- One photo showing a measuring reference such as a tape measure, a person, or a chair so scale is obvious.
- Record dimensions in metric: wall width and height, ceiling height, distance to corners, and positions of doors and windows. Note any mouldings or baseboards.
- List obstructions and access constraints: furniture, shelving, permanent fixtures, light fittings, and whether the space will be open during work.
- Note power access near the print area and any required building access points or loading limitations.
Label files with the room name and wall number, for example "Cafe dining wall A - 3.6m x 2.9m". When you share these materials you will shorten the vendor response time and reduce follow-up questions.
Step 2 questions to compare vendor technical capability
Not all uv print processes are the same. Ask each potential vendor the questions below so you can compare technical fit, finish options, and risk.
- Do you print direct-to-wall, or do you print to panels or vinyl and install them?
- What is your maximum printable resolution and do you produce 4K artwork detail for large walls?
- Can you print opaque white where required, and how many white layers can you lay down?
- What protective coating options do you offer, such as matte or gloss varnish and abrasion resistant clearcoats?
- What does your mockup and approval workflow look like, and will I receive a scaled visual mockup before print day?
- Do you provide a small on-site test print or adhesion patch before full production?
- Who is responsible for surface repairs, priming, masking and masking removal on site?
- What maintenance or touch-up options do you offer after installation?
Why white ink and varnish matter
White ink determines opacity when printing on darker or coloured backgrounds. Varnish options determine how the finished image resists scuffs and moisture. These variables often affect both price and the long term durability of a mural, so confirm white ink capability and protective coating choices in writing. For technical buyers, equipment checklists explain why white ink and varnish are core considerations when evaluating uv print systems and vendors. A vendor buying checklist is a useful reference when you compare studio capabilities.
Mockup, approval and proofing workflow to demand
Require a visual mockup that is scaled to your wall, with colour notes and a production sign off. The steps you should insist on are a scaled artist proof or digital mockup, client revisions with annotated notes, and a signed approval before any on-site printing begins. Ask whether the studio offers a small test patch on site when adhesion or colour on your substrate is uncertain. For local examples of visual preview workflows and mockups see Ink Blend's uv wall printing services local.
Reference: UV printer buying checklist, which explains core technical questions to ask vendors.
Step 3 surface compatibility and preparation checklist
Surface preparation is the most common source of scope creep. Some finishes are ready for direct-to-wall uv printing with minimal prep, while others need repairs or priming. Confirm compatible substrates and common red flags before accepting a quote.
Common surfaces and red flags
- Standard painted drywall, typically suitable once cracks and nail pops are repaired and the surface is sanded smooth.
- Plaster and stucco, which may need filling and levelling to avoid texture showing through the print.
- Painted concrete and brick, which may require sealing and a primer to ensure adhesion and colour fidelity.
- Wood or panelling, where loose boards, knots, or heavy grain can affect resolution and durability.
- Tile and glazed surfaces, which usually need a primer or will require printing to a panel applied over the surface.
Watch for telltale red flags such as flaking paint, rising moisture, efflorescence, severe texture, or anything that moves when pressed. These conditions increase risk and may require remedial work before printing.
Who does the surface prep and how to scope it
Decide early whether your contractor, landlord, or the print studio will perform repairs and priming. If the studio will manage prep, get itemised line items for patching, priming, masking and cleaning. If your general contractor will do the work, supply the vendor with a schedule and confirm finish tolerances so both sides know when the wall is ready for print day.
Step 4 schedule, site coordination and disruption minimization
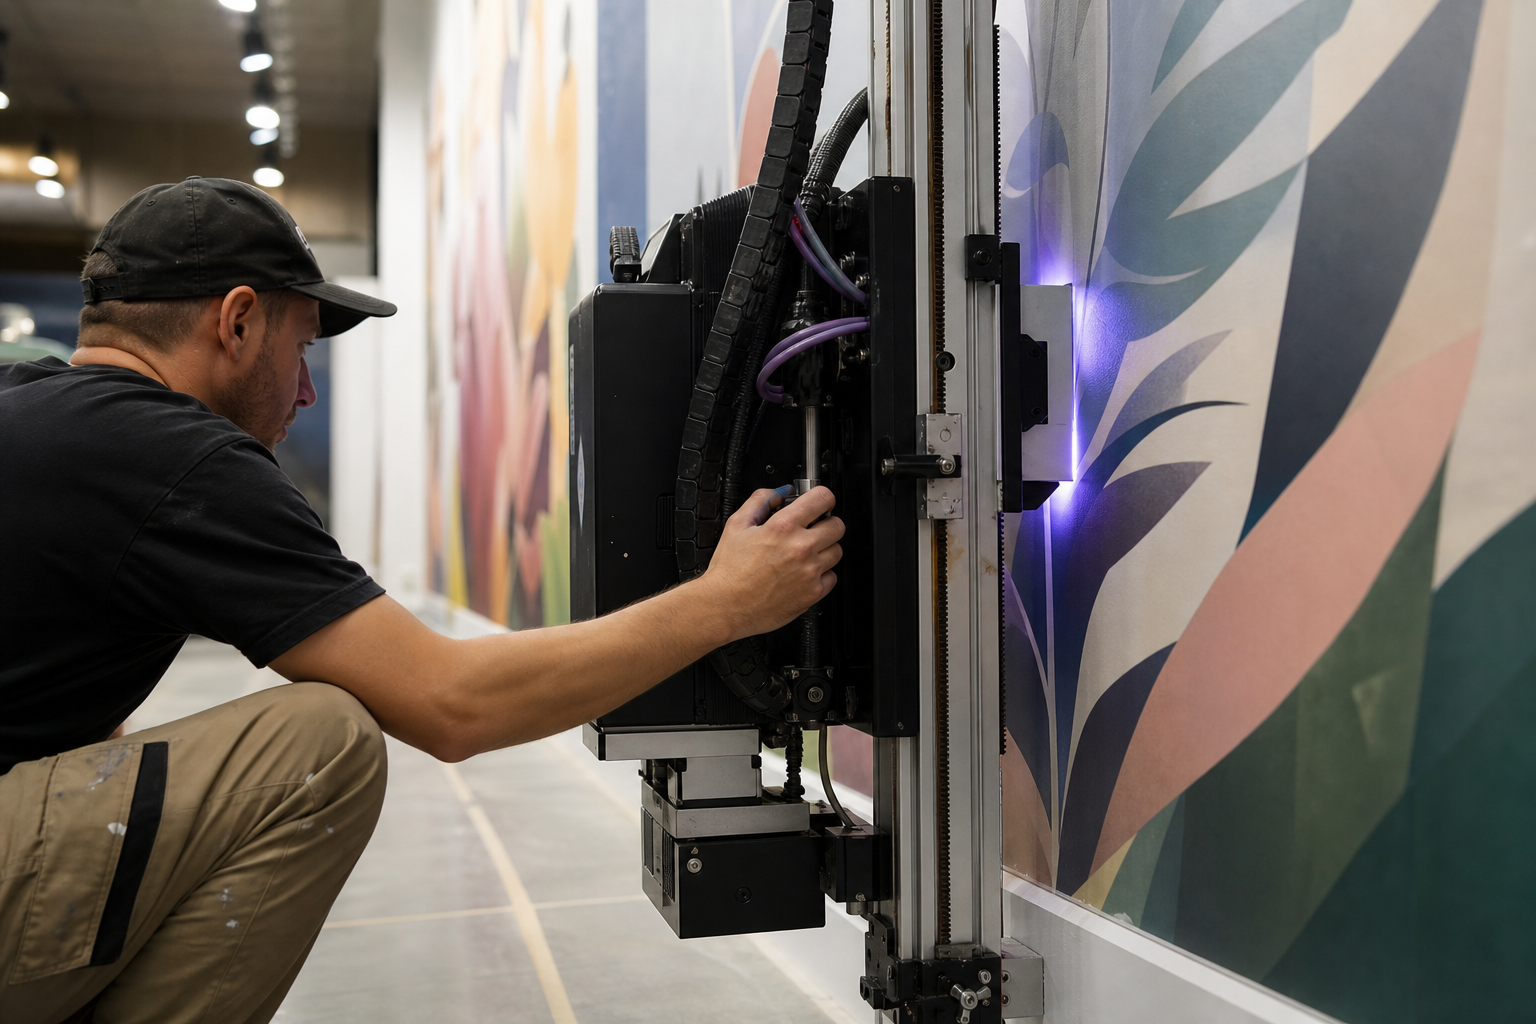
On-site uv wall printing is efficient when access, power, protection and timing are organised. Use this checklist to minimise business disruption.
On-site print day checklist
- Confirm layout and exact artwork placement with a scaled overlay on the wall and a signed mockup.
- Clear or protect furniture and fixtures, and confirm drop zones for equipment and ladders.
- Ensure stable power near the print area and reserve any required access like loading docks or service elevators.
- Mask adjacent finishes, cover floors, and mark protected surfaces with tape and signage.
- Plan ventilation for curing if coatings are used, and confirm hours when noise or access may be restricted.
- Schedule a short final sign off session once the print is complete and cured so you can confirm edges, trims and any touch ups.
Confirm whether the vendor requires building insurance certificates or site permits from the landlord before arrival. Clear responsibilities in writing to avoid last minute delays.
Step 5 check Toronto permits and signage rules
Some wall graphics are considered signs under municipal rules. Project owners should verify whether their graphic requires a sign application or a first party sign permit with the City of Toronto. If your wall project is visible from the street, attached to a regulated façade, or includes brand logos and business messaging, start the permit conversation early with both the city and your landlord. Allow extra time for permit reviews and revisions to avoid last minute changes.
How to evaluate mockups and before and after proof
When reviewing mockups and portfolio examples use these practical checks to compare vendors and reduce risk.
- Scale and placement, verify the mockup includes accurate room proportions and shows how artwork aligns with architectural features.
- Resolution and detail, inspect close up samples or high resolution crops so you can judge fine detail at typical viewing distances.
- Colour notes and proofing, ask how the vendor manages colour variance and whether they provide a printed swatch or test patch for final approval.
- Edges and trims, ensure the mockup shows how the image meets trim, returns to perpendicular walls, or wraps around corners.
- Durability evidence, request before and after photos of similar installations to judge wear patterns in high traffic areas.
Portfolio comparisons and mockups are key for confidence. If you want local examples of scaled previews and installation photos, view Ink Blend's uv wall printing services local for before and after images and mockup workflows.
Final decision criteria and next steps to get a quote

Use the following selection criteria to choose a vendor and prepare to request a photo based quote.
- Technical fit, white ink capability, varnish options, and direct to wall hardware must match your surface and finish needs.
- Mockup confidence, choose a vendor who provides a scaled visual mockup and a clear sign off process.
- Surface risk and cost, confirm whether repairs and priming are included and how they impact the budget.
- Permit exposure, if the graphic is visible from public space, factor permit risk and timing into vendor selection.
- Schedule and disruption, select a team that can coordinate with your business hours and keep on site time minimal.
How to request a quote: gather your labelled photos, the wall measurements in metric, reference artwork or brand files, and a short project brief that states your budget range and desired finish. Submit these materials to vendors and request a scaled mockup and a line item quote. For a local vendor example and a quick next step see Ink Blend's uv wall printing services local.
Real objections and quick responses
- Cost worry, ask for a phased approach. A smaller feature or test patch shows effect before committing to a full wall.
- Business disruption, print teams can often work off hours, and careful masking and staging reduce downtime to a few hours of active site time.
- Permanence concern, some coatings can be stripped or overpainted later. Confirm reversible options if you need flexibility.
- Permit burden, early research with the city and your landlord usually resolves permit questions before you schedule work.
FAQ
Do I need a permit for an interior mural or wall graphic in Toronto
Interior murals that are not visible from the public right of way typically do not require a sign permit. If the mural is visible from the street or includes commercial messaging, check the City of Toronto sign permit guidance to confirm whether an application is required.
Can you print directly on drywall with UV wall printing
Many vendors can print directly on drywall once cracks and surface defects are repaired and the wall is primed. A site assessment or a small adhesion test is the safest way to confirm compatibility before full production.
What file types and resolution do vendors need for 4K artwork and mockups
Vendors typically request high resolution raster files such as TIFF or high quality JPEGs at 300 dpi for close viewing, and vector files such as PDF or AI for logos and type. Confirm file preferences with the vendor because some workflows accept layered PSDs for colour corrections.
How long do UV wall prints last and how should I maintain them
Longevity depends on substrate, primer, coatings and traffic. Protective clearcoats extend life in busy areas. Maintain prints by dusting with a soft cloth and cleaning with a mild detergent on a low absorption cloth as recommended by your vendor.
How much disruption should I expect during on-site direct-to-wall printing
Disruption is usually limited to the print day for a single wall when staging is organised. Expect furniture protection, masking and a short period for curing or coating. Confirm the on-site print day checklist with your vendor to plan around peak business hours.
Ready to move from photos to a scaled mockup and quote? Request a photo based estimate or mockup from Ink Blend to see how your wall will look at scale. Contact Ink Blend at the official website.
Talk with Ink Blend
Contact Ink Blend to ask about the next step and confirm which options fit your needs.