

What happens during the wall mural approval process?
Clear, stage-by-stage walkthrough of the wall mural approval process for commercial interiors: photo quotes, 4K mockups, surface prep, print day and handover.
What this process covers and who should read it
This article explains a practical wall mural approval process for interior commercial projects that use direct-to-wall UV printing and high-resolution visual mockups. It is written for business owners, marketing and design leads, facilities managers, property stakeholders, and interior designers who need clear steps, sign-off roles, and the exact checks to make before on-site printing. Ink Blend offers photo- and measurement-based quoting, 4K artwork mockups, and an organised workflow from discovery to print, so the examples below reflect those practices and expectations. See the Ink Blend website for studio-level workflow notes.
Stage 1: Discovery and photo-based quote
What happens first is simple intake and a practical estimate. Ink Blend uses photos and basic wall measurements to build an initial quote and scope, which speeds decision-making compared with waiting for an in-person survey. To get an accurate photo quote, provide these items up front.
What to send for a quote
- Wide and close photos of the wall taken straight on, with a metre tape or familiar object in frame for scale.
- Wall dimensions: height, width, and any doors, windows, columns, or trim that affect artwork area.
- Notes about access and timing: after-hours access windows, site contact, parking or loading restrictions.
- Brand files and colour references where available, or a statement of brand colour tolerances.
- Budget range and preferred timeline so the proposal can match expectations.
At this stage you will typically receive a written quote and a scope summary that lists the assumed surface type, artwork resolution expectations, and whether a site visit will be necessary. For a closer look at how approvals are documented in a local project context, see the wall mural approval workflow brampton resource for an example of studio-level process notes wall mural approval workflow brampton.
Stage 2: Artwork mockups, scale checks and sign-off
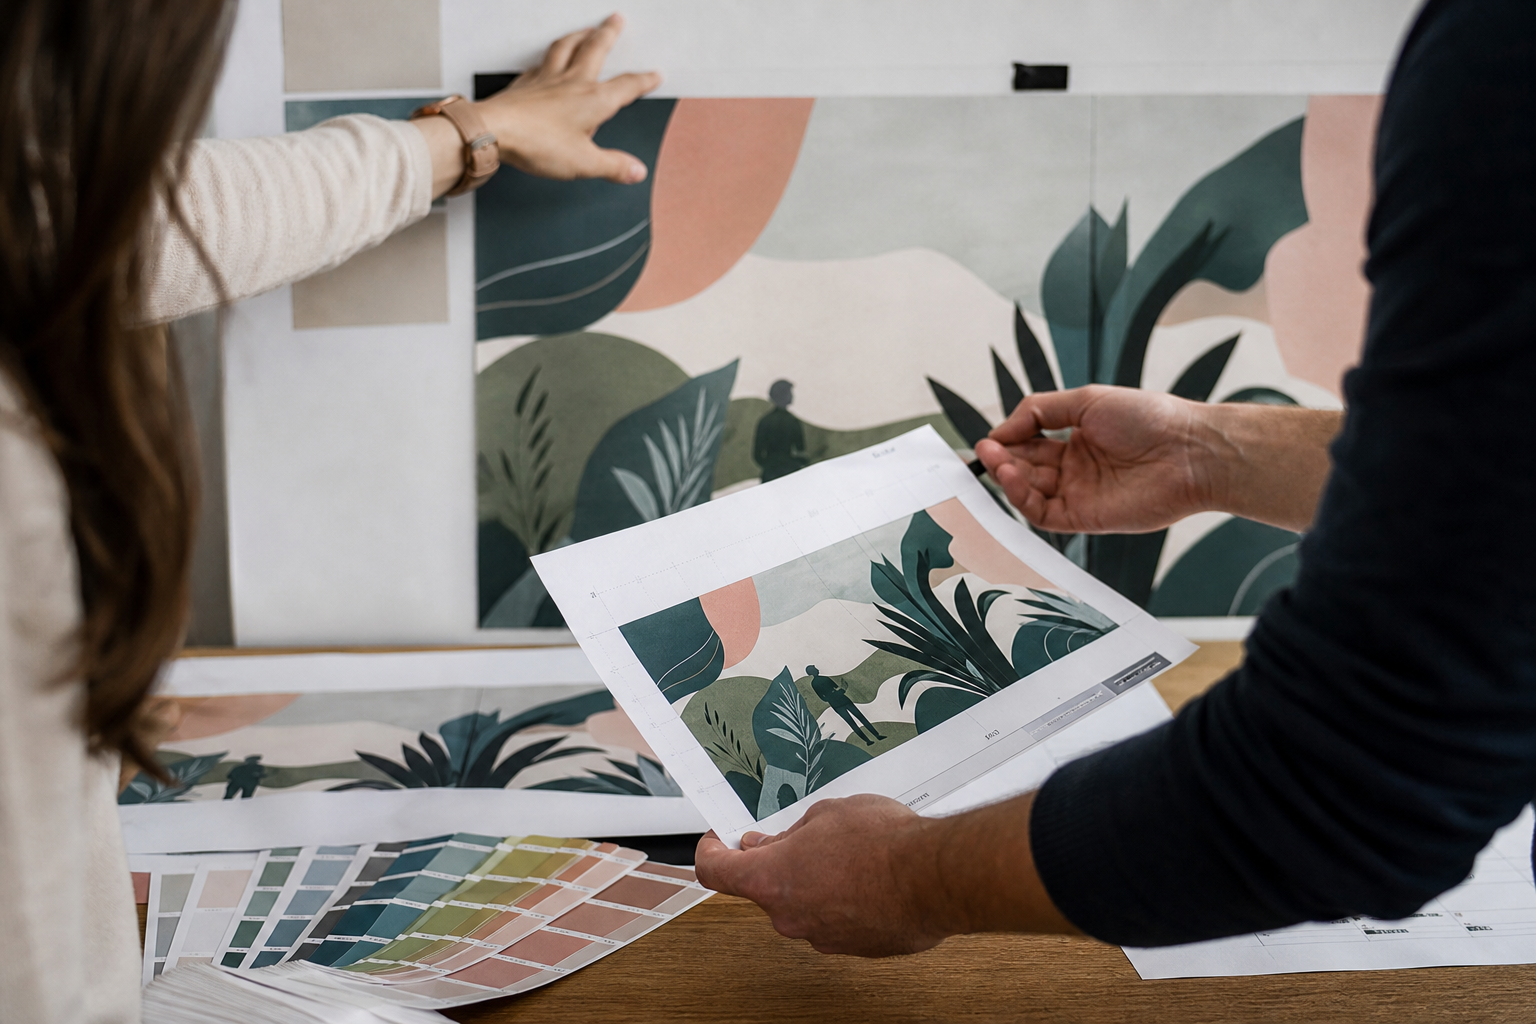
After the quote is accepted, the mockup phase begins. Ink Blend produces visual previews at high resolution so stakeholders can evaluate scale, composition, legibility and colour before any on-site work starts. Mockups are the point at which most approvals and changes happen, so use them to resolve visual and brand questions early.
Checklist for mockup review
- Scale and focal points, confirmed by viewing mockups overlaid on the supplied wall photo or a scaled elevation.
- Legibility and typography size for any copy that appears in the mural, checked at typical viewing distances.
- Colour approvals: confirm brand colours, request a small printed swatch or on-screen colour proof, and acknowledge lighting differences in the space.
- Finish and texture decisions, for example a matte finish to reduce glare or a protective coat for high-traffic areas.
- Final artwork file delivery and resolution confirmation, including any layered or editable files agreed as part of the scope.
- Number of revision rounds and the definition of final sign-off, recorded in writing.
Mockups often go through one to three rounds of revision depending on complexity. A formal approval should be a signed or emailed acceptance of the final mockup and scope, naming the authorised signatory for the property, the brand, and any landlord or facility manager who must confirm access and timing.
Stage 3: Surface assessment and preparation before printing
Direct-to-wall UV printing requires a prepared, stable surface. Ink Blend documents surface conditions and recommends remediation where necessary. Surface problems left unaddressed are a common source of delays or visual issues after printing.
Surface items to check and remediate
- Paint adhesion and surface integrity. Flaking paint or loose textures must be removed or repaired.
- Moisture and stains. High moisture areas or active leaks must be fixed before any printing occurs.
- Surface flatness. Deep cracks, heavy skim or irregular textures may require filler and sanding to achieve a printable plane.
- Primer or sealer requirements. The studio will specify a primer or sealer when required to ensure ink adhesion and colour fidelity.
- Cleanliness and contaminants. Grease, mould or dust are cleaned to reduce printing defects.
Some surface conditions rule out direct printing until repaired. When a site visit is required to evaluate complex surfaces, Ink Blend will document recommended remediation and include it in the project scope. For conservation-focused or exterior work, consult the Canada Conservation Institute guidance on mural creation and care for specialist considerations.
Stage 4: Site coordination, scheduling and print day expectations
Print day is organised to minimise disruption and to protect finishes and people. Coordination covers access, protection of adjacent surfaces, and safety measures. Ink Blend performs pre-print checks and a systematic quality review on site.
What to expect on print day
- Site preparation begins with masking and protection of floors, ceilings and nearby fixtures.
- Equipment set-up and alignment, then a short test print or alignment proof to verify scale and colour on the actual surface.
- Client or facilities representative presence is recommended for final checks and access control.
- Work sequencing: surface prep if still required, printing, then a final inspection and protective coating where specified.
- On-site quality checks include edge crispness, registration, colour consistency and any scheduled touch-up work.
- Time windows and noise or access impacts are agreed in advance to avoid conflicts with business operations.
Because Ink Blend uses direct-to-surface UV print technology, prints cure instantly under UV, which reduces wait times and allows immediate inspection during the same site visit. See the studio workflow on the Ink Blend website for more detail.
Stage 5: Reveal, acceptance, maintenance and handover
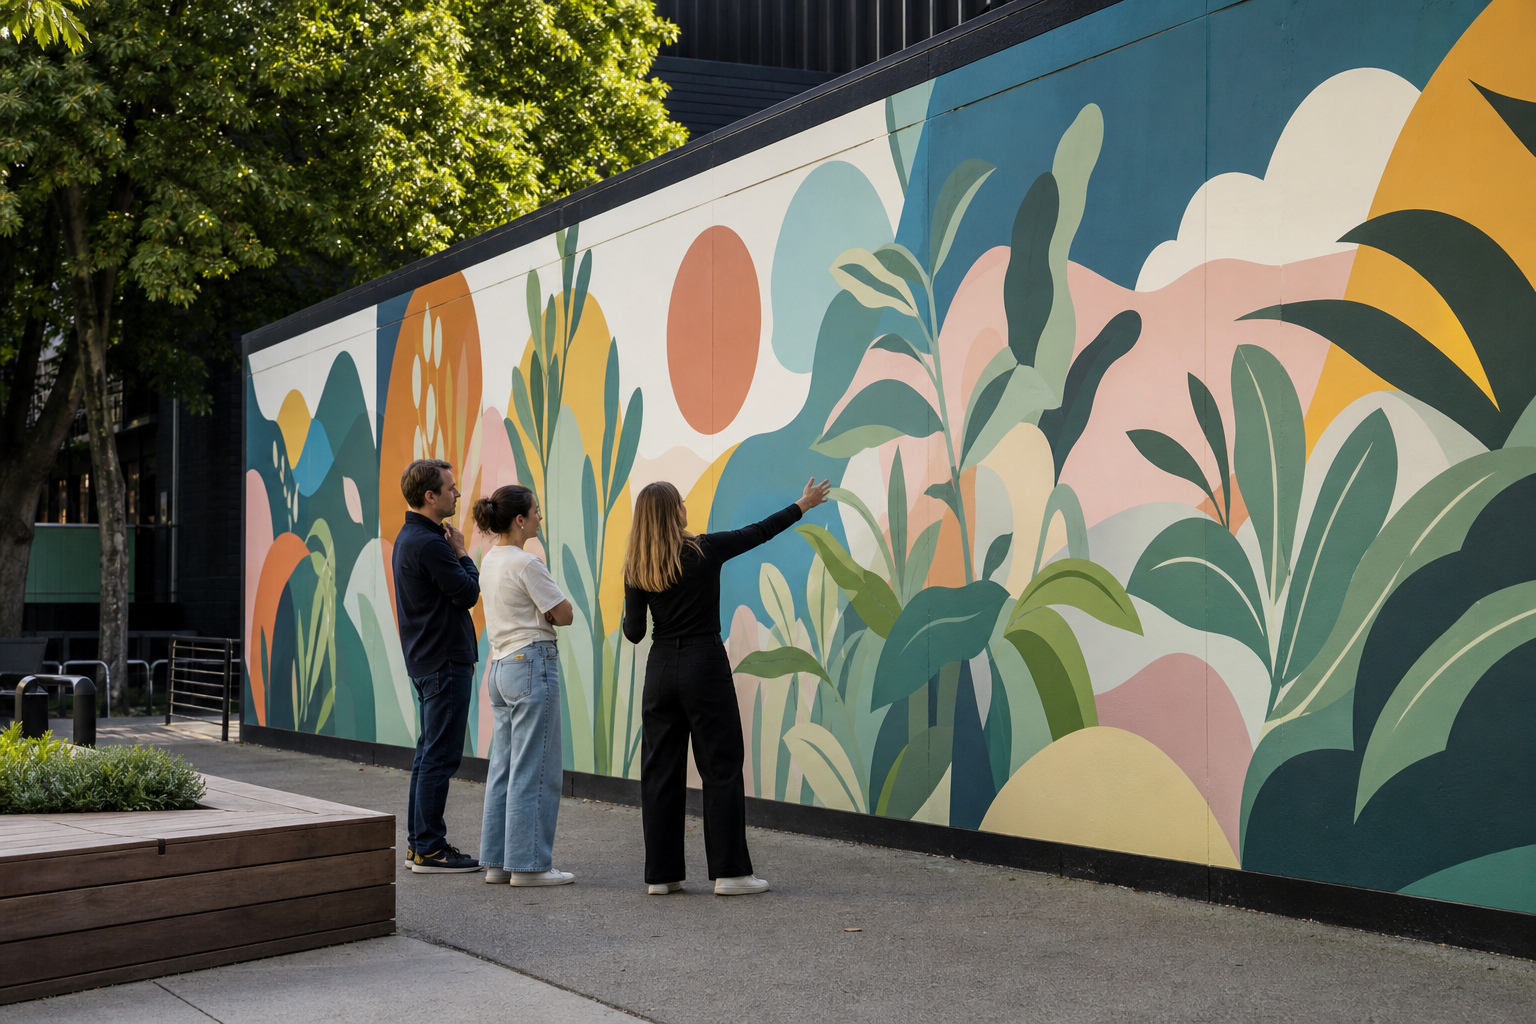
The reveal is the formal acceptance stage. The studio and client walk the finished mural together and confirm acceptance against the signed mockup and scope. A simple handover package speeds any future maintenance or warranty actions.
Handover items and maintenance notes
- Signed acceptance or completion certificate that references the final mockup and any agreed deviations.
- Care instructions for cleaning and approved cleaning products, and a note about abrasion or chemical risks.
- Documentation of the artwork files and a record of the printer settings used for the project.
- A small touch-up plan and contact details for warranty or follow-up repairs where applicable.
For interior UV-printed murals, maintenance is typically low if the surface is kept dry and cleaned with soft, non-abrasive cloths. For outdoor or conservation-sensitive works, consult specialist conservation resources before planning cleaning or repair.
Permits, landlord and municipal approvals to consider
Interior murals usually only need property-owner sign-off. Exterior or public-facing murals, and works on heritage or protected buildings, often require permits or municipal approvals. Check local rules early because timelines vary. Examples of municipal processes to review include guidance from Montreal, Ottawa, Saanich and Surrey. For federal conservation considerations, consult national conservation guidance on mural creation and care.
Common objections and decision criteria before you approve
Teams often raise the same concerns. These short decision criteria help move approvals forward.
- Durability: ask for the surface prep list and protective coating specification. If the studio provides adhesion and finish documentation, accept it conditionally on remediation completion.
- Colour match: require a final mockup approval and a printed swatch if exact brand matching is critical.
- Cost: compare the quote to the stated budget range and confirm which items are extras, such as remedial surface work or after-hours access.
- Operational disruption: require a clear print day schedule and protection plan, and confirm access windows with building management.
- Sign-off clarity: ensure authorised signatories for the client, landlord, and facilities are named and that their written approvals are logged before work begins.
Frequently asked questions
Who normally signs off on a commercial wall mural and what should each stakeholder check?
Typical signatories are the brand or marketing lead for visual and content approvals, the facilities or property manager for access and protection, and the landlord or building owner where required. The brand lead confirms artwork, typography and colours. The facilities manager confirms access windows and protection for adjacent finishes. The landlord confirms permission to modify the wall and any lease-related conditions.
How many mockup revisions are typical and what counts as a formal approval?
One to three mockup rounds are common for a standard commercial mural. A formal approval is an emailed or signed acceptance of the final mockup that references the agreed scope and names the authorised signer. Documented approval closes the revision cycle and starts surface preparation scheduling.
Can I get an accurate quote from photos and what photos do you need?
Yes. An accurate photo-based quote needs straight-on wide shots, close detail photos, scale references such as a tape measure in frame, and the wall dimensions. This approach accelerates quoting while still flagging surfaces that may need a site visit. Ink Blend outlines this photo-based workflow on the studio website.
Do I need a municipal permit or landlord sign-off for an interior mural?
Interior murals rarely require a municipal permit, but landlord sign-off is typically required in leased spaces. Exterior or publicly visible murals frequently need municipal permits and possibly heritage approval. Check the local municipal guidance early to avoid delays and consult relevant local pages for application requirements.
What happens on print day and how can I minimise disruption to operations?
Print day includes site protection, alignment tests, printing and immediate inspection. Minimise disruption by scheduling off-peak hours, confirming access and parking in advance, designating a site contact, and clearing the immediate workspace. A signed protection and access plan should be part of the pre-print scope.
Key takeaway: a clear, documented approval path that names signatories, records mockup acceptance, and resolves surface remediation before print day is the fastest way to deliver a durable, high-fidelity mural with minimal disruption. For a studio-level example of this workflow, see the wall mural approval workflow brampton notes wall mural approval workflow brampton.
For a project consultation and a photo-based quote, contact Ink Blend at our website Ink Blend.