
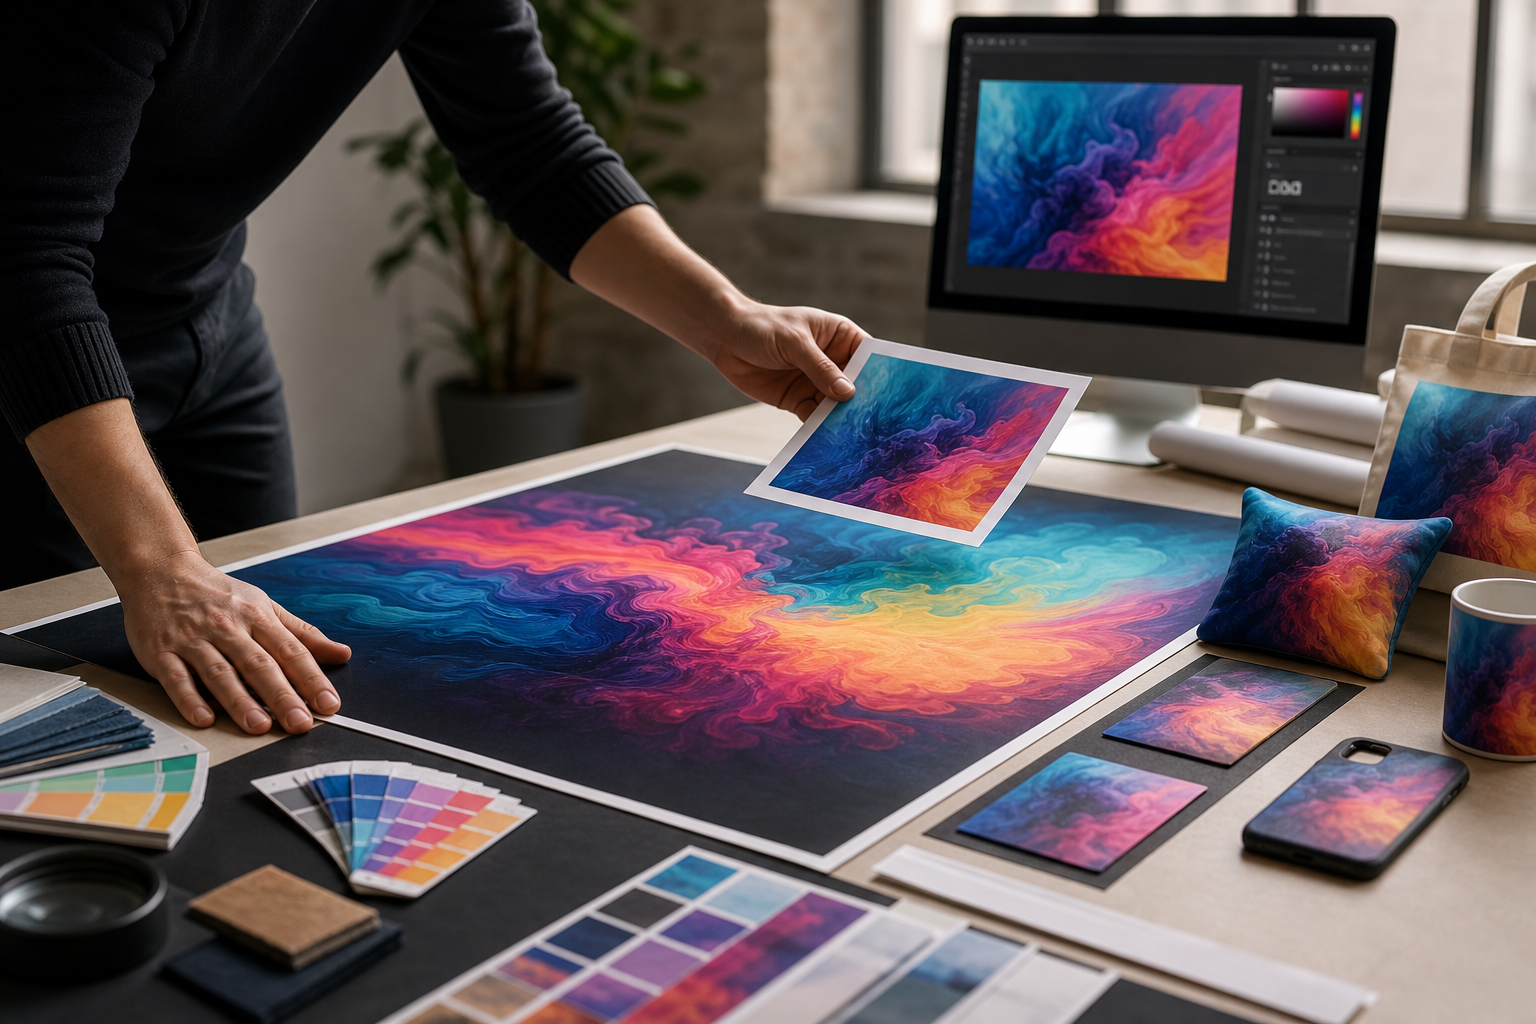
Artwork mockup workflow: ensuring scale, colour and surface readiness
Define an artwork mockup workflow for UV wall printing: what mockups prove, the photos and files needed for fast quotes, Ink Blend's approval steps.
What the phrase artwork mockup workflow means
An artwork mockup workflow is the sequence a client and studio follow to turn a design concept into a validated, production-ready preview that proves scale, composition, colour expectations, and surface suitability before any direct-to-wall printing begins. For UV wall printing this typically includes an initial brief with wall photos and measurements, one or more visual mockups, annotated scale and placement notes, client review cycles, final 4K artwork preparation, and on-site direct-to-surface printing and reveal.
Core components
The core components are: the project brief, clear images and measurements, a room-scale mockup and detail close-ups, annotated placement and scale notes, limited client revisions, and production-file export at 4K for UV printing. Mockups in this workflow are production control documents rather than purely presentation images, so they directly drive surface-prep estimates and print settings.
Who participates
Participants usually include the client or project lead, the artwork designer, and the studio production team. For larger builds the contractor or facility manager joins for site access and surface preparation. The mockup workflow assigns explicit approval responsibility for scale, colour passes, and final sign-off to keep the project aligned.
How a validated mockup reduces risk
A validated mockup converts visual uncertainty into clear production decisions. It identifies composition conflicts with doors or windows, highlights texture or adhesion issues that require repair, and narrows revision cycles so budgets and timelines are protected. For commercial projects, this protects brand consistency and avoids costly rework.
Why a validated mockup matters for direct-to-wall UV printing
Direct-to-wall UV printing applies inks straight to an interior substrate, which means scale, texture and local lighting change the final look in ways that small proofs cannot predict. A validated mockup confirms real-world dimensions, shows the level of visible detail at common viewing distances, and flags substrate issues that affect adhesion and finish. For clients that need durable, repeatable brand environments, mockups bridge creative intent and production reality.
What validated mockups look like: four types and when to use them
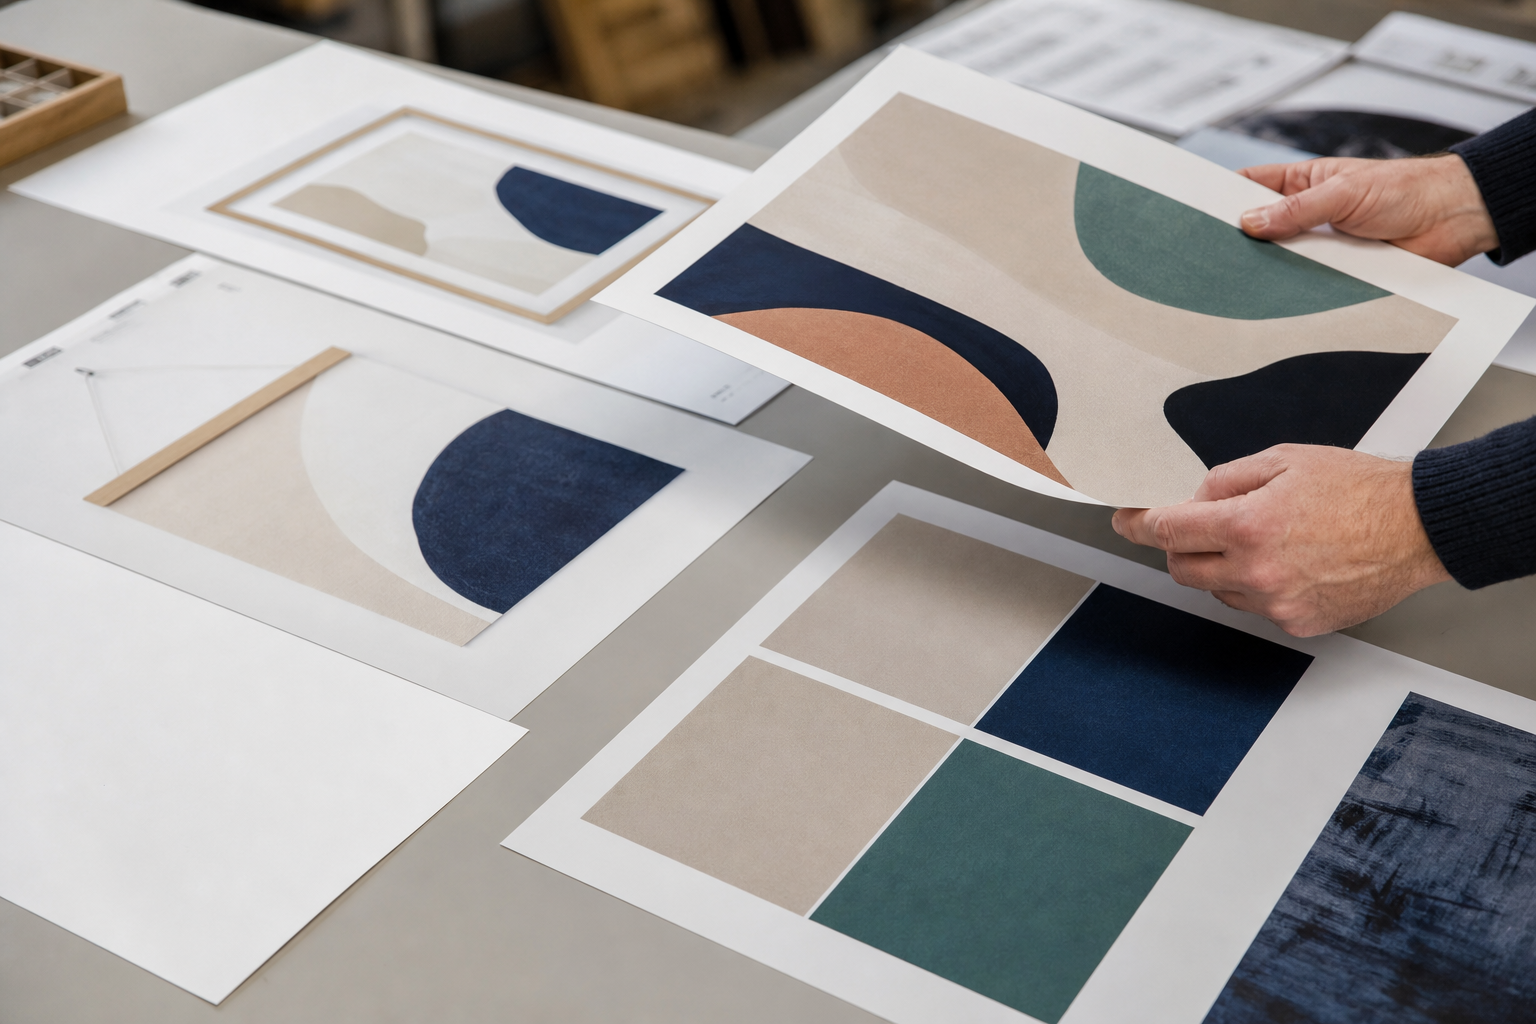
Full room-scale mockup
A full room-scale mockup places the artwork at true size into a photographed room so stakeholders can judge sight lines, furniture relationships and how the design reads from typical viewpoints. Browser mockup tools speed this step by letting you place artwork into a scene and set real print dimensions, which is useful for fast, production-aware previews. See a practical how-to in the WallMockup guide: How to create wall art mockups without Photoshop.
Detailed close-up
Close-up mockups show expected surface finish and the apparent sharpness of high-resolution files. They reassure reviewers about texture, fine detail and type legibility. Contemporary mockup workflows recommend supplying a close-up alongside the room-scale image so reviewers see both context and detail; examples and steps are discussed in wall-art mockup tutorials such as the NerdsTips guide: How to create realistic wall art mockups.
PSD smart-object render
PSD mockups that use smart objects preserve perspective and let studios apply displacement maps, lighting and shadow edits while keeping the original artwork intact. This approach is standard when subtle surface deformation or realistic shadowing is important for production. Photoshop workflows and PSD customisation techniques are described in industry tutorials like the Photoshop mockup guides at Bello and PSD Templates: How to create an art mockup in Photoshop, How to customise PSD mockups.
AI or template preview
AI mockup generators and template tools are excellent for fast concept checks because they drop artwork into preset scenes quickly. They are best for early approvals because templates cannot reliably simulate complex textures or site-specific repairs. Use AI previews for direction, then confirm production details with PSD or photo-based renders. See an overview of AI mockups and use cases at Runway: AI product mockups.
To compare styles and fidelity, review Ink Blend's mural mockup examples: mural mockup examples.
Photo, measurement and file checklist to get a fast, accurate quote
Fast, accurate quotes start with a consistent package of photos, measurements and artwork files. The list below reflects what studios use when they offer photo-based quotes and prepare production-aware mockups.
Photos to submit
- A straight-on photo of the full wall from about 8 to 12 feet back, framed so the entire wall is visible without lens distortion.
- Two angled photos from left and right showing sight lines and nearby architecture.
- Close-ups of any texture, damage, outlets, trim, ledges or fixtures inside the print area.
- A wide room photo that shows furniture and traffic flow to assess viewing distance and composition.
- Notes or photos of dominant natural and artificial lighting so colour expectations can be checked.
- Include a familiar reference object such as a chair or a metre stick to help establish scale if exact measurements are unavailable.
Measurements to include
- Wall width and height, and floor-to-ceiling height if different.
- Location and size of doors, windows, columns, vents, outlets and trim within the print area.
- Distance from finished floor to the bottom and top of the print zone where relevant.
- Notes on adjacent finishes, for example exposed brick or tile that abuts the print.
File and artwork requirements
- Layered PSD or vector AI files when available. Layered sources make edits faster and preserve quality.
- If layers are not possible, provide high-resolution TIFFs, PNGs or PDFs sized to final print dimensions and prepared in a colour-managed profile.
- Include brand colour swatches or PMS values where colour matching is critical.
- Label files clearly with project name, wall dimensions and version numbers to speed review cycles.
For guidance on showing both room context and close-up detail together, see documentation such as BulkMockup's tutorial on combining full mockups with detailed views: How to show a detailed close-up with the mockup.
Ink Blend's mockup and approval workflow: step-by-step
Ink Blend aligns mockups with production stages so every preview reduces risk and shortens decision time. The sequence below shows the client decision points before printing.
- Quote from photos and measurements. Submit the checklist items and receive a scope-based estimate that includes surface-prep notes and a recommended mockup package.
- First mockup with scale notes. The studio provides a room-scale preview and a close-up detail with annotated placement and crop notes for review.
- Client review and limited revisions. Clients approve scale and composition or request focused revisions. Consolidated feedback keeps the project on schedule.
- Final sign-off and 4K artwork preparation. After composition is fixed the studio prepares production files at 4K detail and confirms colour-led production settings.
- Site prep, on-site printing and reveal. Required surface work is completed per the mockup notes, the team prints directly to the prepared surface, and the client completes final acceptance at reveal.
Common objections and realistic limitations, with practical mitigations
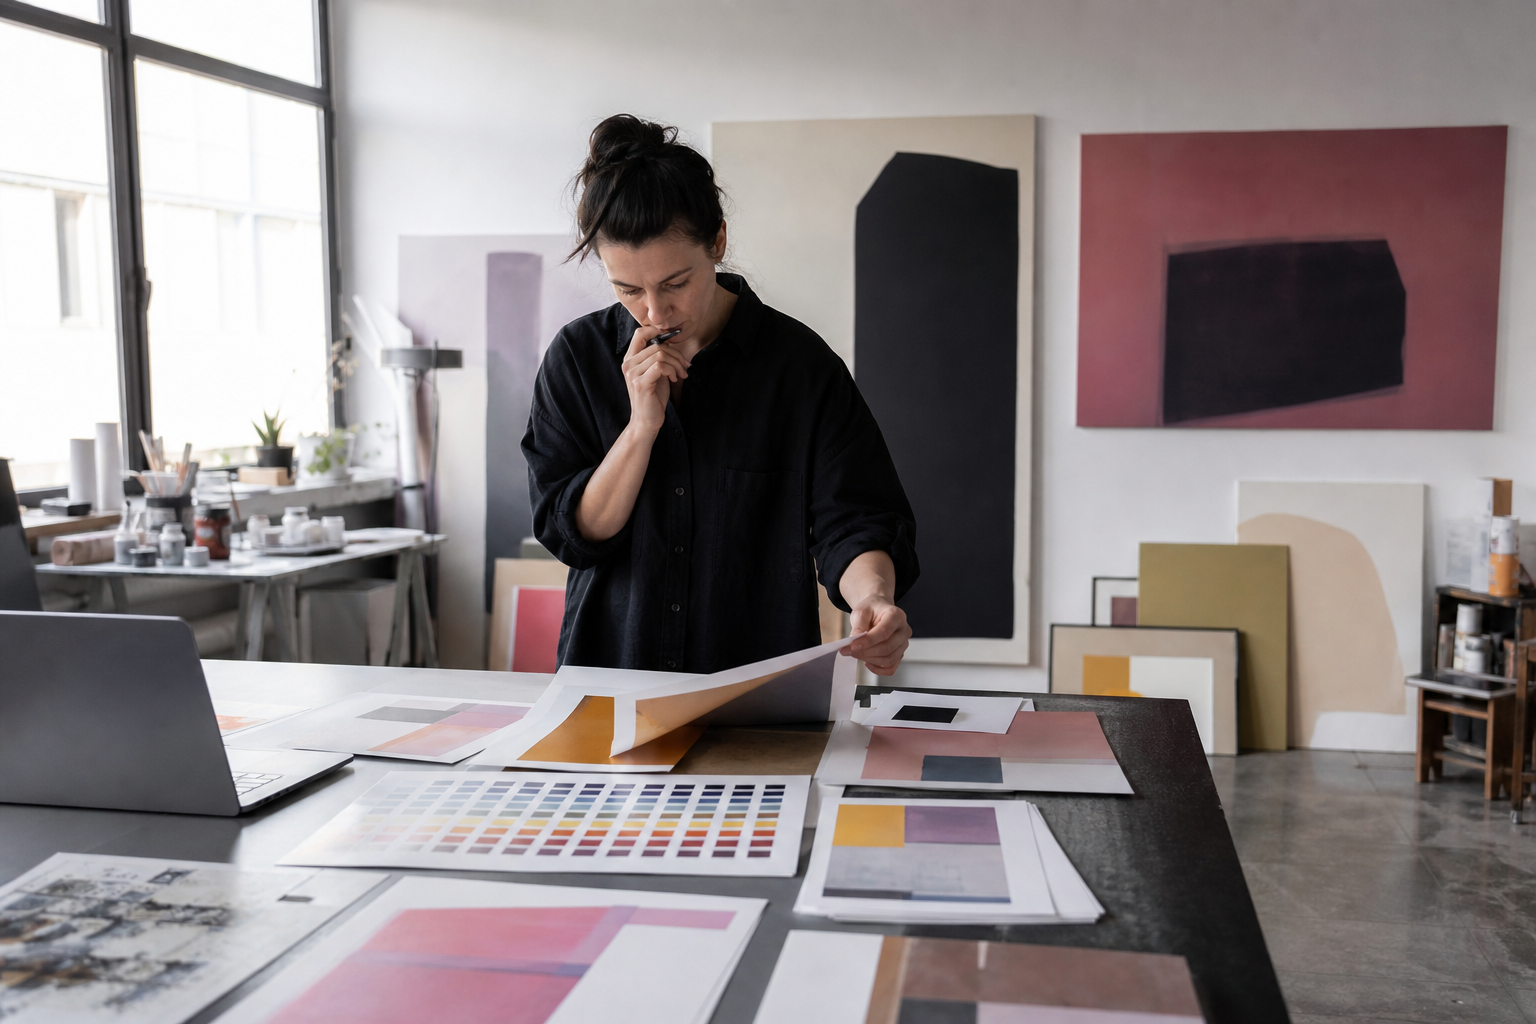
- Colour accuracy. Soft-proofing and colour-led production reduce surprises, but final appearance depends on site lighting and substrate. Request a physical proof panel or an on-site comparison when exact matching matters.
- Textured or damaged drywall. PSD displacement maps can simulate texture in a mockup, but real repairs or a skim-coat are often required for a flawless finish. The mockup will note recommended prep.
- Disruption during printing. Site coordination addresses most disruption concerns. Ask about off-hours work, containment and cleanup if your space must stay open.
- Limitations of AI or template mockups. AI previews are fast but cannot reliably represent complex substrates. Use them for early direction and rely on PSD or photo-based renders for final sign-off.
Ontario project logistics and site preparation considerations
Ink Blend serves clients across Ontario and coordinates projects around building hours, landlord approvals and condo or hotel permit processes. Provide site access details, property management contacts and any common-area approval forms at quote stage so site coordination proceeds smoothly. For interior work plan for ventilation and an unobstructed footprint for print equipment; the studio will document surface-prep responsibilities in the quote.
How to choose a mockup provider and next steps
When selecting a mockup provider prioritise: portfolio relevance, examples of production-aware mockups and 4K artwork, a clear quote-from-photos checklist, experience with surface preparation and site coordination, and transparent revision limits. To move forward, gather the checklist items above and submit them to Ink Blend to request a mockup-ready estimate. Compare mockup fidelity in the gallery: mural mockup examples.
Frequently asked questions
How accurate are mockup colours compared with the final UV wall print?
Mockup colours provide a calibrated preview but are not an absolute match. Soft-proofing and agreed production profiles minimise variance, but on-site lighting and substrate affect the final look. For critical colour matches request a physical proof panel or an on-site comparison.
Can you give a reliable quote from photos alone or do you need an on-site visit first?
Many projects begin with a reliable photo-based quote that outlines likely surface prep and scope. An on-site visit becomes necessary when photos show complex damage, concealed obstructions or unusual access constraints. Ink Blend offers photo- and measurement-based quotes and will flag when a site visit is required.
What file formats and resolution do you need for 4K artwork preparation?
Provide layered PSD or vector AI when available. If layered files are not possible, submit high-resolution TIFF, PNG or PDF files at final print dimensions and in a colour-managed profile. Clear file labelling with project name and dimensions speeds production handoffs.
Can UV printing be done directly on drywall and what surface prep is usually required?
Yes, UV printing can be done on drywall but the substrate must be prepared. Typical prep includes cleaning, patching dents, and a skim coat or primer to ensure adhesion and a uniform finish. The mockup stage identifies necessary repairs and estimates prep work.
How many mockup revision rounds are typical before sign-off and printing?
Studios commonly limit open-ended revisions and offer one or two focused rounds to finalise scale and composition. Consolidate feedback into single, clear revision requests to keep the project on schedule and avoid extra cost.
Ready to move from concept to a production-ready mockup? Collect the checklist items above and submit them to Ink Blend to request a quote and the first mockup. For sample mockups and gallery examples visit the mural mockup page linked above, or return to the studio home page at Ink Blend.